
DIY Tree Swing

This is Week 7 of our 12-week Summer Fun with Kids series here at LWSL! Today we are welcoming Gina from The Shabby Creek Cottage, who are sharing an easy and super fun way to make a tree swing . For more summer fun, check out the overview page.
Hi! I’m Gina from The Shabby Creek Cottage. I’m so happy to share a super easy DIY idea that’s perfect for summer months! We live wayyyyy out in the country, right beside the creek, and spend tons of time outdoors, so it’s no surprise that we love swings at our house. Porch swings, anywhere, really, where we can kick back with a glass of sweet tea and enjoy an afternoon breeze. This project is one of the easiest DIY ideas I’ve had in a long time, and hopefully even if you’re not a major DIYer, you can make one, too. Even if you lack major DIY skills, this project can be done in a snap – it’s really just about a little painting and drilling – no major building action going on here.
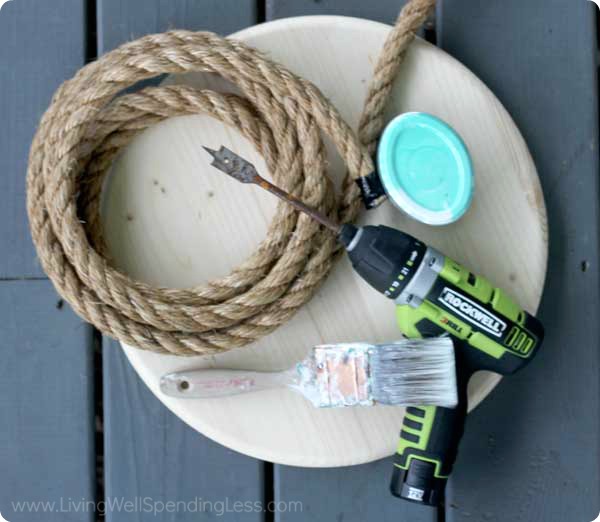
Here is what you need:
18 or 24 inch wooden round (found in the furniture making section at Lowes, etc.)
25ish feet of 1 inch rope (you’ll need enough to hang from a secure tree branch to the ground plus about 3 more feet)
some exterior paint in any color
a drill with a 1 inch spade bit
a paint brush
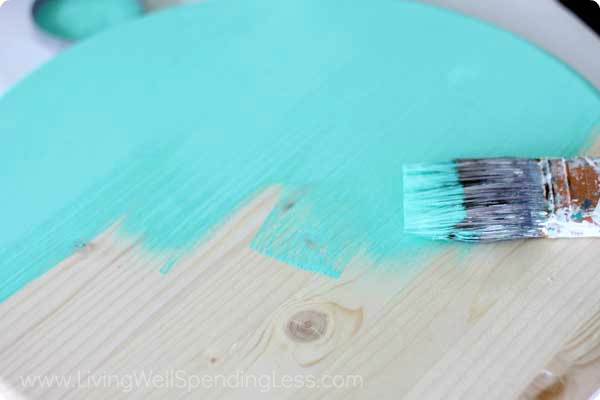
Step 1: Paint the entire wooden round, both sides, with two or three coats of exterior paint. Any color will work, or if you want to get the kiddos in on the action then let them help you paint it. You could even get fancy and let them paint on their name or anything else they wish – it would look awesome to have a swing for multiple kids that they all designed themselves.
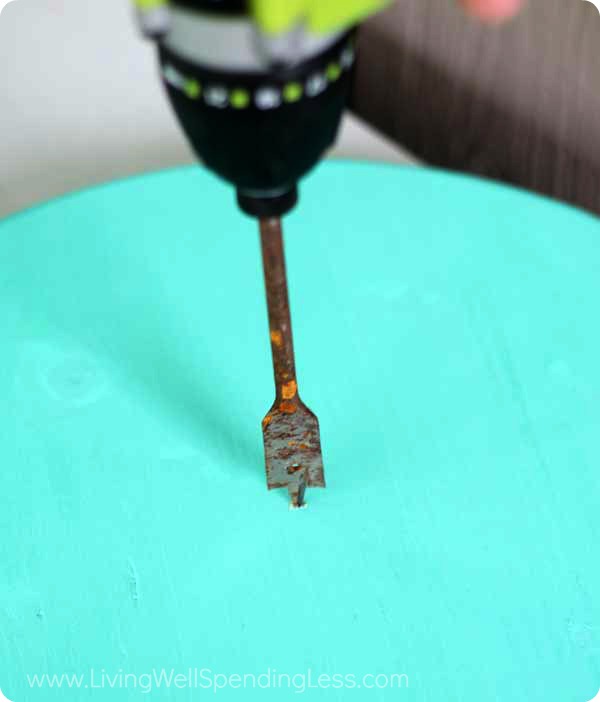
Step 2:Once completely dry, drill a hole right in the middle of the round with the one inch spade bit, going all the way through. You can either do it by eye or use a tape measure and get it precise (which I recommend.) Slow and steady is best when working with spade bits, let it drill in a bit and then pull it out so the chips get out of the way.
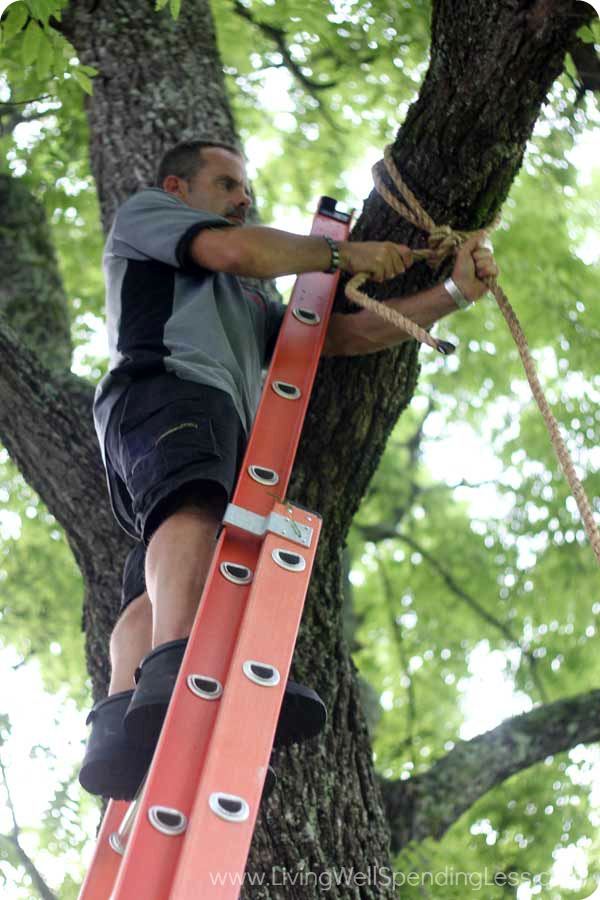
Step 3: You want to hang your rope from a good, solid tree limb (or get your husband to do it – that’s what I did.) You want to make sure that the rope goes almost all the way to the ground and it nice and secure. We wrapped it around twice then tied it off with a really great knot to hold it all in place.
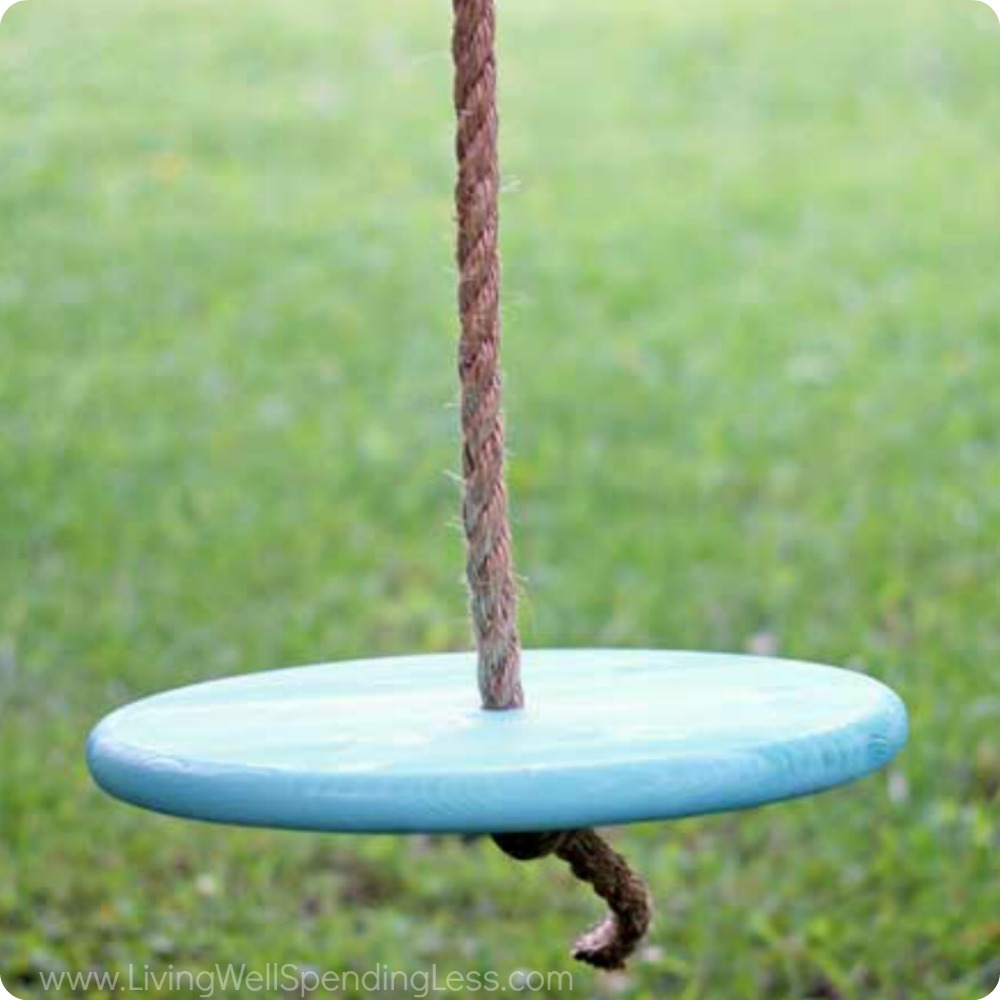
Step 4: Thread the end of the rope through the hole from top to bottom, and then tie a good secure knot in it from the bottom of the swing.

Step 5: And that’s it! It’s seriously easy to make this swing, and besides drying time it really takes less than half an hour of work. It’s just about painting, drilling, hanging – DONE. Besides just making a swing to have fun on, when you let your kids help with small projects like this it helps build memories as well as self-esteem to let them learn they really can do things on their own. Happy Summer!
* * *
 And now it is time for another fun giveaway! Today we are again giving away something EVERYONE can use–a $100 Lowes Gift Card–that you can use to create your own summer fun projects! To enter, just follow the instructions in the box below.
Gina Luker is the founder of The Shabby Creek Cottage blog
& the author of How to Start a Home-Based Etsy Business. She writes daily on her DIY blog, as well as for magazines and other publications. She has been featured by Etsy, Romantic Homes, Brides Magazine, and many others all over the world. She lives in rural Tennessee, with her husband and two girls, in their shabby little cottage by the creek.

* * *
What outdoor activities do your kids enjoy during the summer?
Pin It
The post DIY Tree Swing appeared first on Living Well Spending Less®.


