
Caturday Art: The Surprise Texture Addition
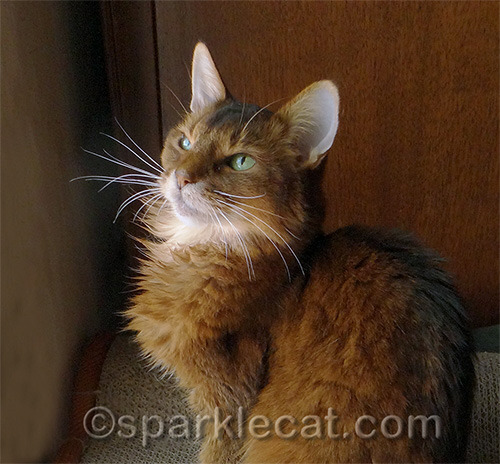
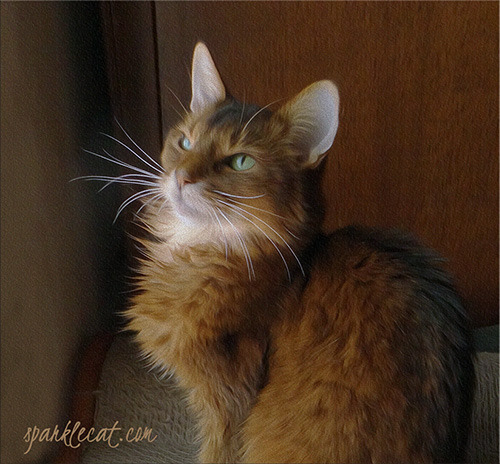
Maybe some of you knew this super-secret place to find awesome textures in Photoshop, but my human was clueless until just a few hours ago. She’s been using the boring textures in the Filter Gallery all this time. I’ll tell you all about it in a minute — first, though, a picture was needed to add a texture to. So my human picked the below photo of me to turn into an oil painting.
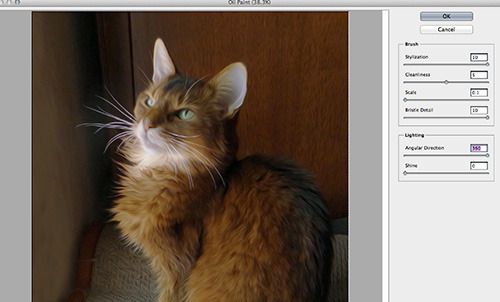
She used what she calls “the quick and dirty method” to do it. It’s not the most fabulous technique but I thought I’d share it with you anyway. First she duplicated the photo on two additional layers. Then she just clicked on the first copy and went to the Oil Paint filter, which is in Photoshop CS6 and higher. You can’t see the Brush and Lighting adjustments very well, so I will tell you the top Brush adjustment is 10, the second one is 5, the third slider is pushed all the way to the left, and the fourth slider is pushed all the way to the right. As for the Lighting adjustment, just make sure that Shine is at 0 and the other slider does not matter.
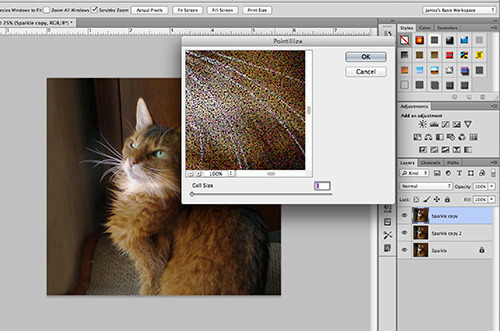
After she finished that layer, she clicked on the top copy layer to highlight it. Then she went to the Filter drop-down menu at the top of the screen and went to Filter->Pixelate->Pointillize and pushed the Cell Size slider all the way to the left.
Here is how it looked so far — don’t worry, it’s not done!
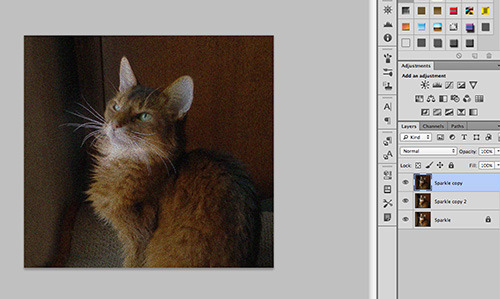
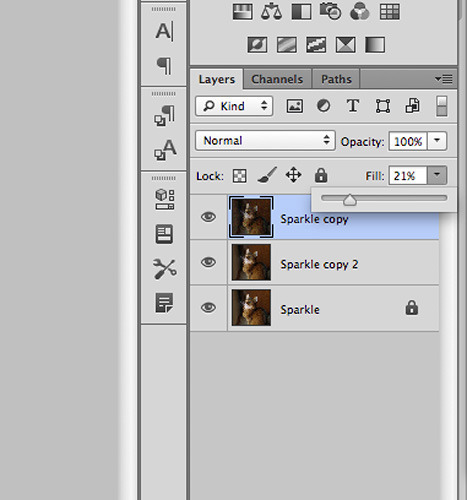
She brought the fill way down on the top layer.
Here is the “oil painting” of me. It’s okay for something done so fast.

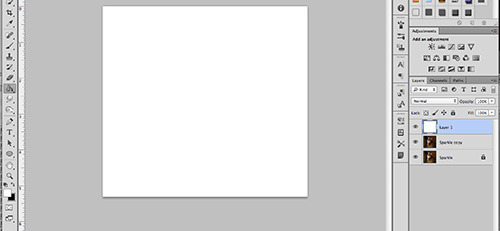
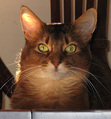
But of course, my human wanted to try out the new textures she discovered. First she created a new, blank layer above all the others and filled it with white. (If you look to the right, you’ll see she merged the two artistic layers, just to simplify things. You don’t have to do that — it was just her choice.)
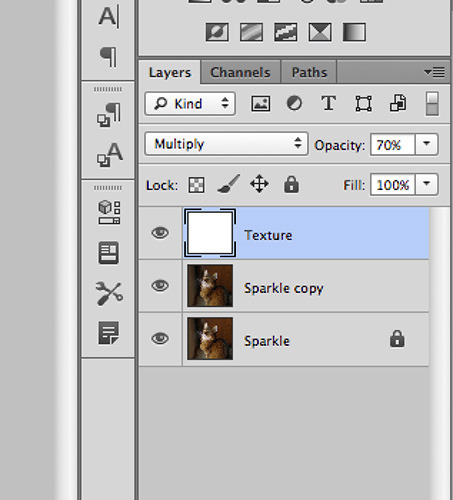
Yes, you can’t see me anymore, but not for long. She brought the Opacity down and changed the Blend Mode to Multiply. Here are the settings:
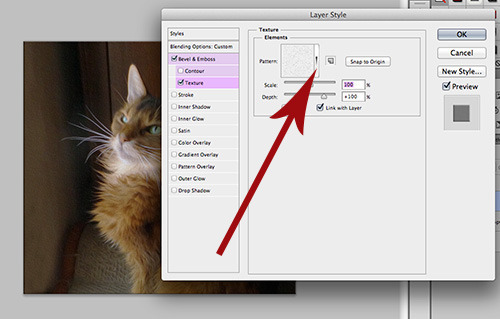
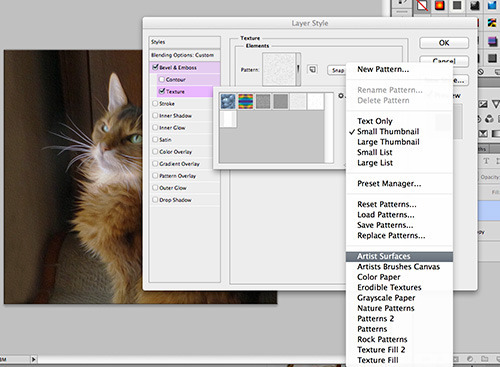
Next, she clicked on the white box in the Texture layer, and that opened up the Layer Style settings. Then she clicked to the right of the word Texture, right under Bevel and Emboss and it opened up the Pattern window. If you click on the little sliver where the red arrow is pointing, it opens up a panel of patterns (some of which my human made herself and a couple of which you actually see on my new blog layout).
What my human didn’t realize was if she clicked on the little gear symbol on the upper right hand corner of this new panel, it opened up a whole treasure trove of patterns — including “Artist Surfaces!” So she clicked on that.
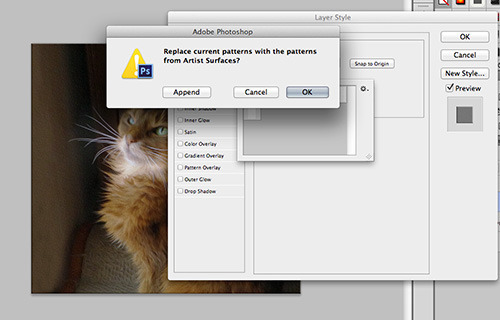
When she clicked on this new pattern set, this window popped up. She clicked “OK” because that is what you are supposed to do.
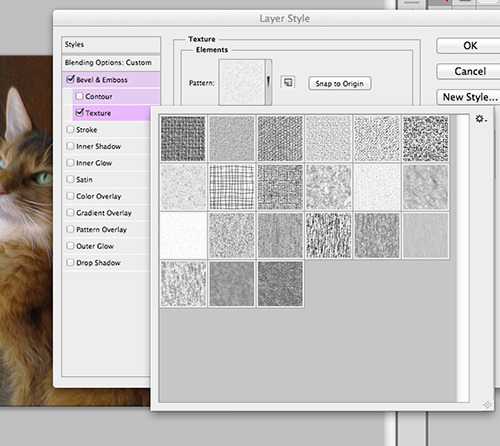
And look at all the textures that opened up! If she had made my photo into a watercolor, or pastel, or pen and ink, or other artistic medium, she had a bunch of surfaces to choose from.
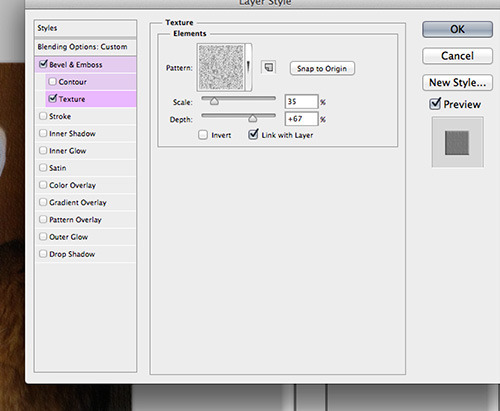
Since it was an oil painting, she picked one of the more canvas-y style textures and then played around with the settings until she liked it. As you can see, Preview was checked on the right so that she could see the results as she was fooling around.
And here is the final result! As you can see, the texture added something. If you have photoshop, try adding texture to one of your own digital art pictures and see how you like it!
For more Caturday Art, visit Athena!
* * *
Having problems with your human or the other cats in your house? As the internet’s “Dear Abby With Claws,” I have answers to many annoying problems in my two award-winning books! Visit my author’s page on Amazon to buy one or both of my awesome Dear Sparkle books!


Sparkle the Designer Cat's Blog
- Sparkle the Designer Cat's profile
- 1 follower

