
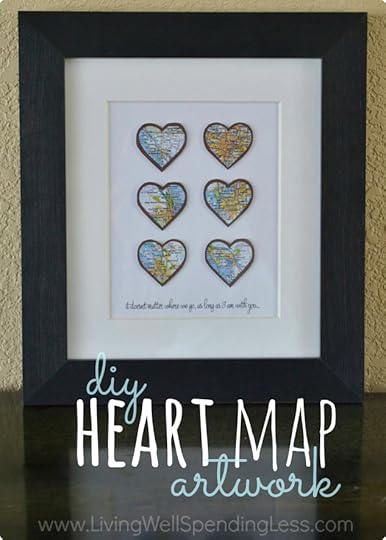
DIY Heart Map Art
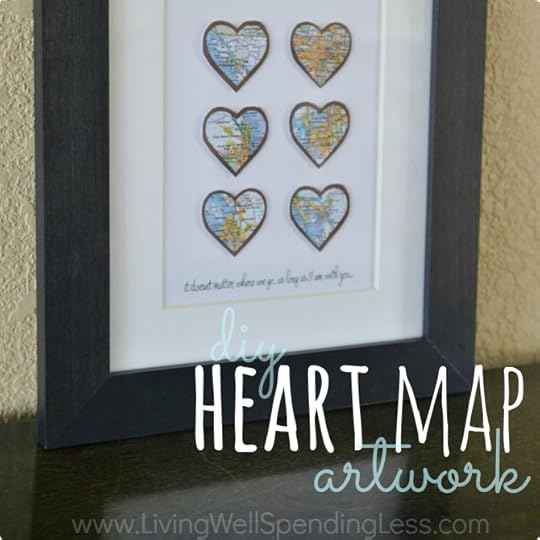
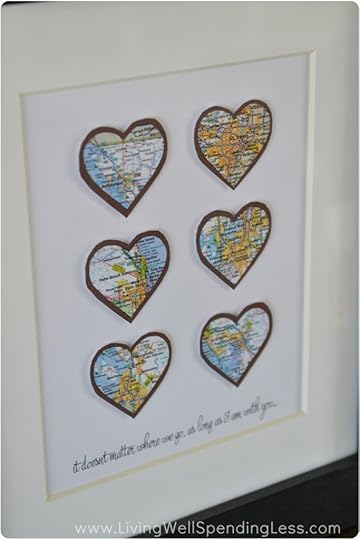
My husband and I have always made a bigger deal of our first date anniversary than our actual wedding anniversary (which happens to be tomorrow), and a few weeks ago we celebrated 10 years together! Woot! We are also not normally big on gifts, but in honor of this milestone I thought I would finally tackle a little DIY project I have been wanting to try for a few years now, ever since I spotted this pretty vintage map heart art on Pinterest (selling for $300!)
If you’ve ever read my Amazing Grace story you know that Chuck and I have moved around a lot in ten years! From Seattle to Saint Louis to Florida, we have shared no fewer than fifteen different addresses in six different cities, which pretty much made this the perfect gift! I printed a little phrase on the bottom–”it doesn’t matter where we go as long as I am with you”– but you could also leave it blank or write something in by hand. Other great phrases could be “home is wherever I’m with you” or “home is where the heart is” or just “places we love.”
Finally, in case you’re wondering, I got my frame on sale at Target for around $15.
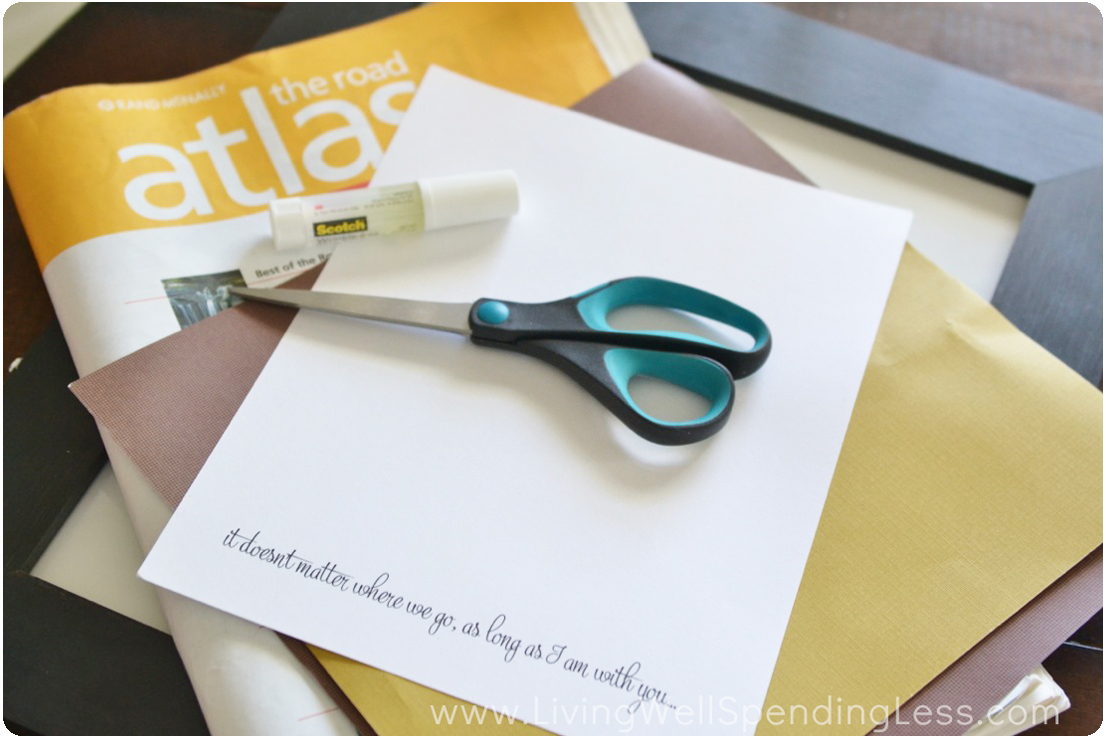
Here is what you need:
old map or road atlas
acid free card stock
scrapbook paper
frame with mat
scissors
wrinkle free glue stick
self-adhesive foam mounting dots (optional)
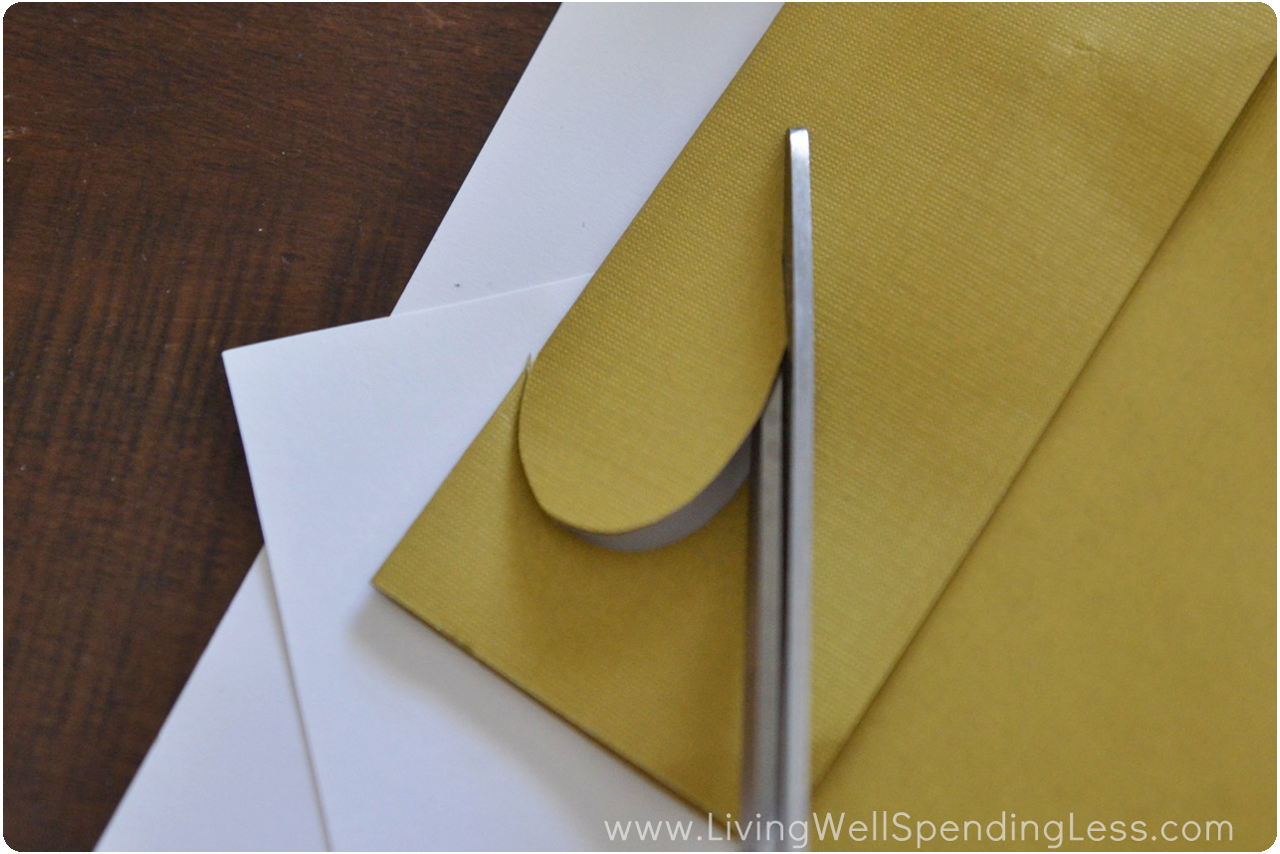
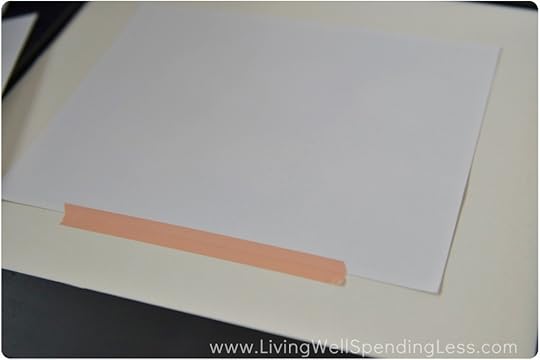
Step 1: Cut out heart template in the size you want.
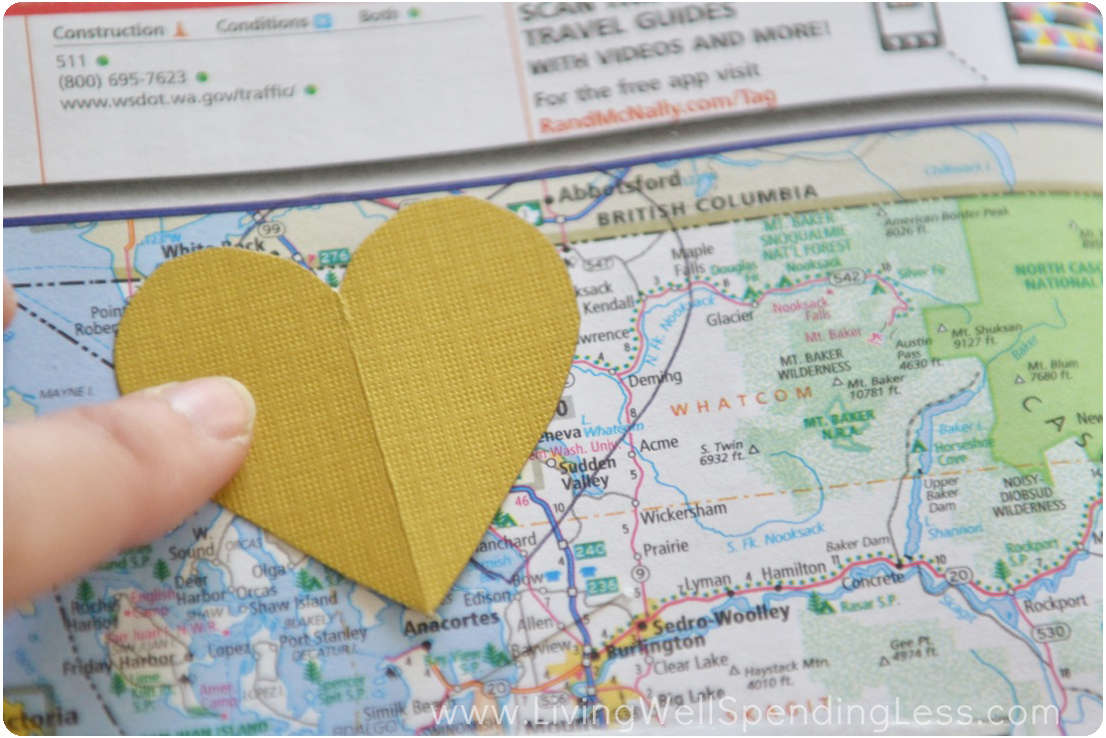
Step 2: Trace template around the cities or places you want to include. These could be places you’ve lived, places you’ve visited, or simply places you’ve dreamed about going. I did six because that is the number of cities we’ve lived in, but you could just as easily make it work with 3, 4, or 5 hearts.
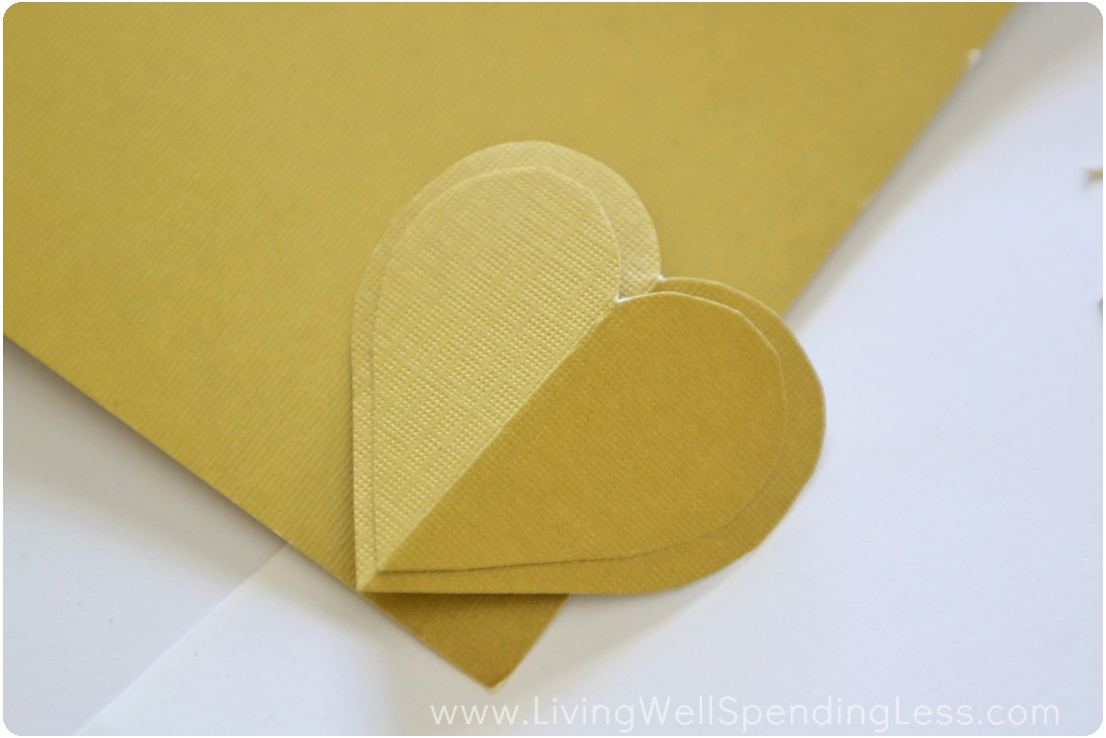
Step 3: Cut out a 2nd heart template slightly larger than the first.

Step 4: Trace template around scrapbook paper and cut out the same number of hearts as map hearts.

Step 5: Glue map hearts to scrapbook hearts.

Step 6: Glue finished hearts to card stock. I wanted a little more dimension so I used some self-adhesive foam mounting dots to glue the hearts to the card stock, but you could also just use glue or glue dots.
Step 7: Secure artwork to mat and place finished artwork in frame.
* * *
How do you celebrate your anniversary?
Pin It
The post DIY Heart Map Art appeared first on Living Well Spending Less™.


