
DIY Board of Corks
If you loved Eliza Muldoon‘s guest post yesterday, sharing her thoughts on the importance of taking a little time out to work on something creative, you’re going to love this quick-make corkboard project!
This project is just one of the 52 fun and easy makes from Eliza’s new book Lazing on a Sunday Crafternoon – here’s where she got her inspirations and ideas for this quirky and cute make!
“I can’t explain how excited I was when I saw a bucketload of wine corks for sale at my much-loved re-use centre. When I was a kid, I saw a board made of corks in a magazine and I wondered how anyone would ever collect enough corks to make one (my mum was a non-drinker and my dad was more of a beer or rum man). I actually started asking people to save them for me but I never managed to get enough. So, when I saw the glorious bucketful, I knew exactly what I would use them for. I went straight upstairs to the timber offcut section and chose a bit of wood that wouldn’t need any cutting, 26cm x 30cm x 8mm. Then I floated home. If you don’t collect or stumble across a pile of wine corks, you might find them online (I have since bought them on eBay too). Choosing timber that matches the length and width of the corks saves time and effort; if you can’t find a suitable offcut, you can get a board cut to size at hardware stores (or look through their offcuts). They can also advise you on the best glues—you need one that’s quite thick so you can apply a layer to work the cork into.” So, why not make your own DIY Board of Corks to stash your own memo?
Grab your supplies…
About 100 wine corks
Piece of plywood 8-mm thick
Newspaper—it’s messy!
All-purpose glue
Picture-hanging strips—the removable, double-sided adhesive kind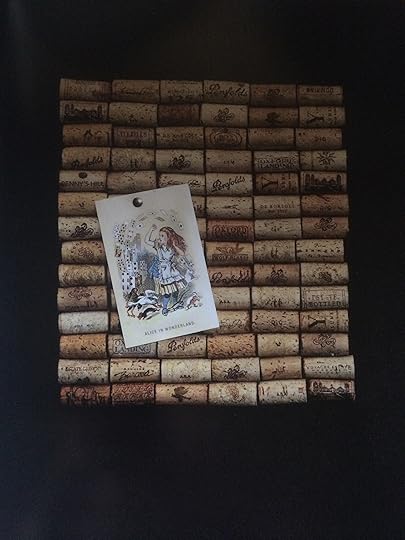
Get busy…
Work out how many corks you need by lining them up across the top and then down the side. Make sure they covered the edges so you can’t see the backing board once the corks are glued on. This board uses six corks across and fourteen down, so 84 corks were needed in total.
Spread out newspaper and put the board on top. Put a line of glue across the board, enough to squish the corks into. Next very carefully glue the cork onto the board, arranging them one at a time so you can see the images. Ensuring the ends of corks along the edges of the board are even so consider the size and designs on the corks as you secure them. Continue until all the baord is covered and allow the glue to dry fully before hanging and using your new memo board!
♥ – ♥ – ♥
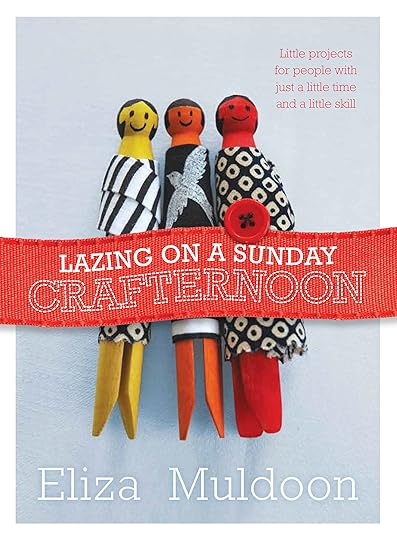
This project is taken from Lazing on a Sunday Crafternoon by Eliza Muldoon, £12.99, Murdoch Books, it’s packed 52 fun project ideas that are great for getting in some all important creative time into our busy schedule – many of these ideas are perfect for getting the Littles involved with too!
Readers of Made Peachy can get a copy of Lazing on a Sunday Crafternoon by Eliza Muldoon for the special price of £10 (RRP £12.99) including free UK P&P. To get your discounted copy, call MDL on 01256 302699 and quote GLR 9ZJ – be quick this offer runs through to the 3 April!
The post DIY Board of Corks appeared first on Made Peachy.


