
Caturday Art: the Layers and Tips Edition
When my human makes a graphic with me, she uses something (some things, actually) called Layers. Of course, Photoshop has the ability to create and edit layers, but some of the other, less intimidating programs like Pixlr do too. I think there are even elementary layers in Photoshop Elements and the Royale version of Picmonkey. I know many of you are kind of scared when you hear the word Layers, so I want to explain a little bit about them because they are actually fun and you don’t have to be real smart or artistic to make use of them!
My human used several layers — not really that many to make my Valentine’s Day graphic:
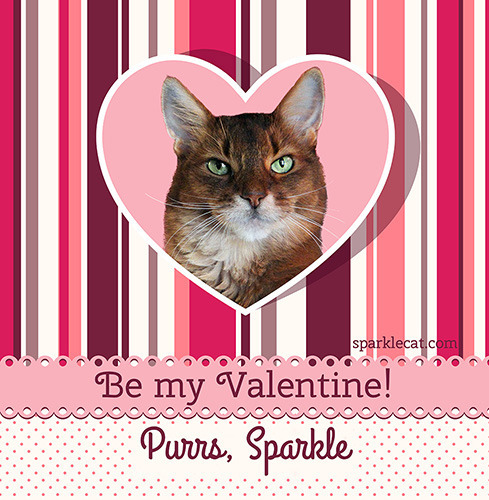
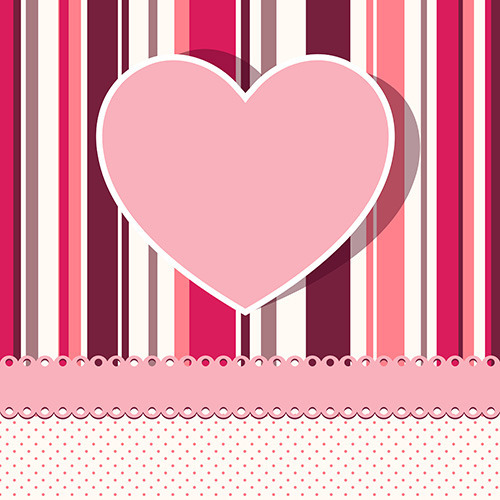
Here is the graphic she began with:
Now, here is what a layer is: imagine a piece of paper that is covered with a bunch of patterns. Then lay another piece of paper on top of it that is blank except for an image in the middle of it — and the blank part of the paper is transparent. You can move the image around on top of the paper with the patterns and you will see both the patterns and the image. Now, take another transparent piece of paper with some text on it and put that on top of the other two pieces of paper. You can move all these pieces of paper, independent of one another until you have a composition you like. That is the basic part of what layers do. Layers can do a lot more than that, but with just this little bit of knowledge you can do lots of things already!
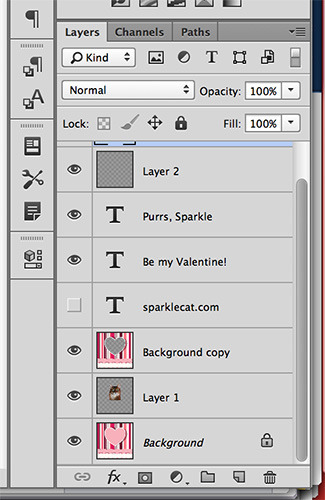
In Photoshop, you’ll usually find the Layers panel on the right hand side of the computer screen. You can actually put it anywhere you want, but that is its default placement. Here are the layers from my Valentine’s Day image:
It took three layers to get me inside of the heart shape in the middle. I think this close up gives you a clue as to how it was done.
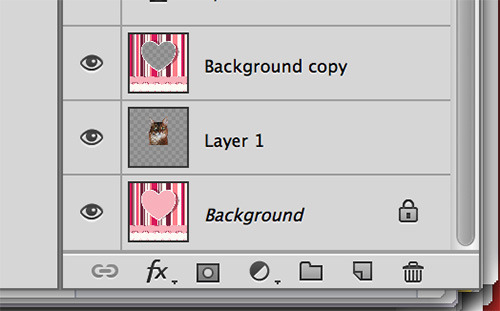
My human made a duplicate layer of the heart graphic and cut out the pink of the heart in the center. There are a lot of ways to that. Photoshop makes it really easy with a tool called “Magic Eraser” — you just click on that tool, place it on a color you want to get rid of (make transparent) and click… and it’s gone! It works best when the color is solid, with no shading or gradients. So it was perfect to use here. Then she put an image of me she had cropped in between the two layers and moved it around until she liked the way I was positioned. Then she added the text on different layers and that was it!
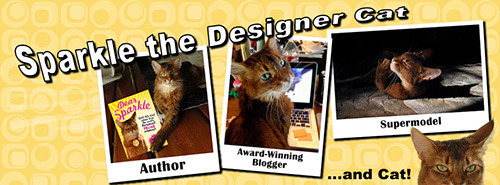
Another great thing about layers is you can hide them! My Facebook page header has a couple of different backgrounds that I can have my human turn on or off, depending on the holiday. Here is the regular background turned on:
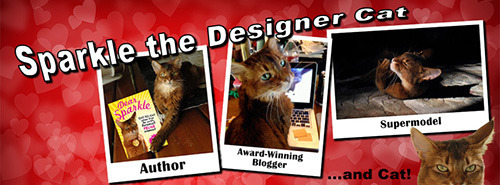
For Valentine’s Day, she turned off the regular background and turned on a bokah heart background that was already there and instantly made a Valentine’s Day header! You can do this with text, images or any other thing that is on a layer.
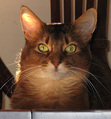
Maybe you are wondering about the cropped image of me. I have to warn you, the next part is a little advanced! But if you know something about cropping, and it makes you crazy sometimes, this might be good to know.
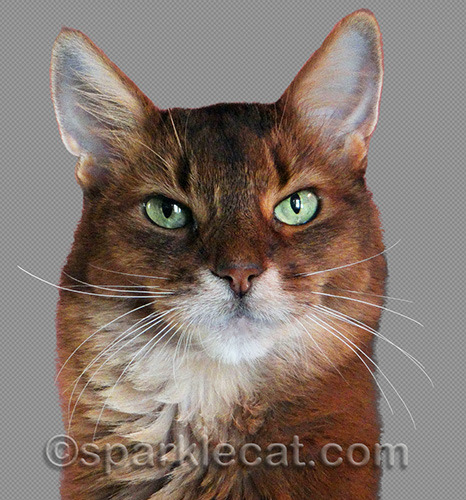
If you do cropping, I bet you go nuts trying to crop around cat fur! So does my human. She hates it. So do a lot of other humans, which is why you see the same cropped kitty images used on lots of different graphics! Well, it had been a while since my human had done a new one of me, so she cursed a little and went ahead and did it. She found a photo of me with a mostly solid background (which, if you read my blog regularly, you know is kind of hard to find!). She cropped around my head and body as best she could and when she couldn’t do any more without wanting to stab herself, she pulled out the secret weapon she learned from somewhere that she can’t remember.
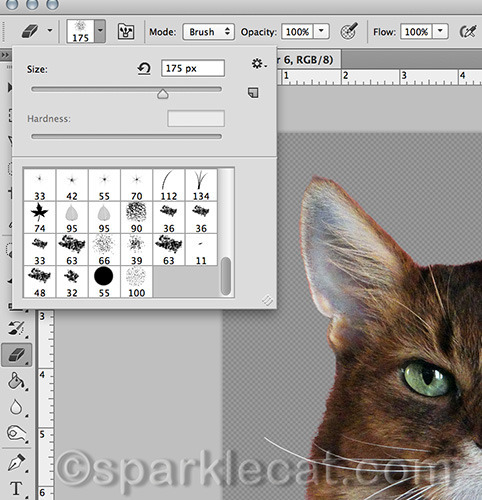
She clicks on the Eraser tool (the regular, not the Magic one), and then picks one of the scattery looking brush styles, the rougher looking, the better! She then adjusts the size of the Eraser brush to best work with whatever size image she is working with and then, very carefully, just pokes the edge of it along the edge of the cropped out image. It creates a fur-like effect. She does this all around my fur and then she is done! Well, except for the whiskers. They are “drawn” in using Paths. That is another Photoshop trick that is a little bit advanced. But if you know about Paths and have used them, you will appreciate this video my human found that teaches you how to do it! The video quality is terrible but if you are the slighest bit familiar with Paths and you want to extend whiskers beyond where you cropped a kitty, it is worth dealing with it.
And all that leads me to my human’s biggest photo editing tip: if there is some sort of effect or something else she wants to do, she Googles it or does a search on YouTube! Then if the tutorial or video is good, she bookmarks it. That is how she has learned to do a bunch of stuff, and not just photo editing.
For more Caturday Art, visit Athena!
* * *
Having problems with your human or the other cats in your house? As the internet’s “Dear Abby With Claws,” I have answers to many annoying problems in my two award-winning books! Visit my author’s page on Amazon to buy one or both of my awesome Dear Sparkle books!


Sparkle the Designer Cat's Blog
- Sparkle the Designer Cat's profile
- 1 follower

