In Media Res
No, I haven’t disappeared. I’m just not done with anything.
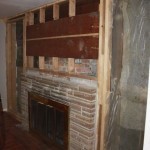
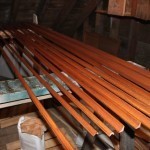
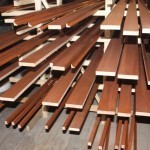
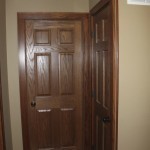
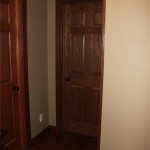
I wanted to post pictures of the home improvement projects I started last year … but I still haven’t finished! I still have rough cut oak to rip into trim, trimwork to stain and install, bookcase doors to stain, three doors to install upstairs (and of course, trim), windows to take out, brickwork to fix (see my previous post on replacing a rotted window ledge), and the list goes on. So…
I give up. I admit defeat. I will never be done. I will always be in between one thing and another, and the best I can do is show you what I’ve done so far.
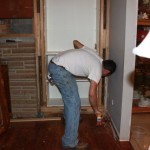
Front Door
First, I replaced the front door.
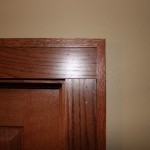
 Original front door
 New front door
Bedroom to Office
The only room in the house that still has the original hardwood is the smallest bedroom. I hand sanded and refinished the floors in this room, retrimming it with a basic ranch style white trim.
 Office view #1
 Office view #2
Since these pictures were taken, the lamp has been replaced with a new light, the curtains have been replaced with new, more stylish curtains, both doors have been replaced, and I moved the bookshelves from the living room into the office to use despite their unfinished sides (more on this later).
I will not show you what the office looks like right now because it’s embarrassing. Everything I touch explodes. I’m not kidding, though I am speaking figuratively.
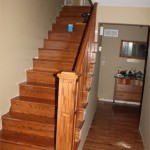
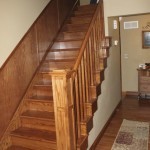
Living Room and Front Hall
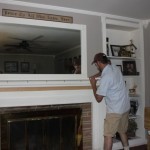
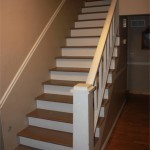
The following gallery captures the evolution of the living room and the hallway to where it is right now. We re-floored it with three inch oak. I chose an Arts and Crafts style trim to emphasize the unpretentious, utilitarian nature of our house, which is a modest family home. It is not pretentious, and could never be remodeled to be pretentious. I think the abundance of oak adds a warm, earthy sense of home and welcome to the house.


Wine Rack
My family — my parents and sisters — have begun making wine. I took out some shelves from our basement root cellar and built some racks to hold the finished products. I completed enough storage for 35 bottles; I haven’t gotten back to working on the racking to extend to the floor, but that should give us another 20 bottles. I realize that staggering the bottles would have increased the number of bottles I could have stored, but after trying to work through the math for a week, I stuck with symmetrical storage rather than staggered. I just could not wrap my brain around the measurements since the front pieces needed to be cut with one radius and the back boards needed a different radius.
 These wine racks were installed in place of shelves
Other Improvements
I actually did hire some work to be done. Our roof was damaged in a hailstorm from May, 2012, and so paid a local contractor to replace the room. I did not lift a single tool for any of the work. If it had been me, we would still have tarps on the roof.
I also paid a tree service to remove the giant pine tree from the front yard. It was too close to the electrical line for me to tackle on my own.
And, we installed a circuit breaker box. No more fuses except in the garage.
In addition, I resealed the driveway. For most people, this would be a one day project, but for me, it was two weeks of dealing with intermittent rain. Once I finished the rain stopped.
Conclusion
Now hopefully I’ve caught you up on what I’ve been busy with, and why I haven’t done a better job posting. There’s still so much to do that I really shouldn’t be sitting here writing… but at least you know that it’s not a lack of work that’s kept me from writing — it’s too much!