
How to Install a Favicon on a Blogger blog
Today is a short tutorial on putting a Favicon on a Blogger Blog. For those of you who have a WordPress Blog, click HERE to see a tutorial on how to do the Favicon on WordPress!
Why do we go to this trouble?
Simple.
Branding.
It’s a simple way of adding more personalization and branding to your blog. It places an identifiable graphic on the tab holding your blog on everyone’s browser. You can reinforce your brand in multiple subtle ways. This is just one example.
Installing a Favicon on a Blogger blog is actually quite an easy job. It seems to be one of the things that Google has made quite straight forward!
The first thing that you are going to do is to create your graphic.
 I’m not very good with graphics, so I tend to create simple icons. Keep in mind that this graphic will be really small and not much detail will be visible. Because of this, I have created a graphic that is simply a set of initials on a colored background. This graphic should be square and small. Mine is 50pxX50px and saved as either a .jpg or .png and it needs to be less than 100 kb
Next, you need to open your dashboard for your Blogger blog and click on the “design” tab. This will bring up a screen like below.

Towards the upper left of the print screen above you can see the word Favicon and the word Edit beside it. See screen shot below.
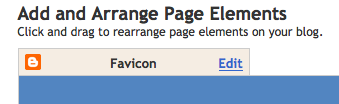
Click on the word Edit and you will see the following screen.
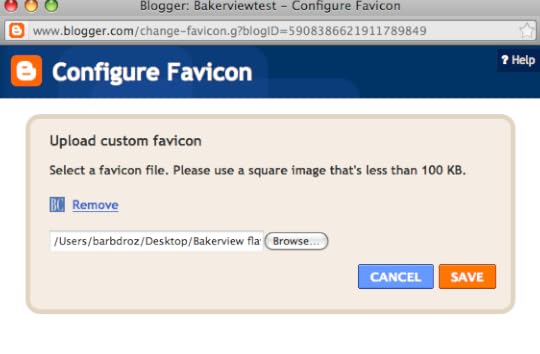 Click on the browse button and choose the graphic file that you have saved on your hard drive. Click on Save. This will put your little graphic in place. Your screen should show the Favicon in place as below.

Let’s look at a before and after so that you can see the difference.
Before:
After:

Now it’s time for you to do this on your blog! Easy! Drop me a note if you have questions or if you are interested in getting a little more help!
Author information
 adminSocial Media and Wordpress Consultant Barb Drozdowich has taught at Colleges, trained technical personnel in the banking industry and, most recently, used her expertise to help hundreds of authors develop the social media platform needed to succeed in today’s fast evolving publishing world. She owns Bakerview Consulting and manages the popular blog, Sugarbeat’s Books. Her first book is now available on Amazon - The Author's Guide to Working with Book BloggersTwitterFacebookGoogle+


