
Photoshop Friday - rotating with ruler tool
This is a two-part tip on using a tool in conjunction with a command. It's not obvious unless you know about it.
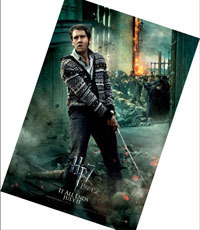
I use the ruler tool a lot. It's probably a holdover from when "straighten" commands weren't automated years ago. I was studying movie posters recently and I notice that a hyperskewed background was being used in many of them. What a great way to create a sense of unease and urgency in a composition! Plus, it's also a great way to demonstrate this use of the ruler tool.
Let's pretend this skewed background isn't intentional...and maybe we were falling down drunk when we took this photo and just want it to look "normal." (Hi, Neville! My, how you've grown. Sorry I'm so wasted when I'm taking your photo in front of the burning rubble.)

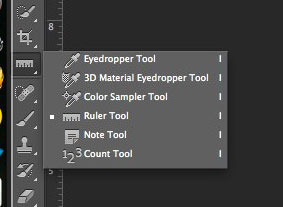
We could grab a corner and start rotating, but it's really hard to tell when the photo's straight when you're all up in there. That's where the ruler tool comes in. The ruler is located beneath the eyedropper (click and hold on the eyedropper to reveal it.)
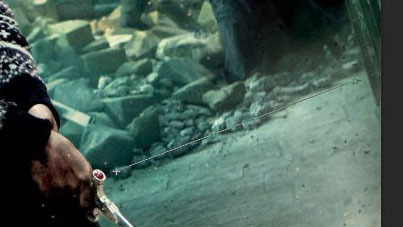
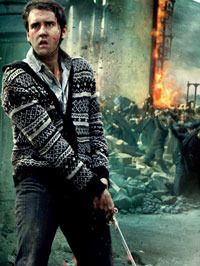
I click on the point where you see the croshairs by the sword's pommel, and I drag a line that matches the tilt of the horizon, best that I can tell. (Easier to do when you have a straight element there rather than rubble.)
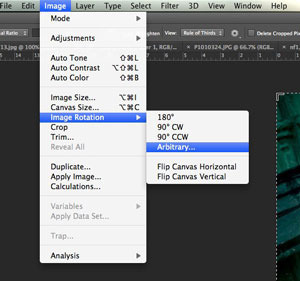
Release. Then, under the image menu, select Image Rotation>Arbitrary...
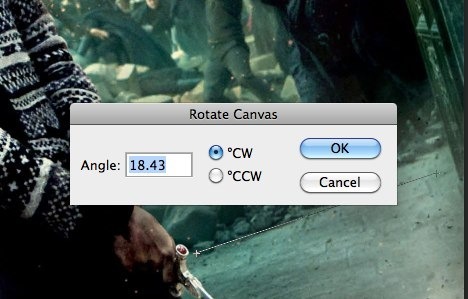
Here's the secret part you may not have known. The dialog box pops up with the angle of your ruler already filled in.
I hit "OK" and rotate the image. Heck, nothing looks straight to me here. The edges of the image are fooling my eyes.
But then when I crop out the edges...I can see the image is now straight.
I use the ruler tool a lot. It's probably a holdover from when "straighten" commands weren't automated years ago. I was studying movie posters recently and I notice that a hyperskewed background was being used in many of them. What a great way to create a sense of unease and urgency in a composition! Plus, it's also a great way to demonstrate this use of the ruler tool.
Let's pretend this skewed background isn't intentional...and maybe we were falling down drunk when we took this photo and just want it to look "normal." (Hi, Neville! My, how you've grown. Sorry I'm so wasted when I'm taking your photo in front of the burning rubble.)
We could grab a corner and start rotating, but it's really hard to tell when the photo's straight when you're all up in there. That's where the ruler tool comes in. The ruler is located beneath the eyedropper (click and hold on the eyedropper to reveal it.)
I click on the point where you see the croshairs by the sword's pommel, and I drag a line that matches the tilt of the horizon, best that I can tell. (Easier to do when you have a straight element there rather than rubble.)
Release. Then, under the image menu, select Image Rotation>Arbitrary...
Here's the secret part you may not have known. The dialog box pops up with the angle of your ruler already filled in.
I hit "OK" and rotate the image. Heck, nothing looks straight to me here. The edges of the image are fooling my eyes.
But then when I crop out the edges...I can see the image is now straight.


No comments have been added yet.


