Replacing a Rotted Window Sill and Broken Concrete Ledge in a Brick Facade House (Whew!)
This post chronicles how I’m going about solving some interconnected problems on my house. Here is the gist:
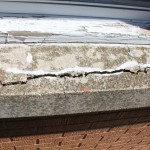
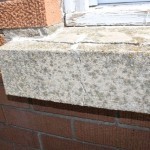
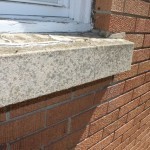
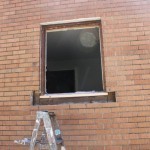
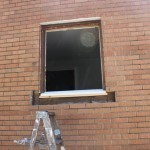
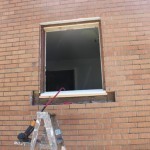
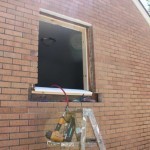
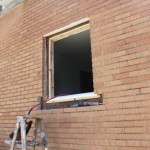
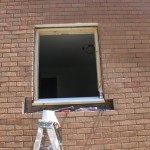
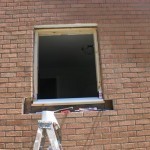
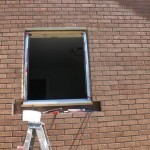
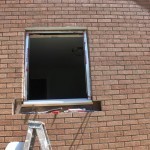
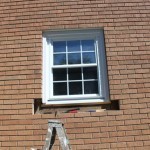
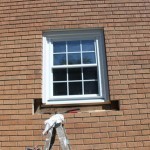
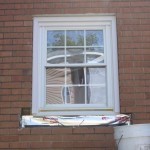
The poured concrete window ledges on my 1958 brick facade home have all deteriorated and begun to split and fall off, causing an eyesore as well occasional water infiltration.
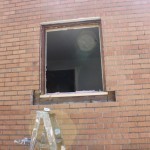
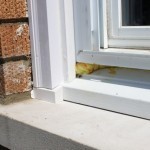
The wood window sills from the original construction windows have rotted and need to be replaced, possibly adding to the water infiltration noted above.
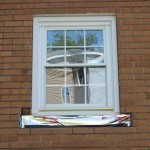
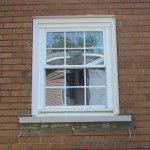
Replacement windows were installed before we purchased the house, and although they were probably a really cheap window, they are still in good enough shape to keep and reuse, especially given the number of windows I would need to replace.
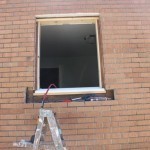
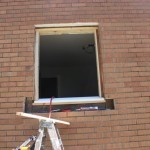
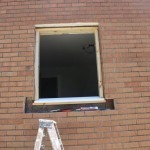
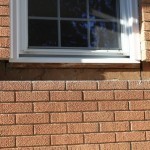
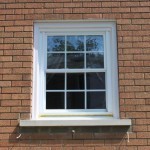
New window ledges available from the local brick supplier are only half the height of the original concrete ledges, which means that I need an additional course of bricks to fill in the space. Unfortunately, the bricks used to build my house are (predictably) unavailable in any quantity.
I actually have a total of ten windows like this to deal with. I began with the two in our extra bedroom, which we are renovating into an office. I completed the first window using trial and error, then documented the steps I followed in the second window so I could repeat the steps next summer. (Don’t tell my wife I just wrote “next summer.” She is still under the hifalutin impression that her “amazing” husband will have three more windows done by winter.)
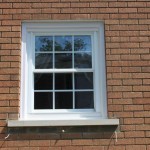
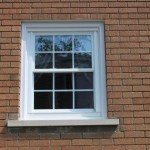
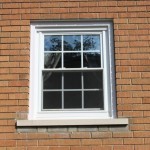
This project is unlike anything I have been able to find online. There are lots of resources to replace windows or replace rotted sills, but no step-by-step instructions that will handle all of the problems I’m dealing with. The result is my own solution, a solution I came up with, and a solution that I think works. The choice of a contrasting brick to fill the extra space was an experiment, and while I would prefer to keep the original brick, I think that after all of the window ledges are complete the overall look will be pretty good. Keep in mind as you look at these images that I’m not a mason or a carpenter; I’m just a do-it-yourself homeowner. I don’t pretend to endorse my methods as being advisable in your particular situation, so please consult a professional or, even better, simply take personal responsibility for making the choice to try to replicate something I did when I’m telling you point blank I’m not sure this is right.
Here is a link to the images in a video format:
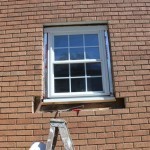
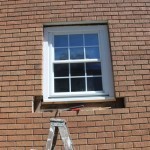
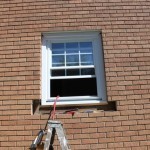
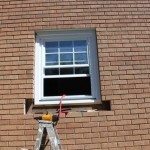
The images themselves can be previewed in the following gallery: