
Turning a Bat into a Cat: Ru's Super Secret Project Revealed!
First, I feel I should give props to this tutorial on how to modify My Little Pony dolls, which I used as a guide for this whole thing. I started with a Pop! Heroes Batman vinyl figurine from Barnes & Noble’s.
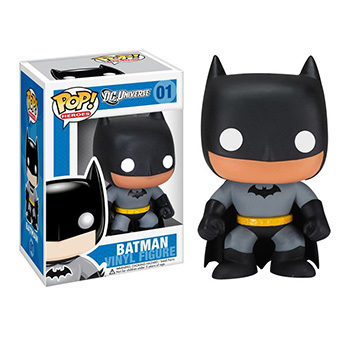
Cute, right? I certainly thought so.
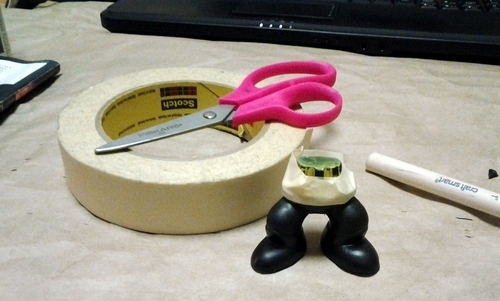
My first step was to put down some paper to protect my kitchen table workspace, with a plastic bag underneath the area I’d be removing paint.
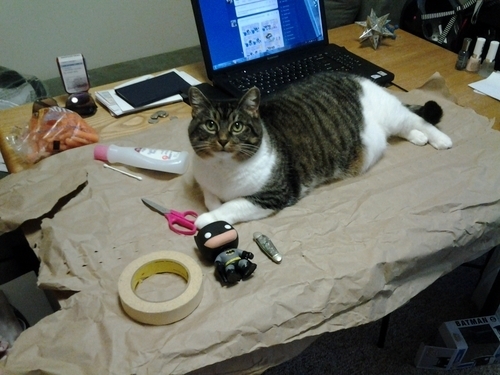
My cat, who loves both of these things, decided she would help.
The patient. No, cat, you cannot help with this operation, you have no thumbs.
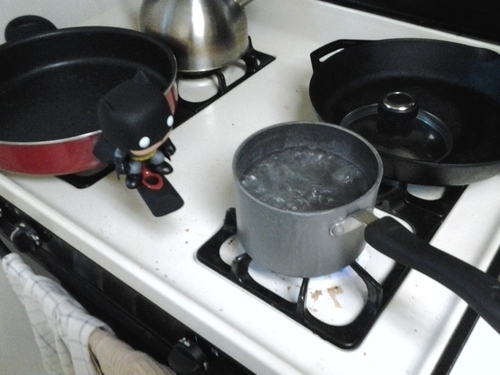
My first step, I decided, was to get his head off so I could safely paint his little cape as a separate piece. After some prying and vain stabbing at the glue that held it on, I actually checked the tutorial. Their recommendation? Very hot water.

(best Joker impression) That’s right. We’re going to boil the Bat.
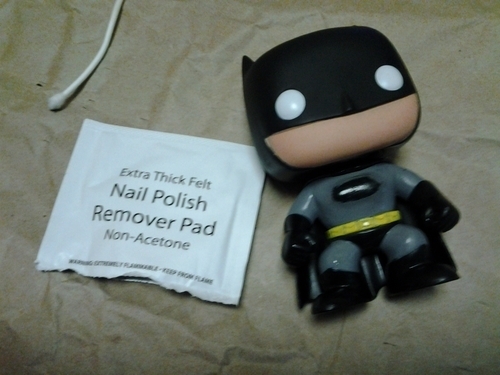
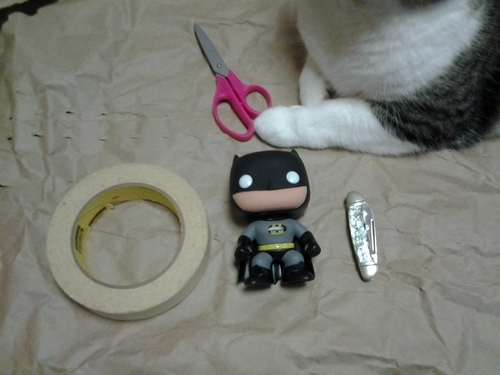
While I waited for the water to boil, I took the opportunity to rub off his symbol. This was the only thing that came off easily with non-acetone nail polish remover.
Bats isn’t sure he likes this idea.

In you go, m’boy!
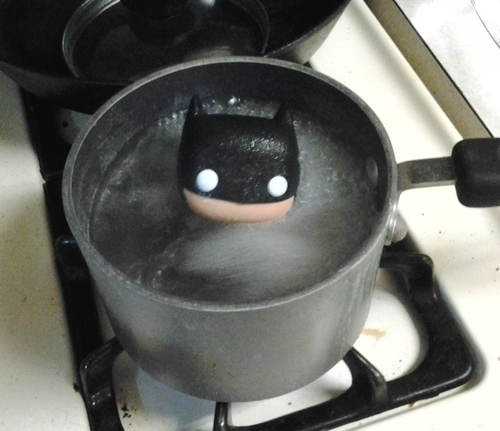
Turns out it’s a little like hanging out in a hot tub. I dropped him in when it was a rolling boil, and fished him out with tongs one minute later.
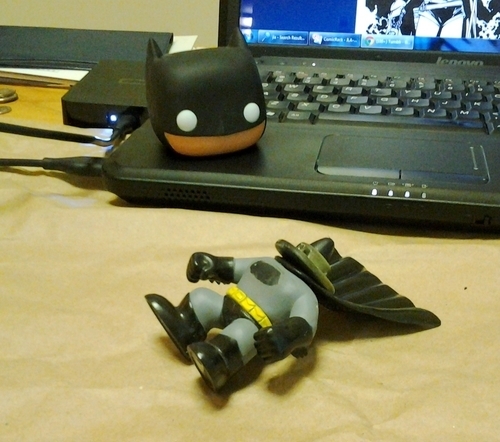
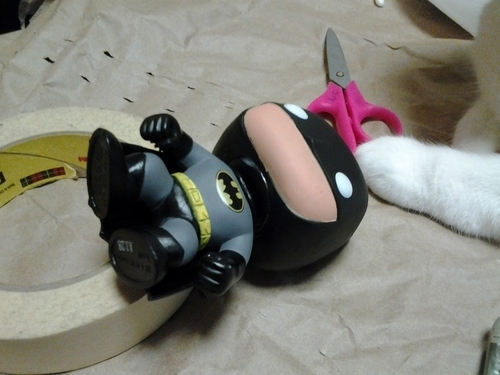
His head came off remarkably easily, although it made for something of a gruesome scene. His cape also became floppy, then stayed that way when it cooled off (about a minute later). I tossed him in the water for another minute to fix it, and also pry off his legs.
I didn’t take pictures of the next part, because it was a severe pain in the ass. I used every nail polish pad in the house before finally bringing him to work and using some pure acetone to get all of the grey paint off. I used masking tape to cover the parts that I didn’t want to have to paint again.
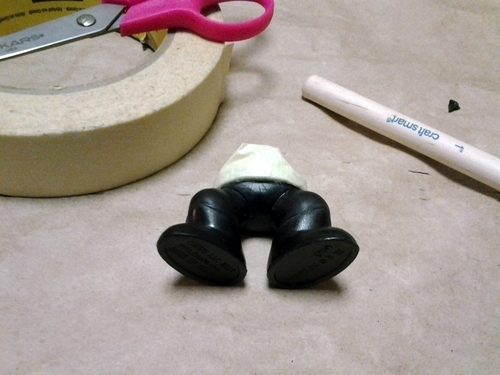
I was careful to cover the bottom of his utility belt, which would stay black, so I could be as messy as I wanted. I also covered the bottom part of his face and his eyes to save myself from buying white or skin-tone paint.

Then the painting began. Because the doll was so dark, and I didn’t realize how opaque acrylic paint can be, I decided to use the lightest color (yellow) as a base coat even for the brown parts; to be honest, I don’t think it was necessary. Being patient to paint very thin layers and only over parts that are absolutely dry will eventually cover anything, and will give you a pretty smooth, polished look.
At this point, I stopped taking pictures because my hands were a mess and I use my tablet for this sort of thing. I returned the two colors (including that bottle in the picture that’s actually for glass and ceramics) I didn’t need and bought a clear sealant, skipping the Modge Podge step the tutorial suggested.

I went with the “satin” rather than “high gloss” finish, but wish I’d used a matte one to better approximate the original texture. Two coats and he was done!
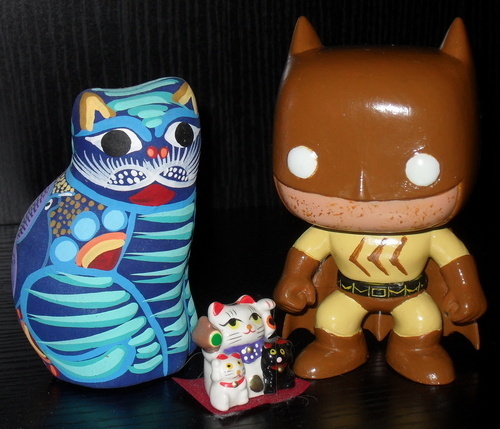
Catman hangs out with his peeps.
Paints, brushes and sealants altogether cost me about $9 at Michael’s, which is about what it cost to buy the figurine, and it was really a nice low-key project. I had a lot of fun making him, and encourage you to try it for yourself!
I cannot even tell you how much I love this. It’s going right on my desk where I can see it all the time. Thank you so, so much. He even has the stubble!
And you were a fantastic cosplay, really brightened an already wonderful day!


Gail Simone's Blog

- Gail Simone's profile
- 1223 followers

