
Color Storyteller Kit | Special Guest Jen Wong
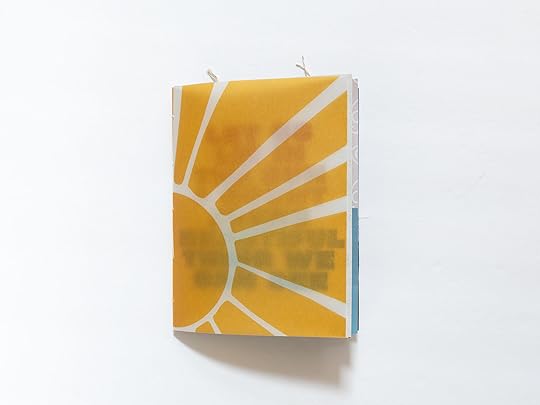
Hi, friends! I’m happy to be here in the classroom sharing another project I made using the Colors Storyteller Kit. I don’t typically scrap 12” x 12” layouts but I wanted a way to use more of these papers in a project so I decided to use several of them to make a 6” x 8” mini album. Summer is my favorite season and for the last couple of years, I’ve been highlighting summer stories in some kind of mini book. I loved that I got to use these colorful papers to make this year’s album!
To make my mini album, I used the following 12 x 12 papers from the kit:
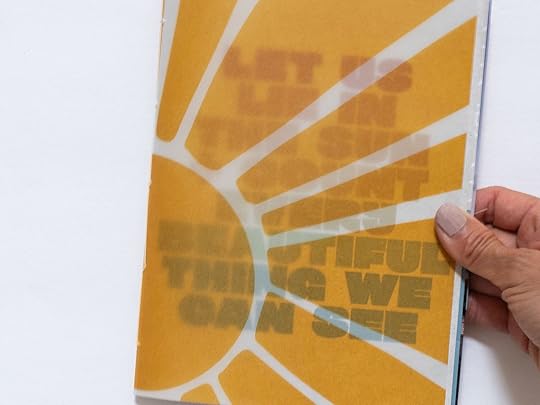
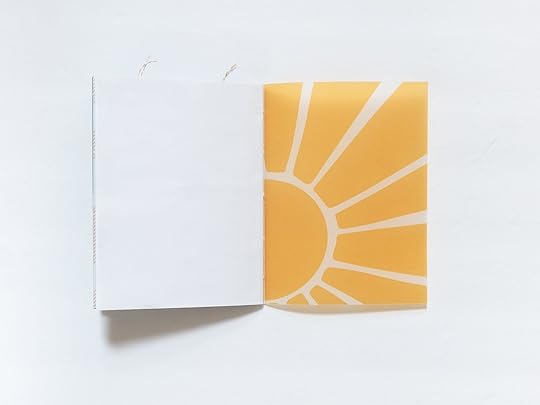
Sun vellum paper
Love Life 4x6 card paper
Live In Color 4x6 card paper
Sunshine/White Circle pattern paper
Blue floral pattern paper
Love Life 3x4 card paper
I also used 2 pieces of legal copy paper (8.5” x 14”) which will be used to hold smaller patterned papers or full-size photos. I’m trying to make it easy for myself to fill in the pages, either by directly writing or adding photos to the finished pages.
The papers were cut to the following sizes and arranged in this order:
Sun vellum paper (cut to 8” x 12”)
Legal copy paper (cut to 8” x 12”)
Love Life 4x6 card paper (cut to 8” x 12”)
Sunshine/White Circle pattern paper (cut to ~8” diameter circle)
Live In Color 4x6 card paper (cut to 8” x 12”)
Blue floral pattern paper (cut to 8” x 12”)
Legal copy paper (cut to 8” x 12”)
Love Life 3x4 card paper (cut to 4” x 12”)
I scored each of the papers down the middle, and then using an awl and thread, I sewed the pages together with a saddle stitch. This binds the book together.

You can watch all of the exact steps to make the mini book in the video below.
At the end of the video, you’ll see I added a digital version of one of the 7” x 8.25” papers to the front so it peeks through the vellum.
I couldn’t just leave the new mini album empty! Of course I had to include at least one summer story!
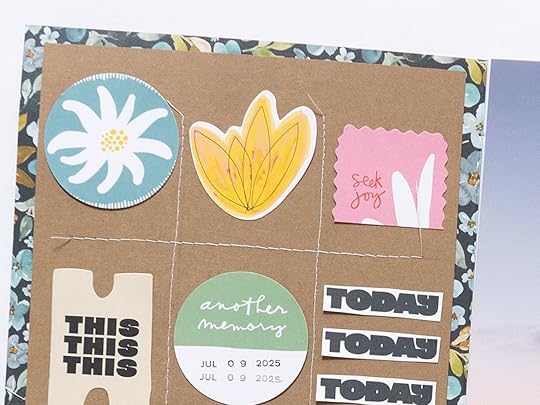
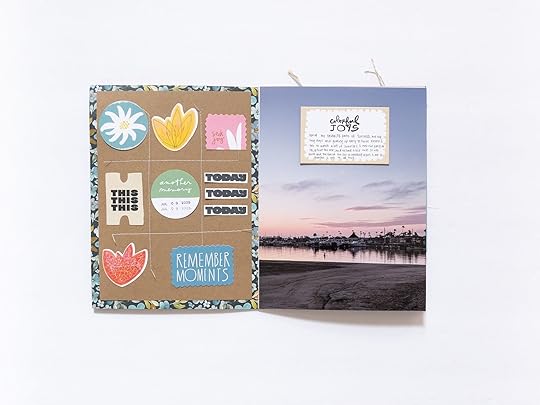
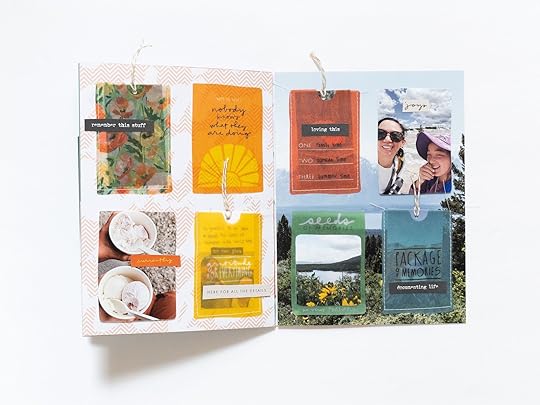
I made a set of pages to go into the first page with the blue floral pattern. I just loved all of the colorful die cuts in the kit and used several of these to make a grid on the left side, with some kraft cardstock as the base. I used cardstock because I knew I wanted to sew on the pages, and I didn’t want the stitching to show on the other side. On the right, I paired it with a simple full-page photo and a chipboard piece.
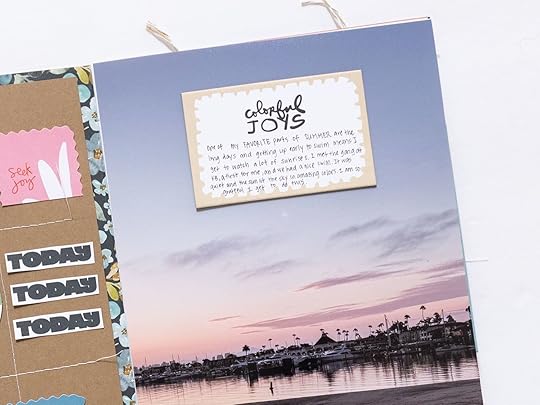
Here’s a look at how this page came together.
If you watch the video, you’ll see I added the first project I made with the Colors Storyteller Kit to the mini book as well!
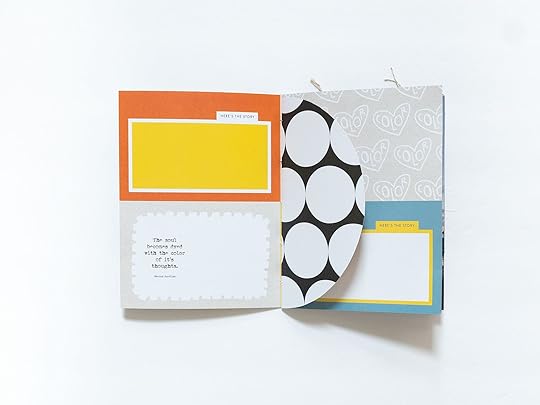
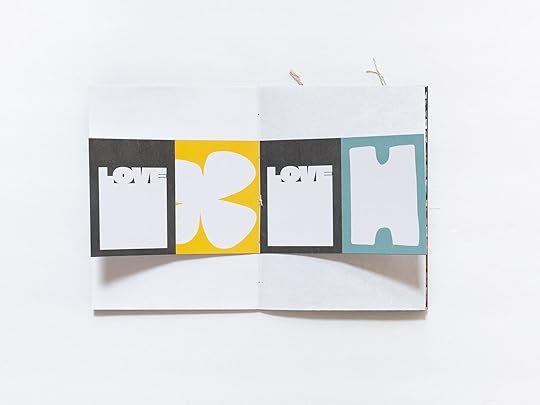
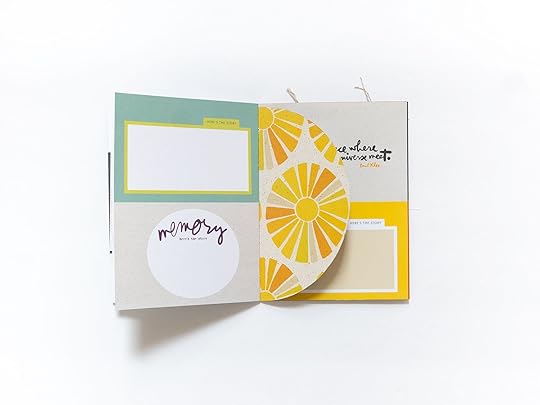
Here’s what all of the pages in order of the finished album look like so far.

I forgot to take a photo of the page between these two, but it has a blank page on the left, and the poppies pattern paper on the right.

I love how this little booklet turned out and can’t wait to fill it up with more stories from this summer! Please let me know if you have any questions and I can’t wait to see what you make. Feel free to tag me (IG: @circleplusarrow) and share your projects!


