It's Tool Time!

While I love my current desk, it has one drawback. It's very narrow. I also have a very hard time keeping it clear, so when I saw a little stand in an ad, I was intrigued. And when it went on sale, I bought it.
Of course, some assembly was required.
The instructions said you needed two people to put the stand together, but I did it on my own without much difficulty. It just took a little bit of work to balance the pieces without someone holding them for me. Not a big deal.
My dad always checked the pieces before he began putting things together, but I didn't feel like it, so I decided to wing it. I actually had one extra of each screw and fastener, so it was okay. No half-finished projects sitting on my office floor.
Well, assembly projects. I do have some half-finished knitting projects sitting on the floor. :-)
Luckily, the instructions were clear and all the parts were labeled. This helped it be an easy task.

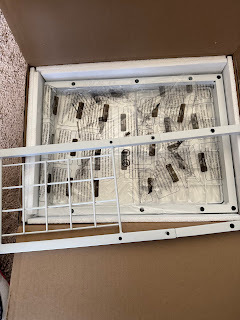
As you can see in the picture above, the stand came flat-packed in a small box.

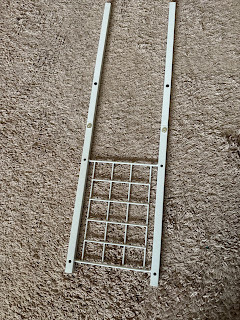
This picture shows the first two pieces attached to each other. We're underway!

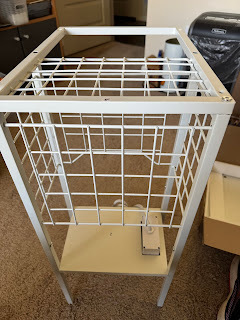
This picture shows the stand upside down as I attach the bottom piece. I just need to put the screws in and tighten them.

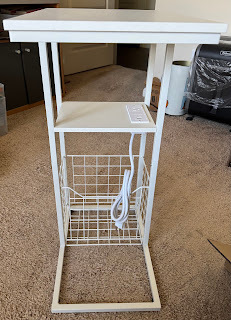
This picture is the finished stand with the top freshly attached. Done! I thought I would use the stand to get the laptop off my desk, but the cord between my docking station and the laptop isn't long enough. I could buy another cord, but I moved my writer's planner to the stand instead. This is actually working really well because I have it close enough that I can lean over and read my writing to do list whenever I need to.
Before I moved the planner, I was worried having a separate one for writing was going to be another fail. I wasn't looking at it. Once I moved it to the stand, where it's close at hand, I began to use it every day. This planner is still an experiment, but after the shift in location, it seems to be working.


