
December Daily® 2024 | Special Guest Pam Baldwin
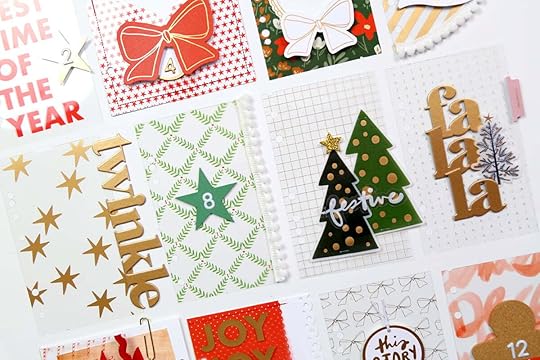
Hi friends! I’m excited to be back with you this week, sharing more foundation page ideas for the 4x6 album. This week the 3x8 journaling card and transparency pack is my jumping off point. I kid you not, the hardest thing about documenting this December is going to be deciding which pages to use, because I’ve got enough foundation pages from the 3x8 set for a whole second album/year of stories, it’s that good! Why don’t we start with a little album flip through and then we’ll break it down into the specifics of how I made these (very simple!) pages.
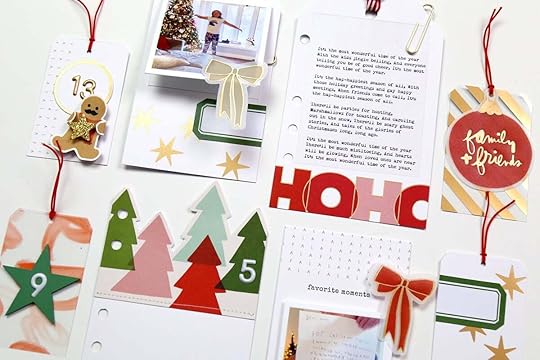
The pages I made with this collection fit into 3 categories: transparencies, pockets and tags/journaling spots. Although my pages are designed to fit the 4x6 album, this set and these ideas will definitely translate easily into a 6x8 or 10x8 format.
3x8 Transparencies
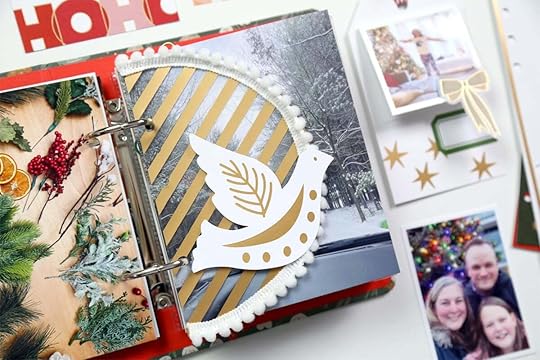
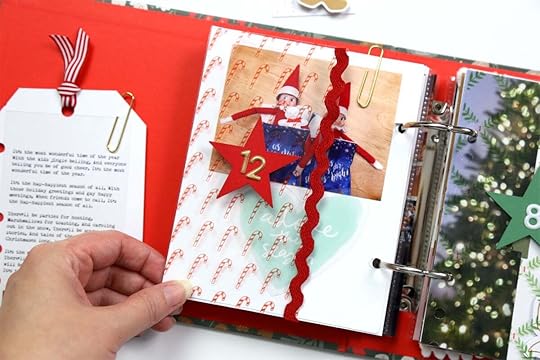
I LOVE including transparencies in my projects! There’s something about being able to sneak a peek at the layers beyond that makes me so happy. For this project, I was used the transparencies as dividers, pockets and see through elements.
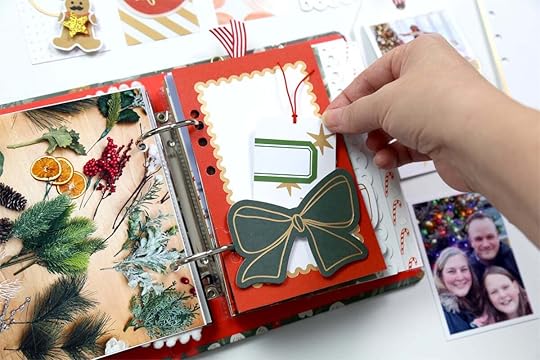
Dividers: Start by trimming the pages down to fit the 4x6 album and have fun embellishing! Consider adding ribbon and trim to the edges for extra texture and a playful touch, or try cutting your divider into a different shape (eg. half circle)
Pockets: Custom pockets are my favourite way to add extra journaling, photos and ephemera to my projects. Consider playing with both traditional horizontally oriented pockets and non-traditional side pockets to maximize the space you have to work with.
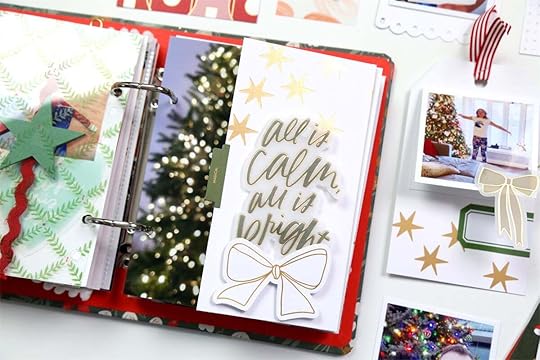
“See through” elements: Two fun options to play with the “see through” features of the transparencies. 1) Cut out a window. Remember, this window can by any shape you want it to be! This would be a great use of the Christmas tree die from the 2024 collection. Also consider shaped punches, or play with a custom shape. 2) Create a “see through flap” on an enlarged photo or patterned paper. Trim the transparency to 6.25” in height (this is the “outside the page protector” size of the pages). Score the transparency vertically on the side of the holes app ¼-1/2” from the edge. Fold and adhere this edge behind an enlarged photo / cardstock / patterned paper to create a flap.
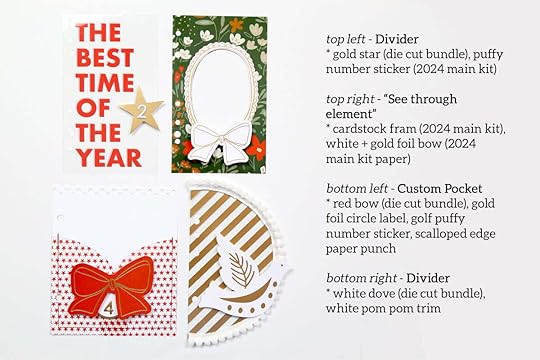
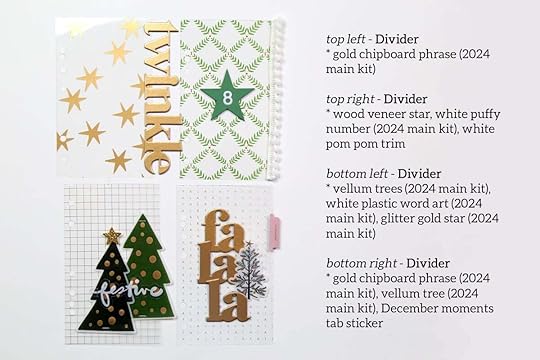
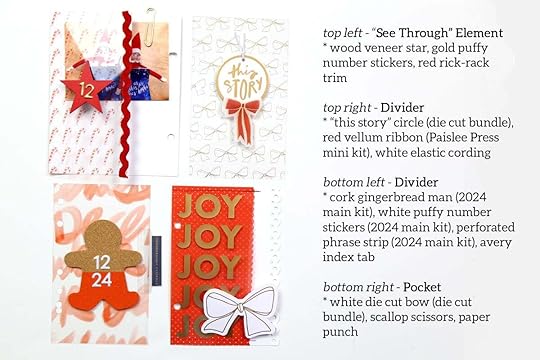
Here’s a break down of the supplies I used for each of these transparency pages.
My approach to using the journaling cards was pretty much the same as what I did with the transparencies, but because there are repeated designs in the journaling card collection, I approached these next few pages with ideas for each design style. These journaling cards come with pre-punched holes, but that doesn’t mean you need to use them. You can definitely cut them off and have fun creating new shapes (eg. My love for tags!) that can be used on either the right or left side of a spread.
Scalloped borders: These lovely cards can be trimmed down to fit the 4x6 format while maintaining the design AND be turned into a pocket, all at the same time!
They also make a lovely home for extra photos, ephemera, embellishments and/or journaling as an interactive “flip out” from a full page photo or patterned paper.

Gold foil stars: I adore this pattern! It was very tempting to use them all up right now, but I managed some restraint and have 1 left still to allow for some flexibility in December. I used the other two as an interactive “flip out”, a folio style pocket, and tags in 2 different sizes. A bonus feature of this design is that it’s reversible; with pre-punched holes, this design can be flipped upside down and still make sense when you put it on the left side of your spread.

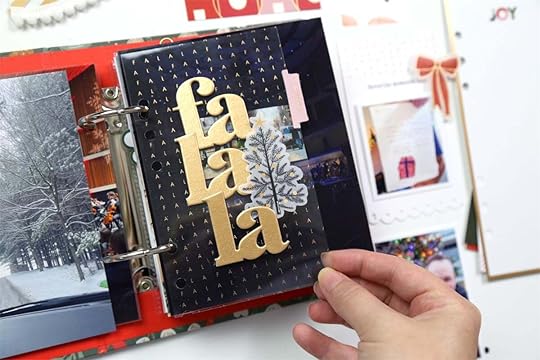
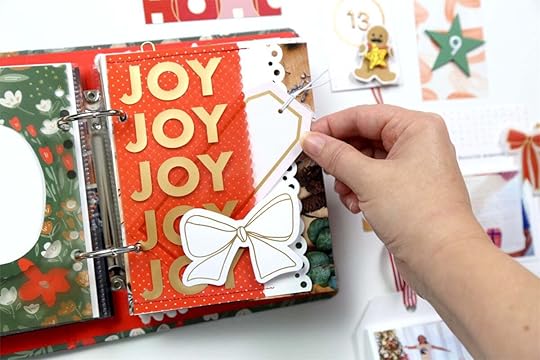
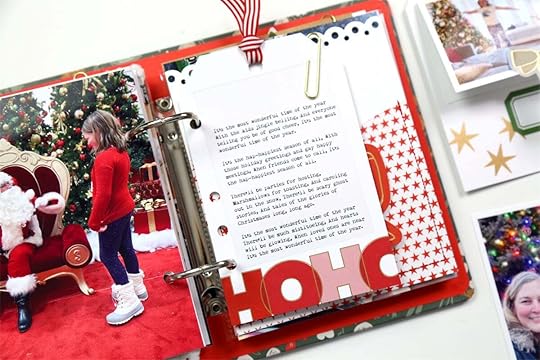
Gold foil word art: When I see this style of paper, with a beautiful design oriented to the top of the page and a clearly defined horizontal line, my brain immediately thinks “make a pocket”! So that’s what I did. I like the idea of using punches and/or shaped scissors along the top of the pocket for playful bit of detail. I have one card left still, and I’m thinking next time I’d like to score the paper a little further down the white section to leave a white line at the bottom of the design where I can stamp the date.
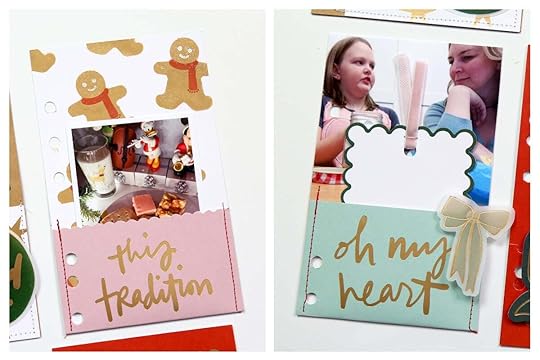
Journaling prompt: The journaling prompt papers are so lovely in their simplicity and have me wanting to use that space as intended for journaling. That’s pretty much what I’ll do here. They can be cut to size, and in the smaller 4x6 format, they can absolutely be a story all on their own with the addition of a small photo. They’re also another great opportunity to play with your scissors and punches, or reshape them into tags.
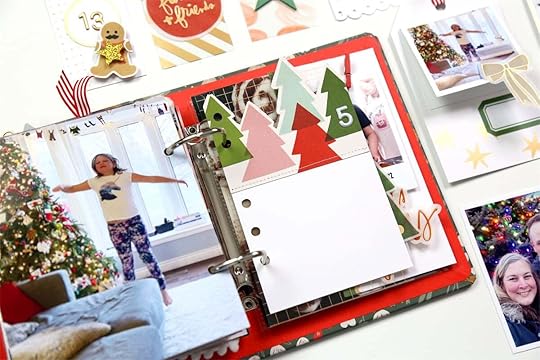
Individual designs (Colourful Christmas trees, Ho Ho): I loved cutting up the colourful Christmas tree card to highlight the shape of the trees and create a custom “die cut insert”. This might be one of my favourite cards from the bunch!
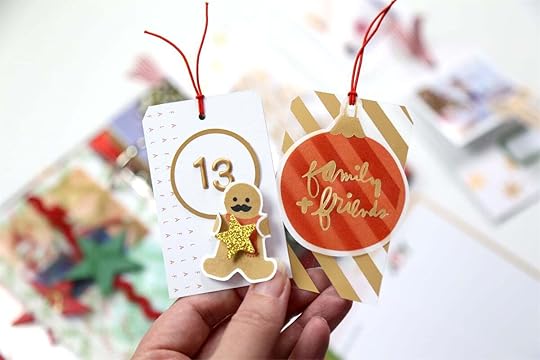
Bonus mini tags: Save your scraps!! Because these transparencies and journaling cards are sized to “outside the page protector”, they’re actually 3.75” x 8.25” in size. When you trim them down to fit the 4x6 format, you’ve got an extra 2” x 3.75” canvas to play with. You can turn these scraps into super fun little tags that could create an entire series that could be used in this project or saved for something else! In theory, you could create a coordinated collection of 31 numbered tags!
Friends, thank you so much for joining me today! I hope this post has brought you some inspiration (and maybe convinced you to love the 3x8 transparency and journaling card sets as much as I do!). Definitely let me know if you have any questions in the comments below, and happy December Daily-ing! Those packages will be arriving before you know it!


