
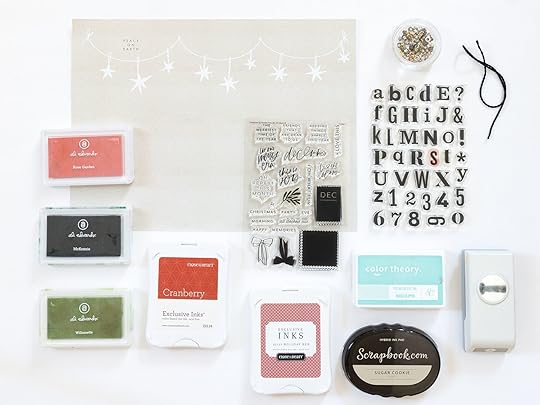
December Daily® 2024 | Special Guest Jen Wong
Hello, friends! I’m thrilled to share some fun ideas for creating a December Daily album for kids, using the new vertical 4x6 album.
My daughter, who’s 9, has been dabbling in holiday journaling for a couple of years now and has seen me work on my own album every December with interest. Last year, I was touched when I found her
flipping through my past albums. She loved seeing photos of herself when she was younger and reading the stories from those past years. She loves drawing and writing and I know she will love doing the project. I’ve already mentioned it to her and she’s super excited!
My ApproachWith a shorter attention span and limited time, I want to make this project fun and easy for her. There’s no pressure to create intricate pages or spend hours working on it. For this reason, I’m doing something I don’t normally do for myself – preparing foundation pages. These premade layouts will make it simple for her to add a photo, drawing, or a quick journal entry. She might even finish her album in December… unlike her mom, LOL!
I’ve made her a mini album in the past, where I created all the pages ahead of time, and then she filled them in. It worked really well, and she especially loved the interactive pages. I plan to make some interactive pages again here, but also mix in some simple ones. I’ve created a prompt list to get started. Although it’s early in the year, I already know a few events happening this December. Planning the album is a bit similar to how I prepare for my own December Daily album, jotting down story ideas and traditions we do every year, like writing to Santa, watching holiday movies, or baking together. I put together all the ideas I had onto a page which can be found here.
My plan is to create pages based on these prompts, with a mix of simple and interactive elements.
I started with a few interactive pages and wanted to share these ideas, because they could work for any album, kid's or not!
Idea 01: Letter to Santa String-Tie Envelope
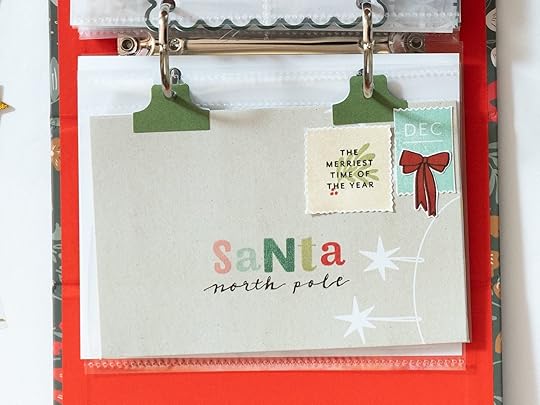
Other: string, 2 eyelets, corner rounder (optional)
My daughter writes a letter to Santa every year and I thought it would be fun to make a decorative mailing envelope to hold some writing or even a photo of her letter to Santa. Using one of the papers from the Merry Merry 10x8 Paper pack, I designed the envelope so it would measure 4” x 6” and would go into the album with page attachers. As I said in the video, originally I thought I would make the envelope the full size of the page protector so that I could directly punch holes into it, but I realized that the 10x8 paper was too short to make this work, given the measurements I was using.
To construct the envelope, I scored the paper horizontally at 0.5”, 4.5”, and 8.5” and then vertically at 1.5” and 7.5”. Here is a diagram that I made which shows the measurements.
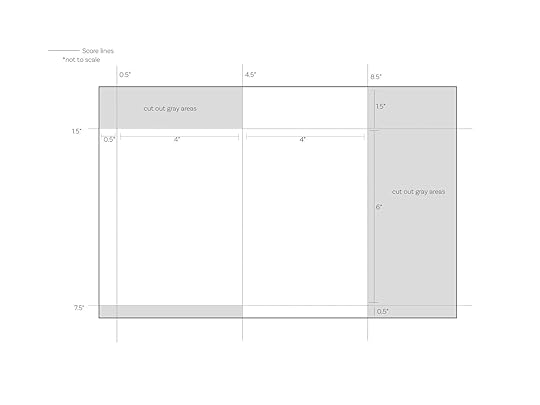
I then cut out the grayed out portions of the paper. I folded along the score lines to make the envelope, eventually glueing together with adhesive. To create the tie anchors I started by punching two 1” circles with a circle punch. Then, using an eyelet setter, I punched holes into the circle, inserted the eyelet, and set it with the tool.
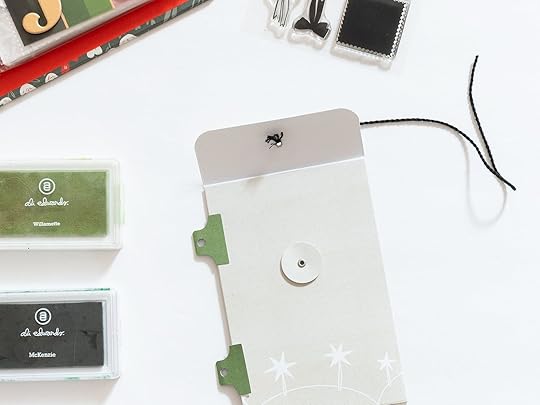
Then it was time to decorate the front of the envelope! I created two postage stamps using the Paislee Press stamp and stamped “Santa” inn the center. I wrote “north pole” underneath. After the decoration was done, I added adhesive to the envelope bottom and sides to put it all together.
You can see the steps I took to make this in the video below.
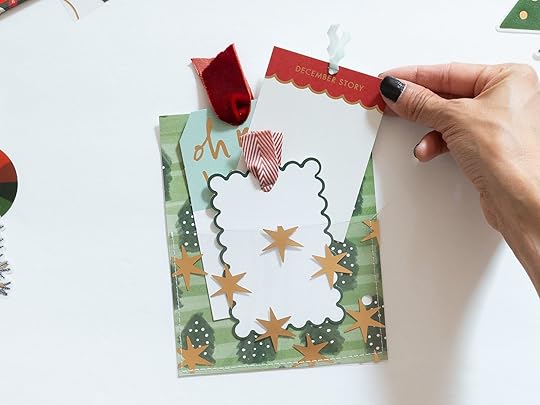
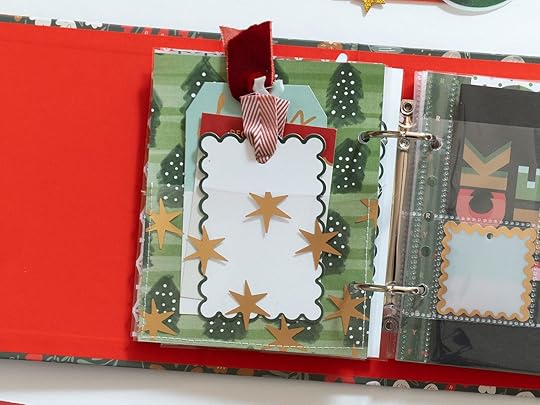
Idea 02: Transparent Pocket with Custom Tags
Other: various trim
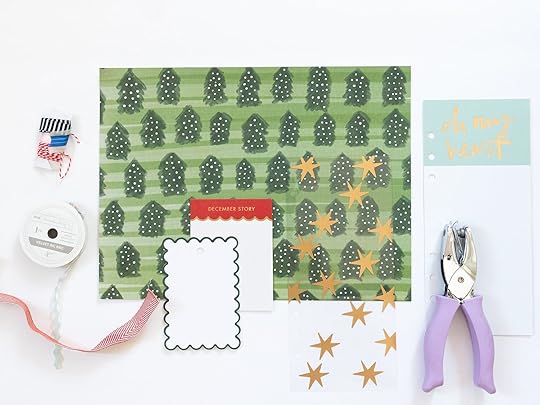
This idea is an easy one, but one I almost always do in my albums. I’m always looking for ways to include more into smaller albums and pockets is one way to do so! I love this green tree pattern from the Merry Merry 10x8 paper and starting with this, I cut the base of the pocket to 5” x 6.25” so that it would be the same size as a page protector. I made the tags next. Using the yellow-rimmed tag from the main kit, I traced the tag outline onto the 3” x 8” paper that reads “oh my heart” on top. I cut the height of this tag to 5” tall and trimmed off the ends so it would look like a tag. I then added various trim to the ntops of the tags.
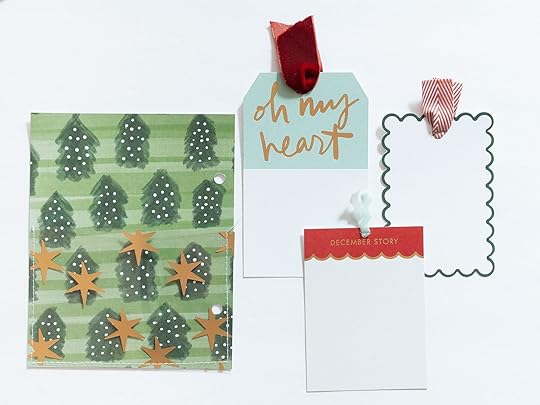
I love the way a transparent pocket looks so I used the gold start transparency from the 3” x 8” paper pack for the pocket. I trimmed this to 5” wide and cut off the hole punches on the edge. Then, with my tags inside the transparency, I used my sewing machine to stitch the pocket. I always try to add the items that will be in the pocket before sewing so as not to make the pocket too tight! You can hear my thought process, see what other options I considered, and watch the project come together in the video below.
I love how these turned out! Pockets are a great way to stuff in more journaling, photos, or ephemera.
Idea 03: Interactive Slider Flip-up Card
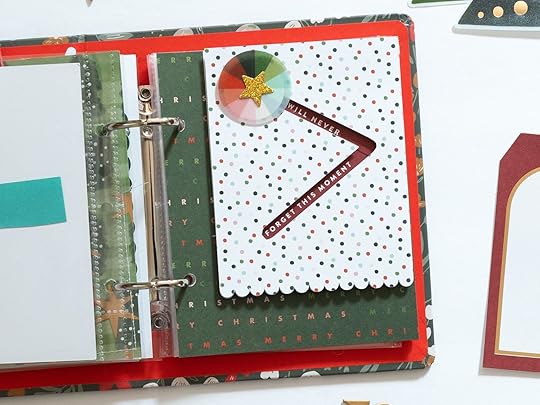
Other: 1” circle punch, foam adhesive, washi tape, penny
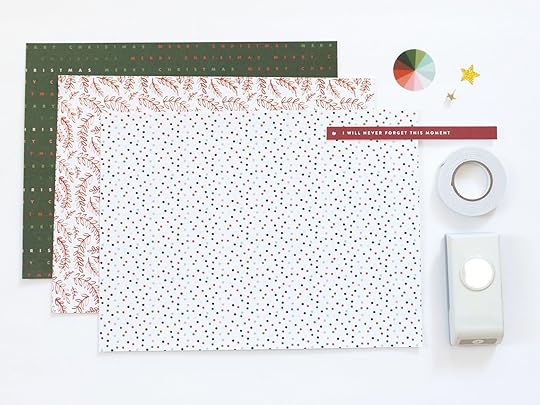
I loved the styled look of the gold star against the colorful vellum piece and knew I wanted to use this somewhere in an album. I thought I could use this circle as a sliding element to highlight some text underneath a track. To make the sliding element, I started with two front pieces that I cut using a file I made in Silhouette Studio. (I am not able to convert the file to an SVG but if anyone would like the studio3 file, just let me know). Turning over the back piece with the decorative side face down, I lined up the word phrase along the track so it would be visible from the front. I still can’t decide if the bottom part of the track should read from left to right or right to left as it goes down, but it was easier to cut the words reading them left to right! If you watch the video, you’ll see that my initial idea was to use two 1” circle pieces and a brad as the slider element but I found it didn’t slide very well. I ended up changing this to use a penny beneath with foam adhesive attached to a 1” circle on the front. The front and back pieces of the scalloped front are held together with two layers of foam adhesive. To make the page backing, I cut a 5” x 6.25” piece from the dark green Merry paper, which is the same size as a page protector. The slider front is joined to the back with some washi tape.

You can see how this came together in the video below.
As I said in the video, there is no real reason for making a slider, except it’s fun! The word phrase serves as a prompt for journaling or a photo beneath. By the way, most of these ideas will translate to a 6x8 or 10x8 album! You might need to tweak a few things, like scaling some of the measurements, but the concepts will still work beautifully! The rest of the pages I’ve put together so far have been much simpler. While I could easily make every page elaborate and interactive, I know I’ll quickly run out of space if I do that, and I don’t need my daughter to have two albums for her first real December Daily! I used some cards just as they are and added a thing or two on others.
Here’s a look at how the album is looking right now.
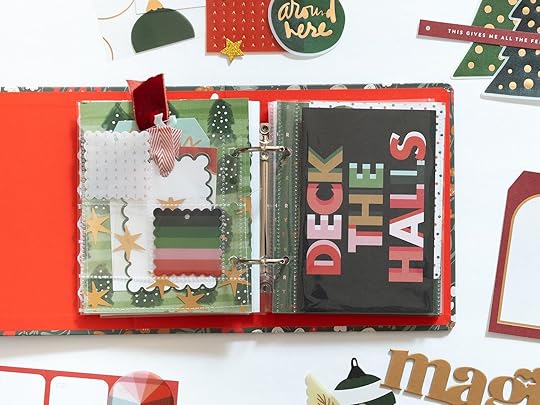
I've included a few photos of the foundation pages below.

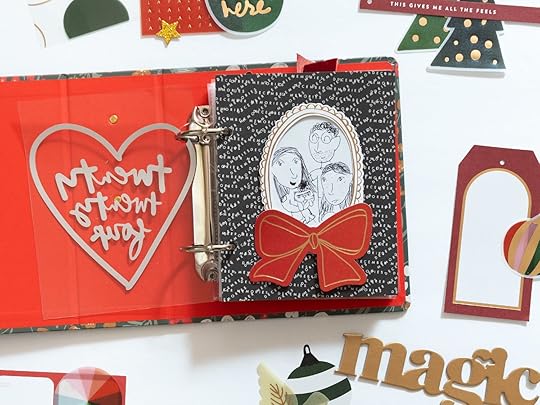
I love having a transparent element as an opening page and this gold heart cut down perfectly.
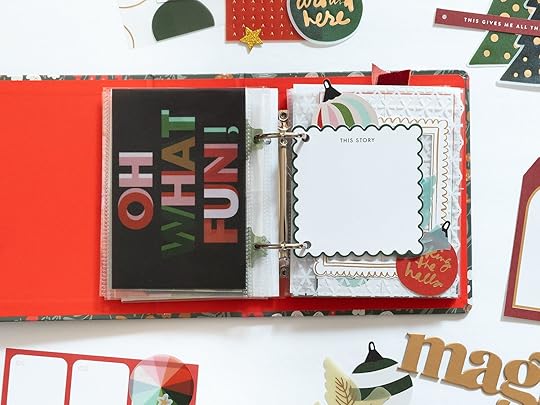
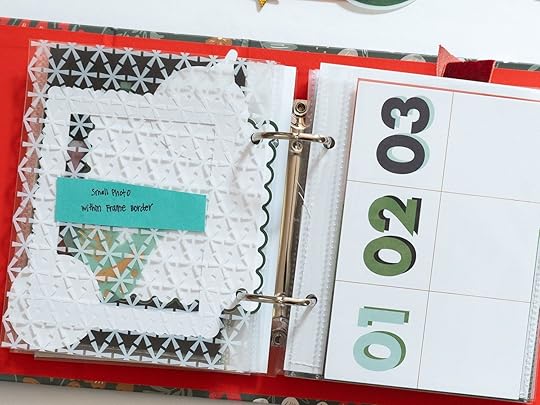
It's fun to include different size pages even in this smaller album. Some items like these 4" x 4" scalloped cards can be punched and added directly into the album.
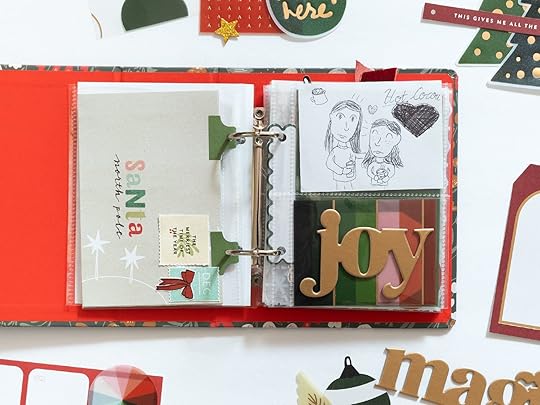
Those gold chipboard words really pop in the 4" x 6" album and not much else is needed except a pretty pattern behind them. My daughter saw some of the sticky notes as a reminder for photos, so she's added her own illustrative examples. :)
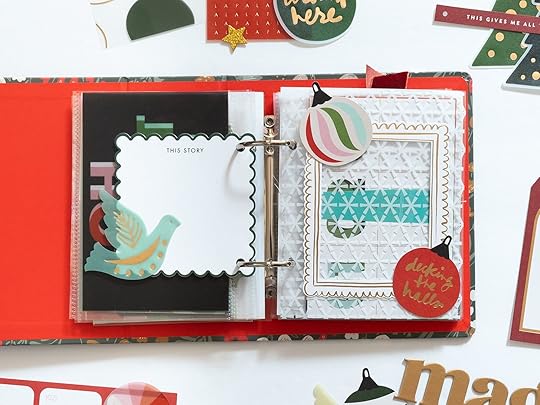
The chipboard frames are perfect for adding in a photo, a drawing, or even some journaling. I love pairing them with transparency or vellum.
You can cut down a 2x2 page protector into 4x4 like I did here, or even 2x4. I hope I was able to share some inspiration with you. Are any of you planning to make an album for your kids? I’d love to hear about it! If you have any questions at all, please feel free to comment below. You can find me also on Instagram @circleplusarrow or YouTube @circleplusarrow. Until next time, friends!


