
December Daily® 2024 | Special Guest Jill Drangsholt
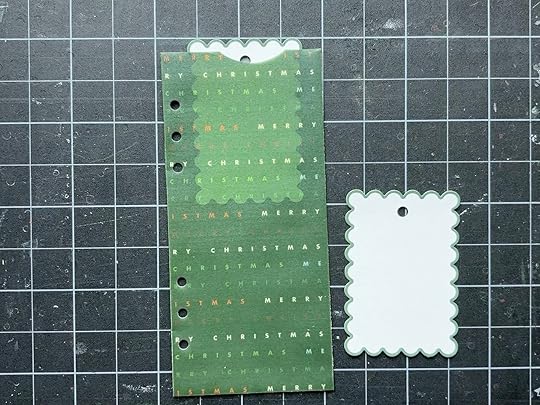
Hello again! I'm excited to be back on the blog today with some ideas for ways to use the Scalloped Die Cut Tags. I always use a ton of tags in my December Daily projects, so this product (found in the embellishments section) was really fun for me to play with!
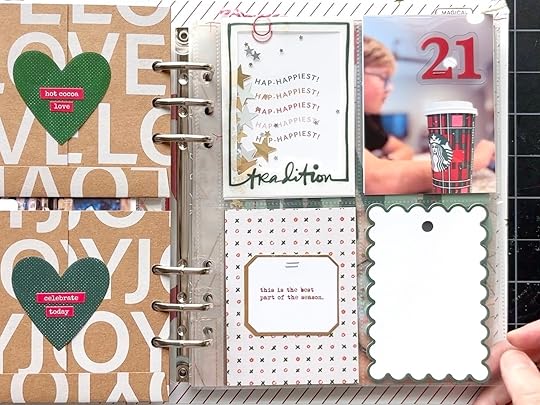
But before we get to that, I wanted to show you an example using last year's album of how cute they look when you simply slip them in a pocket. I love the contrast between the scalloped edges and the straight edges, and the little peek at the next page it gives you!
I have two projects for you today. One where I alter the tags themselves and another where I create cute pockets for them using the 3x8 vellum envelope.
PROJECT ONEMy first idea was to actually cut down the tags so that I could fit four on a 6x8 page. I love the look of just a hint of a scallop on the bottom of each tag. Watch the process video below to see how they come together and then check out a few photos of the project in process as well as the final layout.
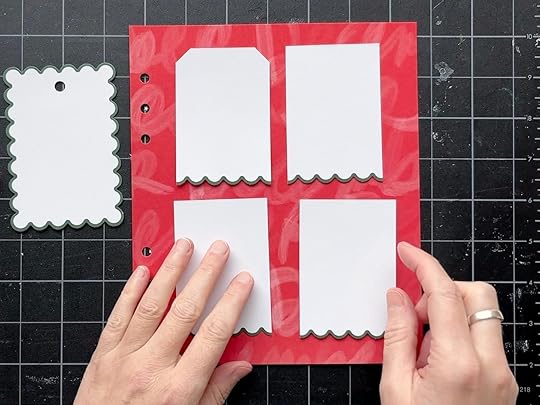
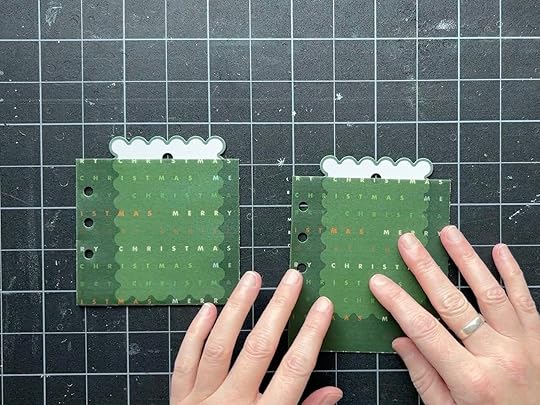
I really wanted to fit 4 tags on this layout, so I decided to cut down the tags to make them smaller. I cut off the scallops on both sides and cut the top off right below the hole. I love how they now have just a hint of scallop!
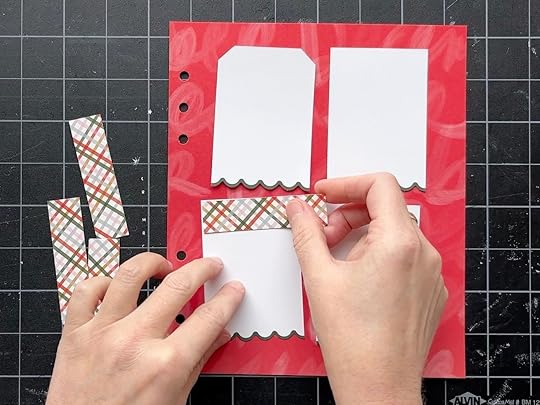
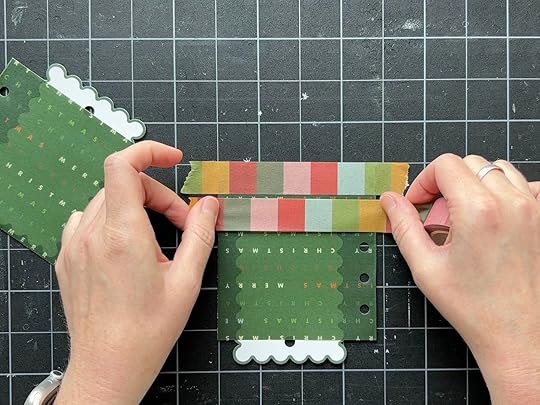
To further transform my tags, I added a .75 inch strip of patterned paper at the top. I chose to cut down this plaid 3x4 card from the mini kit because it had a small scale pattern and I love how colorful it is.
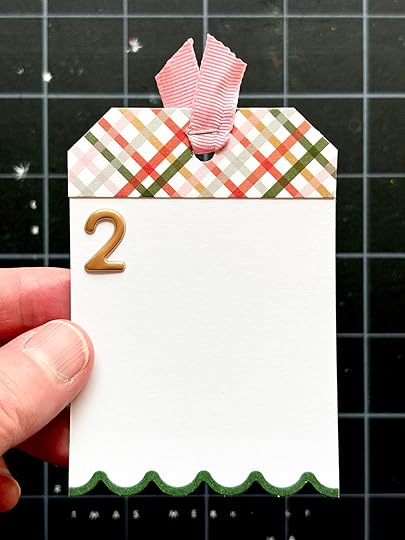
Then I used another tag as a template to cut down the corners, punched new holes at the top, and embellished with gold numbers a a pink ribbon.
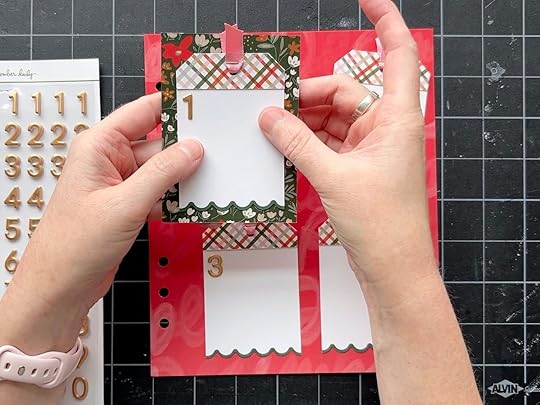
I adhered my tags lightly to the background paper to give me flexibility later if I want to switch up the patterned paper or decide to put the tags on 3x4 cards instead.
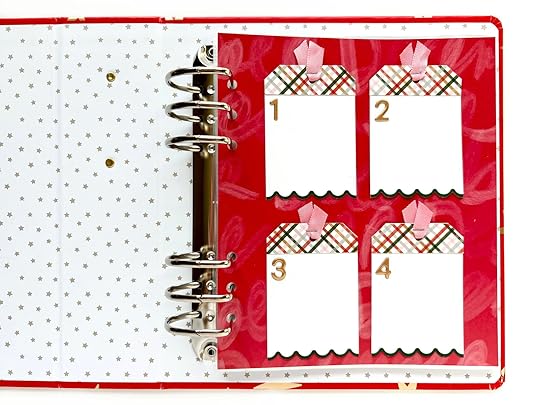
I'm excited to fill these cute tags with a story!
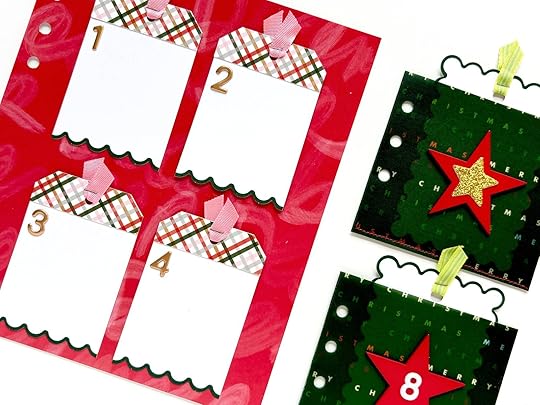
PROJECT TWOFor my second project, I really wanted to find or make a pocket for the scallops to peek out of. The only pocket I could find in this year's collection that fit this tag is the 3x8 vellum pocket from the envelope bundle. While these tags are way too short for that pocket, I really loved how they looked inside, so I decided to make it work by transforming it into two pockets!
Watch the process video below to see how I made that happen and then check out more photos of the process and the final project.
First, I cut off the bottom of the pocket right where I wanted the tag to peek out (left), then I trimmed off the top of the pocket to cut off the notch (right) and make it the same measurement above the hole punches as the other one. I used the text on the pattern as my guide because they are in the same location above both sets of hole punches.
Then I used washi tape to give myself a guide to stitch along the bottom of the top pocket and then trimmed off the excess. I ended up also stitching along the bottom of the other pocket just to make them match.
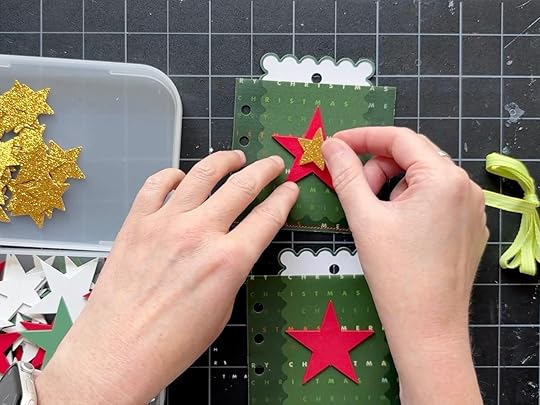
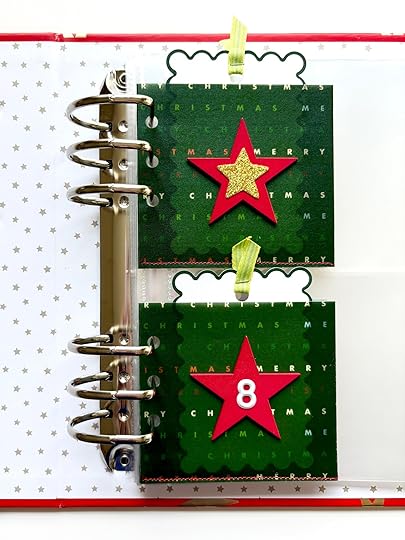
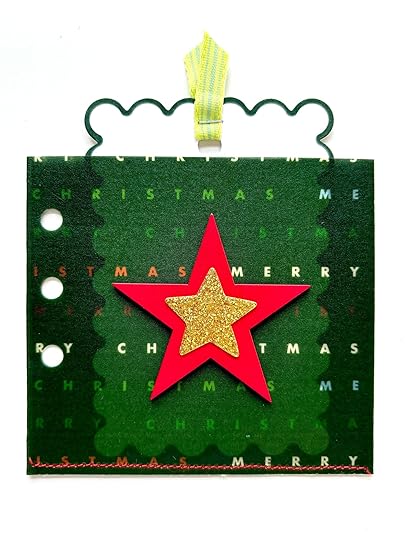
I embellished the pockets with some wood veneer stars, gold glitter stars, and a white puffy number. I also added a pop of bright green ribbon.
I hope these two projects got you inspired to play with these tags and all of the other fun scallops in this year's collection!
I will see you again next week and in the meantime, you can find me on Instagram at @jill.drangsholt if you want to follow my December Daily journey and my other crafty adventures.


