
December Daily® 2023 | Ali's Start + Reason Why

Welcome to my first post for the December Daily® documenting season.
As many of you know, I've long enjoyed doing some work in advance of December to set me up for storytelling success. There is not one right or wrong way to approach this project and what I've personally learned over the years of doing this project is that I really enjoy spending time setting up some pages (I often call these foundation pages) prior to the documenting month that will help me focus on the stories during December.
If you are brand new to December Daily® I highly recommend checking out our Storytelling With December Daily® workshop. It's one I put together a number of years ago to give a deep dive into my approach to this project. It includes a story menu, walkthroughs of past albums, and techniques you might want to include in your own project. Many people in our community go back and re-watch this workshop as they get ready to embark on the upcoming season - it's a great way to get your mind and heart ready for December.
Also, don't forget to check out our new December Daily® classes for 2023:
December Daily® Hybrid Product Play: learn how to use our digital products to create paper projects using this year's digital collection December Daily® Product Play: one idea per day presented in November using products from this year's collection December Daily® Prep Day: our $5 community celebration day happening on Saturday, November 18th
Today's post includes a look at my table of contents, intro page, and my reason why. I'll be sharing another post soon with a look at additional foundation pages and how I'm planning out my album this year.
Let's dive in with my welcome and process video:
And here's a look at my starting place via images.
TABLE OF CONTENTS
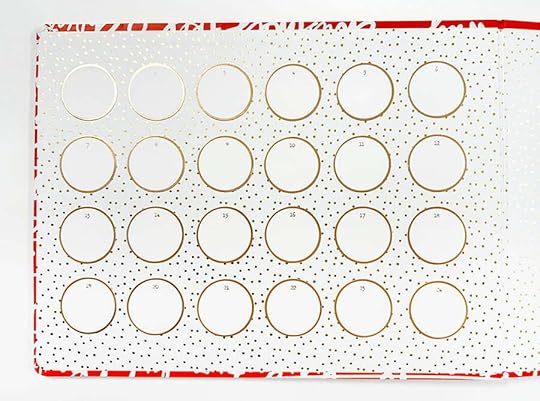
Last year was the first year I put together a Table Of Contents page and I really liked that addition to my album. This year I decided to adhere the gold rimmed circles from the Main Kit on the inside cover of my album. As I tell one story per day in December I'll add a couple words here to describe the story (might be the title, prompt, or an icon). When I laid out all the circles going through 24 enabled me to create even rows + columns which feels just fine for me since we all know the 25th is Christmas Day.
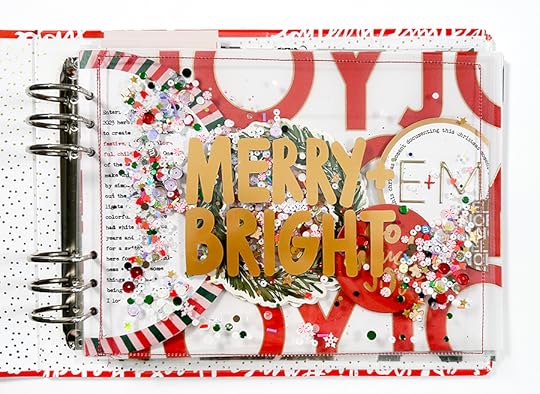
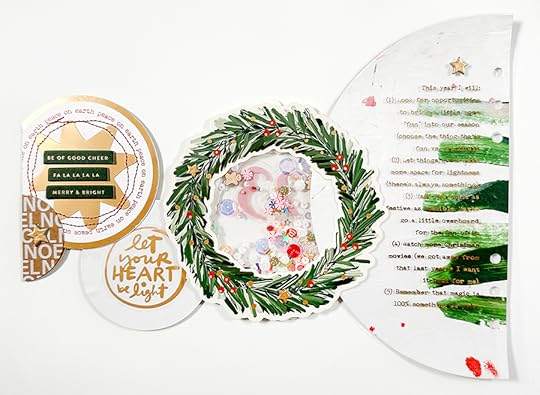
When you watch my process video you'll hear me say at the beginning that I'm not going to start with a shaker page. I actually built my Reason Why page first and then decided to add this because it's just so fun + festive and that's a big piece of my intentions for this year.
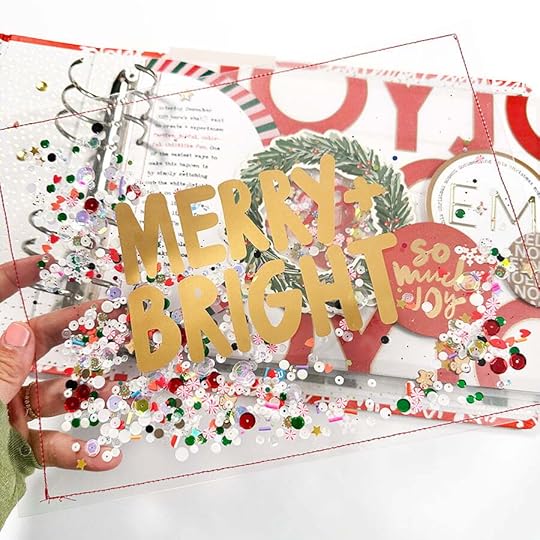
To create this I paired the Merry + Bright transparency with a piece of Grafix Plastic cut to 11 inches x 8.25 inches. I ran the two pages through my sewing machine and then added before sewing up the fourth side.
This seriously made me so happy.
You could also use a full page protector from the album to make something like this and simply stitch up the side (or use a Fuse tool or add washi tape or hand stitch to close it off).
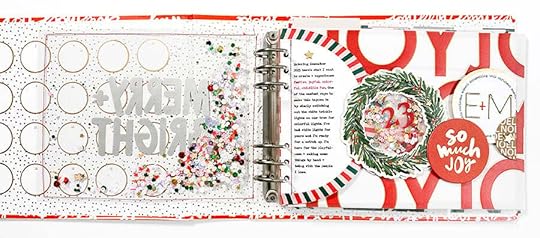
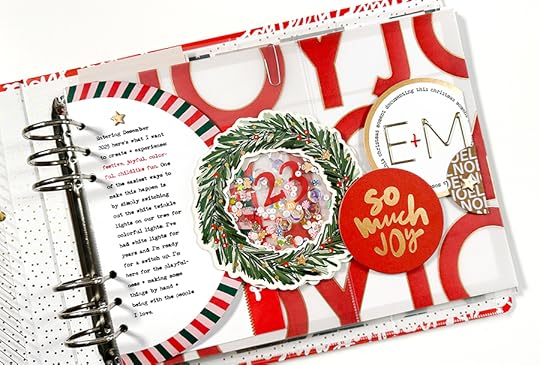
For this year's Reason Why page I decided I wanted to create a circle trail using a variety of circle shapes from this year's collection. When I first brainstormed this idea I wasn't sure if it was going to need to live on top of a transparency or piece of vellum but I'm happy to report that I was able to make them into a unique page shape by layering the circles on top of one another. In the process video you'll see how it evolves from start to finish.
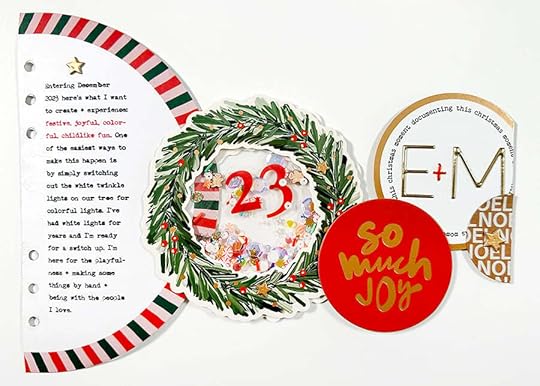
This page includes one of the 1/2 circle die cut pages from the Die Cut Page Insert Pack (digital available) + wreath from the Main Kit + "so much joy" chipboard circle from the Sticker Advent Calendar + large paper circle from the Die Cut Pack (digital available) + gold foil alphabet + plastic numbers + .
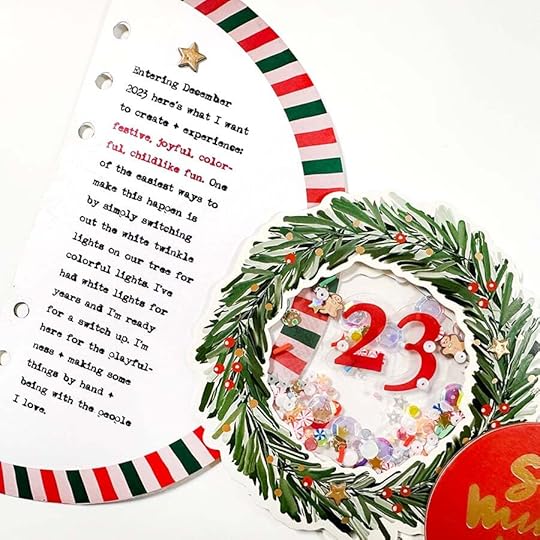
This year my reason why is to create + experience festive, joyful, colorful, childlike fun.
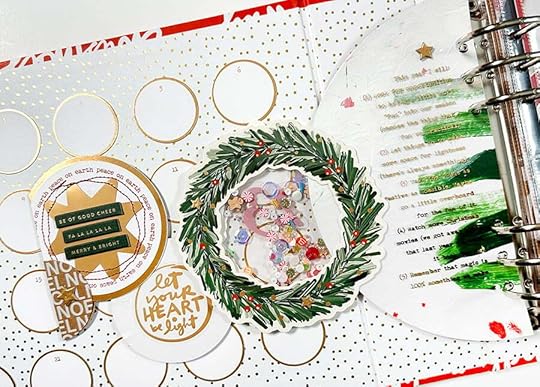
After I got everything set on the front of my circle trail I tackled the back.
In the process video above you'll see me talk through a couple of ideas for the back of the 1/2 circle. I end up using a mixed media paper I had in my stash from on top of the 1/2 circle and then I printed some additional writing on laser transparency and ran it through the Minc machine to add the gold foil.
I added another wreath from the Main Kit on the back of the front shaker. I added a clear sticker sheet to the back of the red chipboard circle. On the gold foil circle I added a star from the Main Kit along with three of the chipboard phrases. I ran that through my sewing machine to add the stitching before adhering it to the original circle.
The additional writing I added included more thoughts on how I'm going to welcome that childlike fun into my own season using the prompt "this year I will."

That's it for today! I'm currently working on some foundation pages to share in the next couple of weeks.
SUPPLIESI've also created an Amazon page that includes many of the basic products I use regularly including printers, paper, etc. You can check that out here.
December Daily® Main Kit December Daily® 10x8 Album December Daily® Advent Calendar Holiday Phrases Clear Sticker Sheet Gold Foil Puffy Alpha Stickers Minc Machine Gold Foil for Minc Laser Printer Transparency (to go through the Minc machine)Embroidery Thread Grafix Transparent Sheets December Daily® Paper Die Cut Inserts (digital available) December Daily® Variety Die Cut Bundle (digital available) December Daily® Specialty Paper Pack (digital available) Red Small Plastic Numbers Brother Sewing MachineBig Roll of Foam Adhesive


