Project Life® 2020 | May

Today I'm sharing how I told the story of May in my 2020 Project Life album.
For this month I included four, 6x12 pages as inserts. I love going larger with my photos when possible and I continue to love this size as an insert.
I didn't take a whole lot of photos in May. I did participate in and complete a Week In The Life project so I didn't repeat most of those images within my PL album. I also often find that it's pretty normal for me to take less photos during the month when I work on Week In The Life because I often take so many during that project itself.
Here's a look at how I told the story of May 2020:

For embellishments this time I stamped "May looked like this" using a few different ink colors on white cardstock (stamp was included with the May Stories By The Month kit - available digitally), punched it with a 1.5 inch circle punch, attached it to each photo with a Tiny Attacher, and then found a circle chipboard to add on top from my stash.

For journaling I did a couple things. First, I used the "Thankful for..." cards from the May Stories By The Month kit. Second, I added text onto my 6x12 canvases in Photoshop before printing those enlargements. I love the combination of both handwritten journaling and typed storytelling.
I knew I wanted to use the "May was" 4x6 card so I looked back through my stash of Story Kit acrylic words and decided that "home" made a whole lot of sense for what life looked like for us in 2020. I also stamped "the hard part" and "the easy part" onto that 4x6 card.

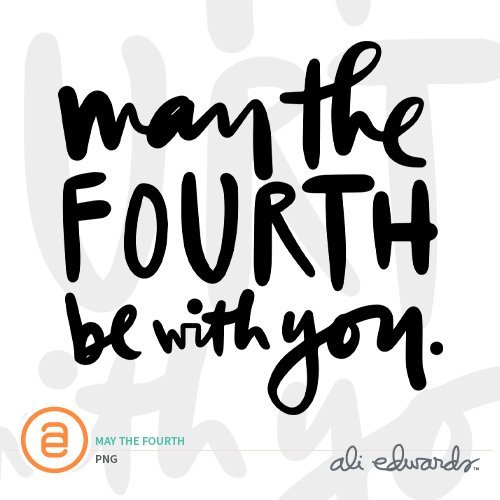
I created some custom "may the fourth be with you" word art for one of my inserts. I paired that with a photo and my Instagram caption from our May 4th celebration.
As with most inserts I love to add an Avery Index tab along the edge of the insert. I used the Phrases Roller Stamp for the sentiments that went inside.

You can download that word art here.

Two additional photo enlargements were inserted into the center of this story. First is a photo of Simon in his cap + gown (he was so, so excited). The second photo enlargement was one of me power washing our driveway (a job I actually enjoy).

And man I love dumping out my box of chipboard to see what I can find.

The final insert/enlarment I added was a photo of me and the girls on a bike ride. I added text from my Instagram post and then added a pleather square on top (those are an Add On for the Roam Story Kit).
On the last page of the spread I continued with adding the stamped circle along with a chipboard circle onto my photos.
Here's a look at how this all came together via video:
9x12 Album (currently available)
9x12 Page Protector
6x12 Page Protector
May Stories By The Month™ Kit (digital version available)
Avery Index Tab
Staz On Ink
Epson PictureMate PM400 Printer (for 5x7 and smaller)
Epson Expression XP15000 Printer
1.5 Inch Circle Punch
INKS: Rose Garden (pink), Honeyman (yellow), Olympia (teal), Pendleton (red)
Circle Stamping Block
Tiny Attacher Stapler
Chipboard from past kits
Pleather Square (Roam Add On)


