
Label Colors in the Scrivener Binder
This week in the #52WeeksOfScrivener series I want to talk about adding color to your binder.
This is actually a follow up post to one I wrote back before the #52WeeksOfScrivener began. So let’s start there.
Color Coding Scrivener
In this post from last April, I walked you through the process of adding color to your folders, and we talked a little about why writers might want to use this functionality.
If you’re not already using color labels, I highly suggest you take a moment and review that post.
Basically, you can turn your binder from this:

To this:
But there are a couple more things to know.
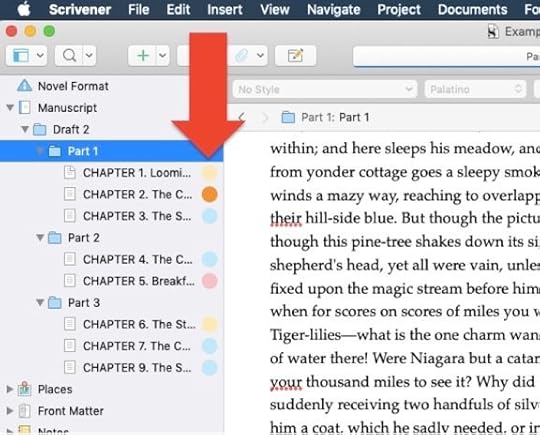
Dots Or Bars
You can change the way the color label appears in your binder. If those dot’s aren’t doing it for you, you can select Use Label Color In -> Use Full Width in Binder.

The result is something that looks like this:

Bolder Colors
When Scrivener launched 3.0 they set a lot of the default colors in the program to these soft pastels, but you’re not stuck with them.
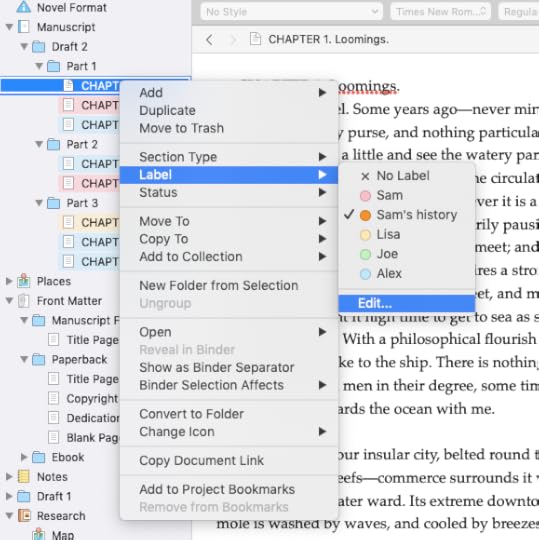
Just control click on any of your documents. In the drop-down menu, go to Label -> Edit.

When you get this window, double click the little dot of color to change it to whatever works for you. You can also use this window to add labels or remove them (click the + and – signs at the bottom of the pop-up to do so).
And I’m pretty sure that’s everything I have to say about labels.
Next Week
In case you haven’t heard, my debut novel came out on February 25 (you can, and should, buy it on Amazon right now). Needless to say, it’s a pretty exciting time for me and I will admit to be pretty busy. So next week I’m keeping it short and sweet with a little organizational trick. Stay tuned, follow on Twitter with #52WeeksOfScrivener, or sign up for my newsletter to get a weekly digest of all my posts.


