
How to Test Garden Soil
 This post contains affiliate links. All opinions are my own. Please see FCC disclosure for full information. Thank you for supporting this site!
When someone tells me they have a black thumb, one of the first things I ask is what type of soil they have in their garden. Almost inevitably, they either give me a blank stare or a shrug.
In the excitement of starting a new garden, it's easy to get caught up in seed catalogs and grand gardening dreams - but for any garden to succeed, you must first do two things: Determine what type of soil you have, then test it. That is the chief key to having a so-called green thumb.
This said, there's no need to test your garden soil every year. Most extension offices recommend testing every five years or so, unless you notice growth problems in your plants. The best time of year to test soil is in the fall, but it's acceptable to test in the winter (as long as your soil isn't frozen) or even in early spring. However, it takes time for soil amendments to do their work; the sooner you test, the sooner the amendments can do their thing and the sooner you can have a thriving garden.
Different Soil Types
Clay soil is made of tiny, densely packed particles. Clay is less than ideal for gardening because water won't drain well from it (which can lead to plant rot) and may also take too long to reach plant roots (making them die of thirst). In addition, clay can prevent plants from spreading their roots - and plants without strong root systems are plagued by ill-health.
Sandy soil has - you guessed it - lots of sand in it. This can be beneficial, except that pure sand has no nutrients to feed plants and, since water drains away quite quickly in sandy soil, plants may not get enough to drink, either. On the other hand, some sand in the soil helps keep plants from getting soggy and rotting.
Loamy soil is a mixture of silt (which is particles that are between the size of sand and clay), sand, and clay. It's ideal for gardening; it retains the right amount of moisture and nutrients for plants.
How do you know which category your soil falls into? The simplest test is to sprinkle water on the ground, making the soil moist, but not wet. Scoop up a handful, squeeze it, and open your hand. Does it crumble when gently poked? Then the soil is loamy. Does the soil retain its squeezed shape even after a gentle poke? It is clay. Does the soil crumble the moment you open your hand? It is sandy.
 It can also be helpful to test the drainage of your garden's soil. To do this, dig a hole one foot deep and about 6 inches wide, then fill it with water. Allow the water to completely drain. Fill the hole with water again, but this time, pay attention to how long it takes for the water to completely drain from the hole. Well-draining soil drains 1 or 2 inches of water per hour. If the soil drains more slowly, it either has rocks blocking water drainage or is high in clay. If the latter is the case, work compost and other organic matter into the soil.
If the soil drains more quickly than an inch an hour, it's too sandy and adding organic matter will also help.
Testing pH
Next, you need to know the pH of your garden soil - how acidic or alkaline it is. If the pH is too high or too low, your plants will not be healthy. For example, potatoes grown in soil that's too alkaline tend to get scab and other diseases. And while potatoes do like slightly acidic soil, if they are grown in soil that's too acidic, they simply don't thrive and could potentially die.
A pH of 7.0 is considered neutral; 0 means the soil is highly acidic; 14 means it's highly alkaline. In general, food crops prefer soil that has a pH of 6.0 - 6.5, but a range of 6.0 - 7.5 is considered acceptable for most vegetables. Many berries prefer a range of 5.0 - 7.0 and acid-loving blueberries prefer the pH to be 4.0 - 5.3. See the chart at the end of this post for more specific guidelines for common food crops.
Other Tests to Run
In addition to knowing what type of soil you have and what its pH level is, you should test the soil for basic nutrients, commonly referred to as "NPK."
"N" stands for nitrogen, which is the nutrient that makes plants grow rapidly, putting on many leaves. Lack of nitrogen in the soil results in plants that grow slowly, turn yellow, and drop leaves. Too much nitrogen in the soil causes too-rapid growth that results in weak, spindly shoots.
"P" stands for phosphorus, which helps plants grow healthy root systems and is especially beneficial during blooming and seed setting periods. Too little phosphorus leads to purplish stems, dull green or yellow leaves, and potentially no blooms. Too much phosphorus reduces a plant's ability to use micronutrients (especially zinc and iron), which leads to poor growth and even plant death.
"K" stands for potassium (sometimes called potash). It helps plants form chlorophyll and can aid in fighting disease. If soil lacks adequate levels of potassium, plants may appear generally sick, have small fruit, and/or older leaves that turn yellow. Too much potassium in the soil reduces a plant's ability to use other nutrients.
How to Test Your Soil's pH and NPK
There are a few ways to test your garden soil's pH and NPK. One is to purchase a soil meter (like this one). A huge benefit of buying this tool (which generally sells for around $30 - $60) is that it's reusable year after year. Just stick the prongs in the soil and BAM! you have a reading. However, to remain reliable, it should be recalibrated every year, which usually includes purchasing recalbration liquid.
Another way to get your soil tested is to send a sample off to a laboratory. This typically costs $40- $100; you can find regional labs that will do garden soil tests through your local extension office. (Find your local extension office here.)
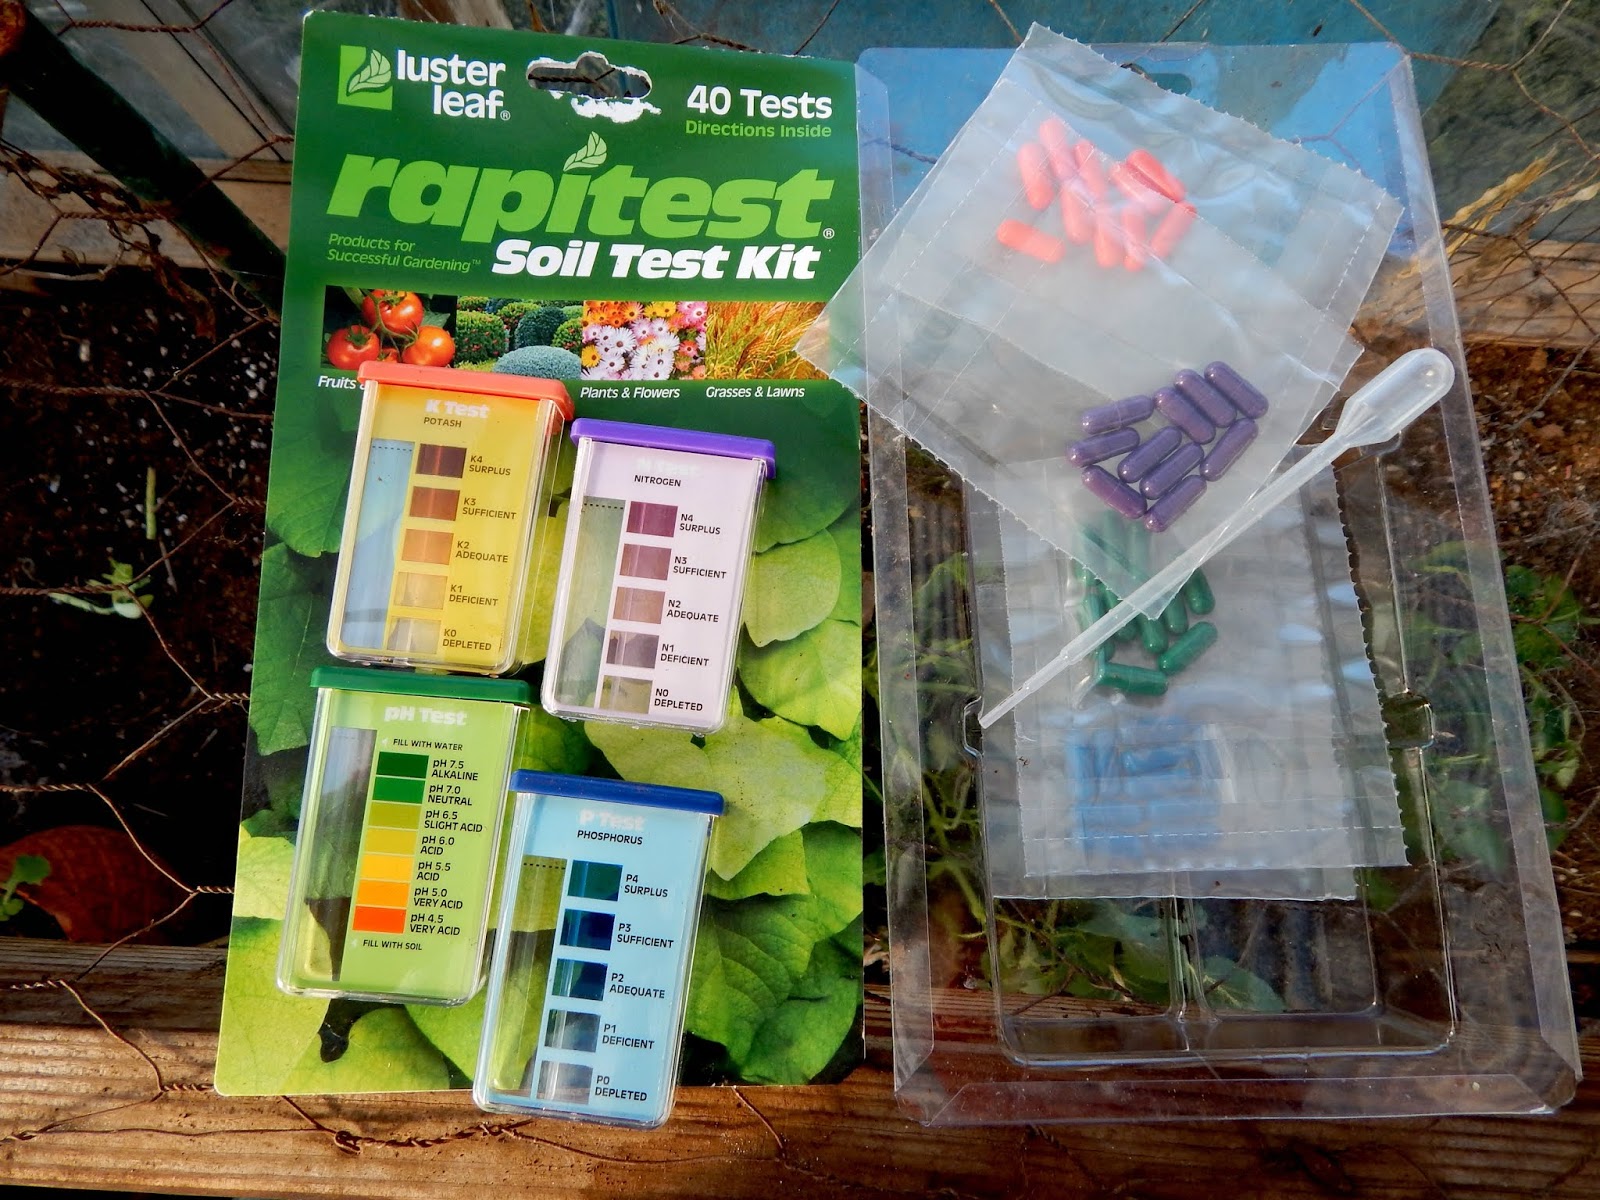
Another method (and the one I currently use) is a home testing kit (like this one). For about $25, you can buy such a kit at a local garden center or online. Kits give you everything you need to test your soil multiple times.
Generally, professional laboratory testing is considered the most accurate, but for the average gardener, any of these methods is accurate enough to prove useful.
DIY Soil Testing with a Kit
Although I keep meaning to buy a meter, I typically use a home test kit when I need to test my garden soil. To give you an idea of how easy it is to test your own soil, I'll walk you through the steps I took last fall when I tested the soil in my greenhouse. (When we moved to our homestead three years ago, I knew my small, unheated greenhouse had terrible soil, and while I've been adding lots of organic matter to it, I could tell by the state of my plants that I needed to test the soil to determine more precisely what the soil was lacking.)
I chose to use a RapidTest kit, which I've used in the past with good results. My directions and the photographs accompanying this post focus on this brand, but whatever test you choose to use, please read the instructions carefully - and follow them exactly.
I began with a pH test:
1. First, locate the tube or container used exclusively for pH testing. In my test kit, it is clearly marked and color-coded. Remove this testing container's lid.

2. In the garden soil, dig a hole that's about 4 inches deep. Remove a small amount of soil from the bottom of the hole. Throughout this process, be sure to never touch the soil with your hands.
3. Fill the testing container with soil to the fill line.

4. Find the bag that contains the color-coded capsules meant for pH testing. Carefully separate the two ends of the capsule and pour the powder that's inside into the testing container.
 5. Using the dropper included in the kit, fill the testing container to the water line using distilled water. Do not use tap or well water, which may skew the results.
6. Put the lid on the testing container and shake well. Set the container aside for one minute, or until the soil fully settles.
 7. Examine the container and compare the color of the water/soil mixture to the color chart on the side of the testing container. Find the color that's closest to your results and note the corresponding pH. When comparing colors, use natural daylight, but not direct sunlight. My test results show that my greenhouse soil is a bit acidic.
Next, I tested NPK:
1. In the garden soil, dig a hole that's about 4 inches deep. Remove soil from the bottom of that hole, never touching it with your hands.
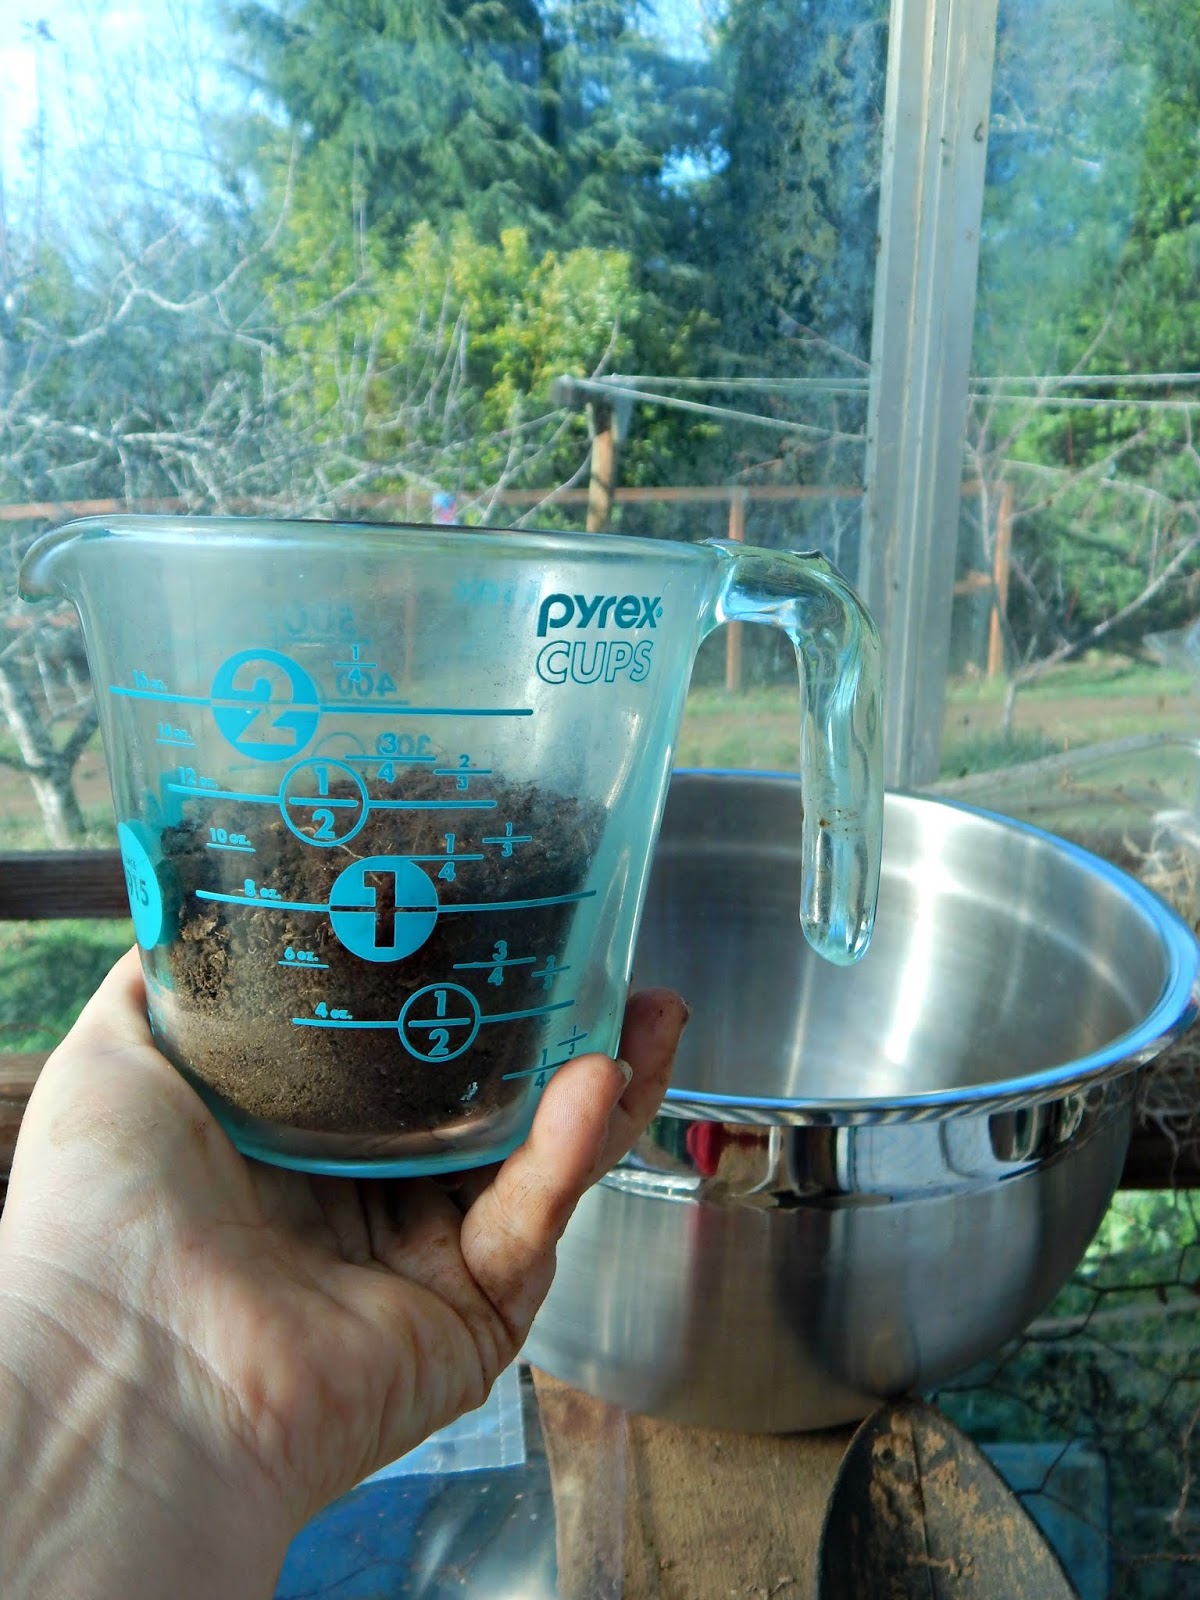
2. Fill a freshly washed, large bowl or jar with 1 part soil and 5 parts distilled water. (Tap or well water may skew the test results.) Stir or shake thoroughly for at least one minute.
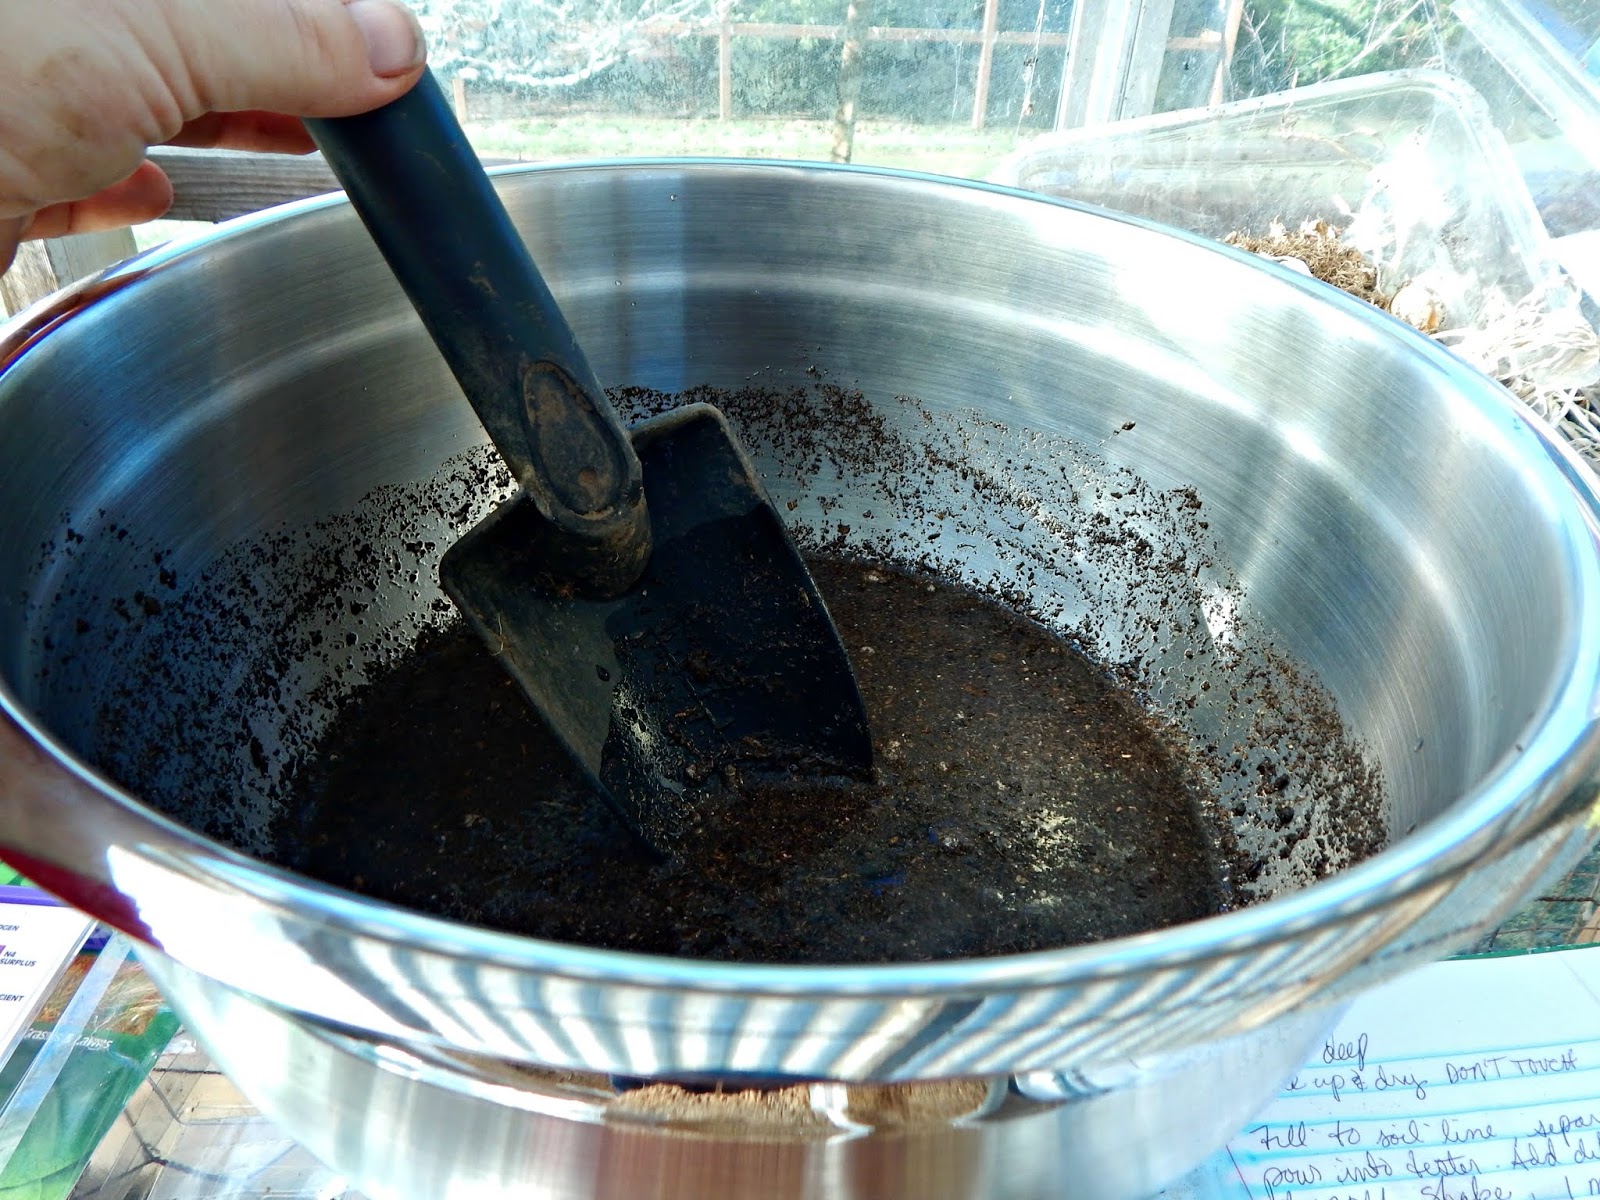 3. Allow the mixture to completely settle. This will take at least 10 minutes, but could take up to a day.
4. Find the testing containers that are marked N, P, and K. Remove their lids. Find the corresponding capsules and make sure you use the correct ones for each testing container. (With my kit, the color of the capsule matches each testing container's lid.)
5. Using the dropper included in the kit, fill each container with the water and soil mixture, to the marked line. For the most accurate test results, don't allow any sediment to get into the testing container and don't disturb the sediment in the bowl or jar you've used.
6. For each container, separate the ends of the corresponding capsule and pour the powder into the correct testing container.
7. Place the lids on the containers and shake well. Set aside for 10 minutes.
 8. Compare the liquid portion in each container to the corresponding color chart to discover whether levels are good, deficient, or excessive. When comparing colors, use natural daylight, but not direct sunlight. As you can see from my test results, the soil in my greenhouse is depleted in everything!
What to Do About Imbalances
If you send your soil to a lab for testing, your results should come back with recommendations for amending your soil to cure any imbalances. If you use a DIY kit or meter, it should also come with instructions on amending. But here are some general guidelines.
To make soil more acidic: Amend with sphagnum peat, iron sulfate, or elemental sulfur (a.k.a. "flowers of sulfur” or "micro-fine sulfur"). Do note that sulfur can kill beneficial microbes in the soil. After adding sulfur to the soil, re-test in 40 - 60 days. You may also wish to add the following, which will, if added over a period of time, add acidity to soil: pine needles, woodchips, and rotted leaves or leaf mold,
To make soil more alkaline: Amend with lime; after adding it to the soil, re-test in 40 - 60 days. Over time, if you periodically add them, the following will also help make soil more alkaline: bone meal, ground eggshells or clamshells, and small amounts of hardwood ashes. Note that making acidic soil more "sweet" for garden plants is a long-term project; you shouldn't expect just one treatment to do the trick.
To increase nitrogen: Amend with alfalfa meal, blood meal, shellfish meal, or ammonium sulfate.
To increase phosphate: Amend with bone meal or shellfish meal, or rock phosphate.
To increase potassium: Amend with greensand, rock phosphate, or potash-magnesia ("Sul-Po-Mag").
To improve clay soil: Amend with sphagnum peat, greensand, biochar, compost, and aged manure. To improve sandy soil: Amend with sphagnum peat, compost, and aged manure.
Always check your soil test instructions for details on how much of any given amendment you should apply to your garden soil. You can add too much of a good thing! When re-testing soil after adding amendments, expect only small changes in pH - typically, 0.5 to 1 unit, tops. Don't add more amendments to change pH without waiting 5 - 6 weeks between applications.
Optimal Soil pH for Some Common Edible Plants
Apples 5.0 - 6.5
Blackberry 5.0 - 6.0
Blueberry 4.0 - 6.0
Lemon 6.0 - 7.5
Orange 6.0 - 7.5
Peach 6.0 -7.0
Pear 6.0 - 7.5
Pecan 6.4 - 8.0
Plum 6.0 - 8.0
Raspberry (red) 5.5 - 7.0
Asparagus 6.0 - 8.0
Bean, pole 6.0 -7.5
Beet 6.0 - 7.5
Broccoli 6.0 - 7.0
Brussels sprouts 6.0 - 7.5
Cabbage 6.0 - 7.0
Carrot 5.5 - 7.0
Cauliflower 5.5 - 7.5
Celery 5.8 - 7.0
Chives 6.0 - 7.0
Cucumbers 5.5 - 7.0
Garlic 5.5 - 8.0
Kale 6.0 - 7.5
Lettuce 6.0 - 7.0
Pea, sweet 6.0 - 7.5
Pepper, sweet 5.5 - 7.0
Potatoes 4.8 - 6.5
Pumpkins 5.5 - 7.5
Radishes 6.0 - 7.0
Spinach 6.0 - 7.5
Tomato 5.5 - 7.5


No comments have been added yet.


