
I made book ornaments for my own books
So, last night after the great #engchat on Twitter (thank you to everyone who participated and asked me questions!) I was talking about how I'm trying to make Christmas a nicer time for myself–by incorporating some book and writing ornaments for my tree. I've got a Paddington Bear ornament (I love Paddington!), a Grinch, a Green Eggs and Ham, and a pile of mini books with a mug and a plate of cookies ornament.
And then @gripemaster asked if anyone makes book ornaments with our favorite books on them. I couldn't find anyone (though I did find some neat handmade book ornaments on Etsy), but it got me thinking. I still thrill in the fact that I'm published and that my books are reaching people. It's my dream! And so I thought…wouldn't it be cool if I had a mini book ornament for some of my own books? A kind of celebration of my accomplishments–especially since I can't always hold on to positives.
So I set about creating my own book ornaments today for SCARS and HUNTED. And after some trial and error, here's what I came up with:
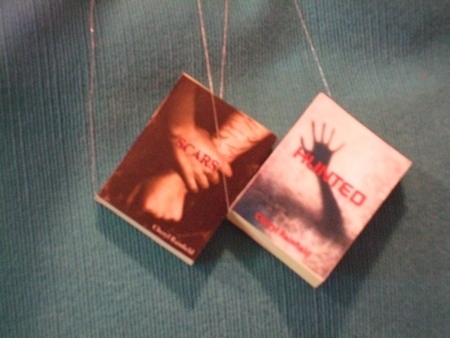
I put the title of the books and my author name along the spine.
They're not perfect, but I think they're cute, and they work for me. Since I made them just for myself, and I'm not selling them, and I wrote the books, I think it's likely okay that I made them. 
Do you want to create book ornaments for your own books? Or for a favorite book of yours? Here's how I did it:
Materials needed:
-post-it notes, 1 3/8″ x 1 7/8″
-glue stick
-digital image of cover
-scissors or paper cutter or both
-silver or decorative thread
-freeware program Ifranview and plugins (if using Windows)
-color printer
First, I got out my pads of sticky notes (of which I have a lot) and chose the right size for me: 1 3/8″ x 1 7/8″
Next, I had to resize my cover images so that they would print properly–along with finding a program that would print my images the exact size that I resized them (Windows doesn't allow you to do that). After researching it, I downloaded the free IfranView and the plugins, and everything went smoothly.
Program downloaded: IfranView and plugins
Cover image resized to: 1.5″ x 2″ with 400 dpi with a 1 margin along the left and the top.
Printed copies: 3
Next, I cut out the printed images (I used my paper cutter, then scissors to do final trimming).
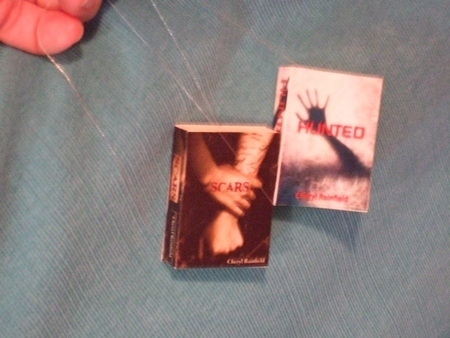
I put glue on the backs of the covers using a glue stick so that it wouldn't dimple or wrinkle, and then applied 1 cover image to the front of the post-it note pad, and 1 cover to the back. I then cut out a strip from the third cover, then the title of my book and my name, and applied them along the spine (the strip went behind so that the yellow of the pad didn't show up along the spine).
I did not put anything along the top, bottom, or right-hand side of the post-it pad, so that it would be like a book, able to open.
I cut a strand of fine silver thread, and gently parted the pad about halfway, and pulled the thread into it gently, stopping when I got to the sticky area. I tied the thread together at the top to create a loop.
All done!


