
Get Your Saw Out: A Framing Experiment, part 1
 My handy-dandy miter sawIt's been a busy few months, and now it's time to start preparing for my next three-woman exhibition, Conversations With Women, which will be in March 2020. More on that later, but...hurrah!
A few posts back, I was pulling out some unfinished work, and showed you my piece May Queen, in progress. I finished the collage, which I had created on a painted canvas, and now needed a way to frame it for a finished look. Because of the depth of the 3-D elements in the piece, it wasn't going to be popped into a regular frame, and I didn't want it inside a shadow box. So, off to Lowe's I went in search of wood suitable for my purposes.
My canvas was only 3/4" deep, and I was looking for something a little wider than that. I ended up with 1 1/2" maple, that would do the job, and bought enough of it to allow for the entire perimeter of the canvas, plus extra for mistakes. I bought two 5' lengths.
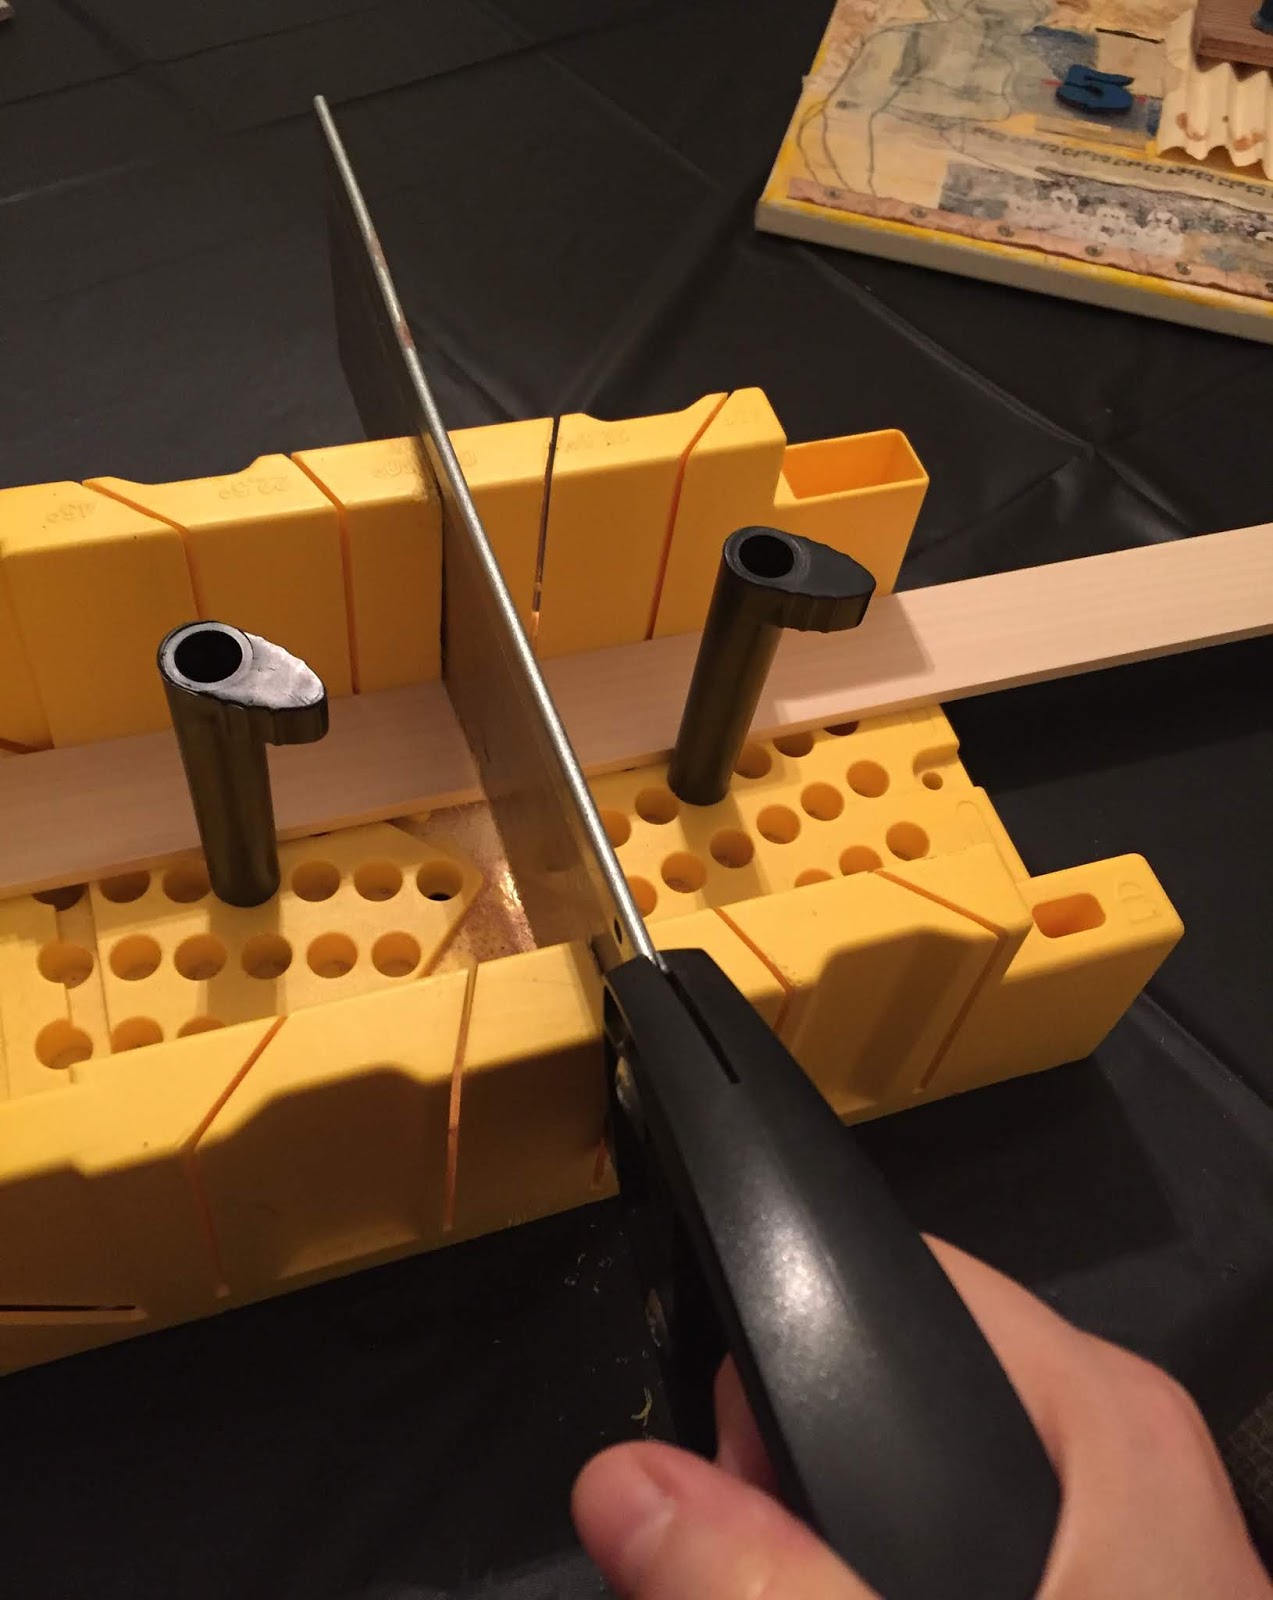
 Mark the wood in pencil so you can see
 where to cut.I got my miter saw for my birthday one year, and it's perfect for these kind of projects. I use it a lot for my artwork. The saw sits in a groove, and the pegs are movable so you can lock them in place around the wood you are cutting. The blade is replaceable, too, if it gets dull. I have my saw, wood strip, my artwork and my pencil, and first off I'm going to mark the first cut. I line up the wood edge to edge with the canvas, and mark it. I started with the short sides, and made sure the mark worked on both ends.
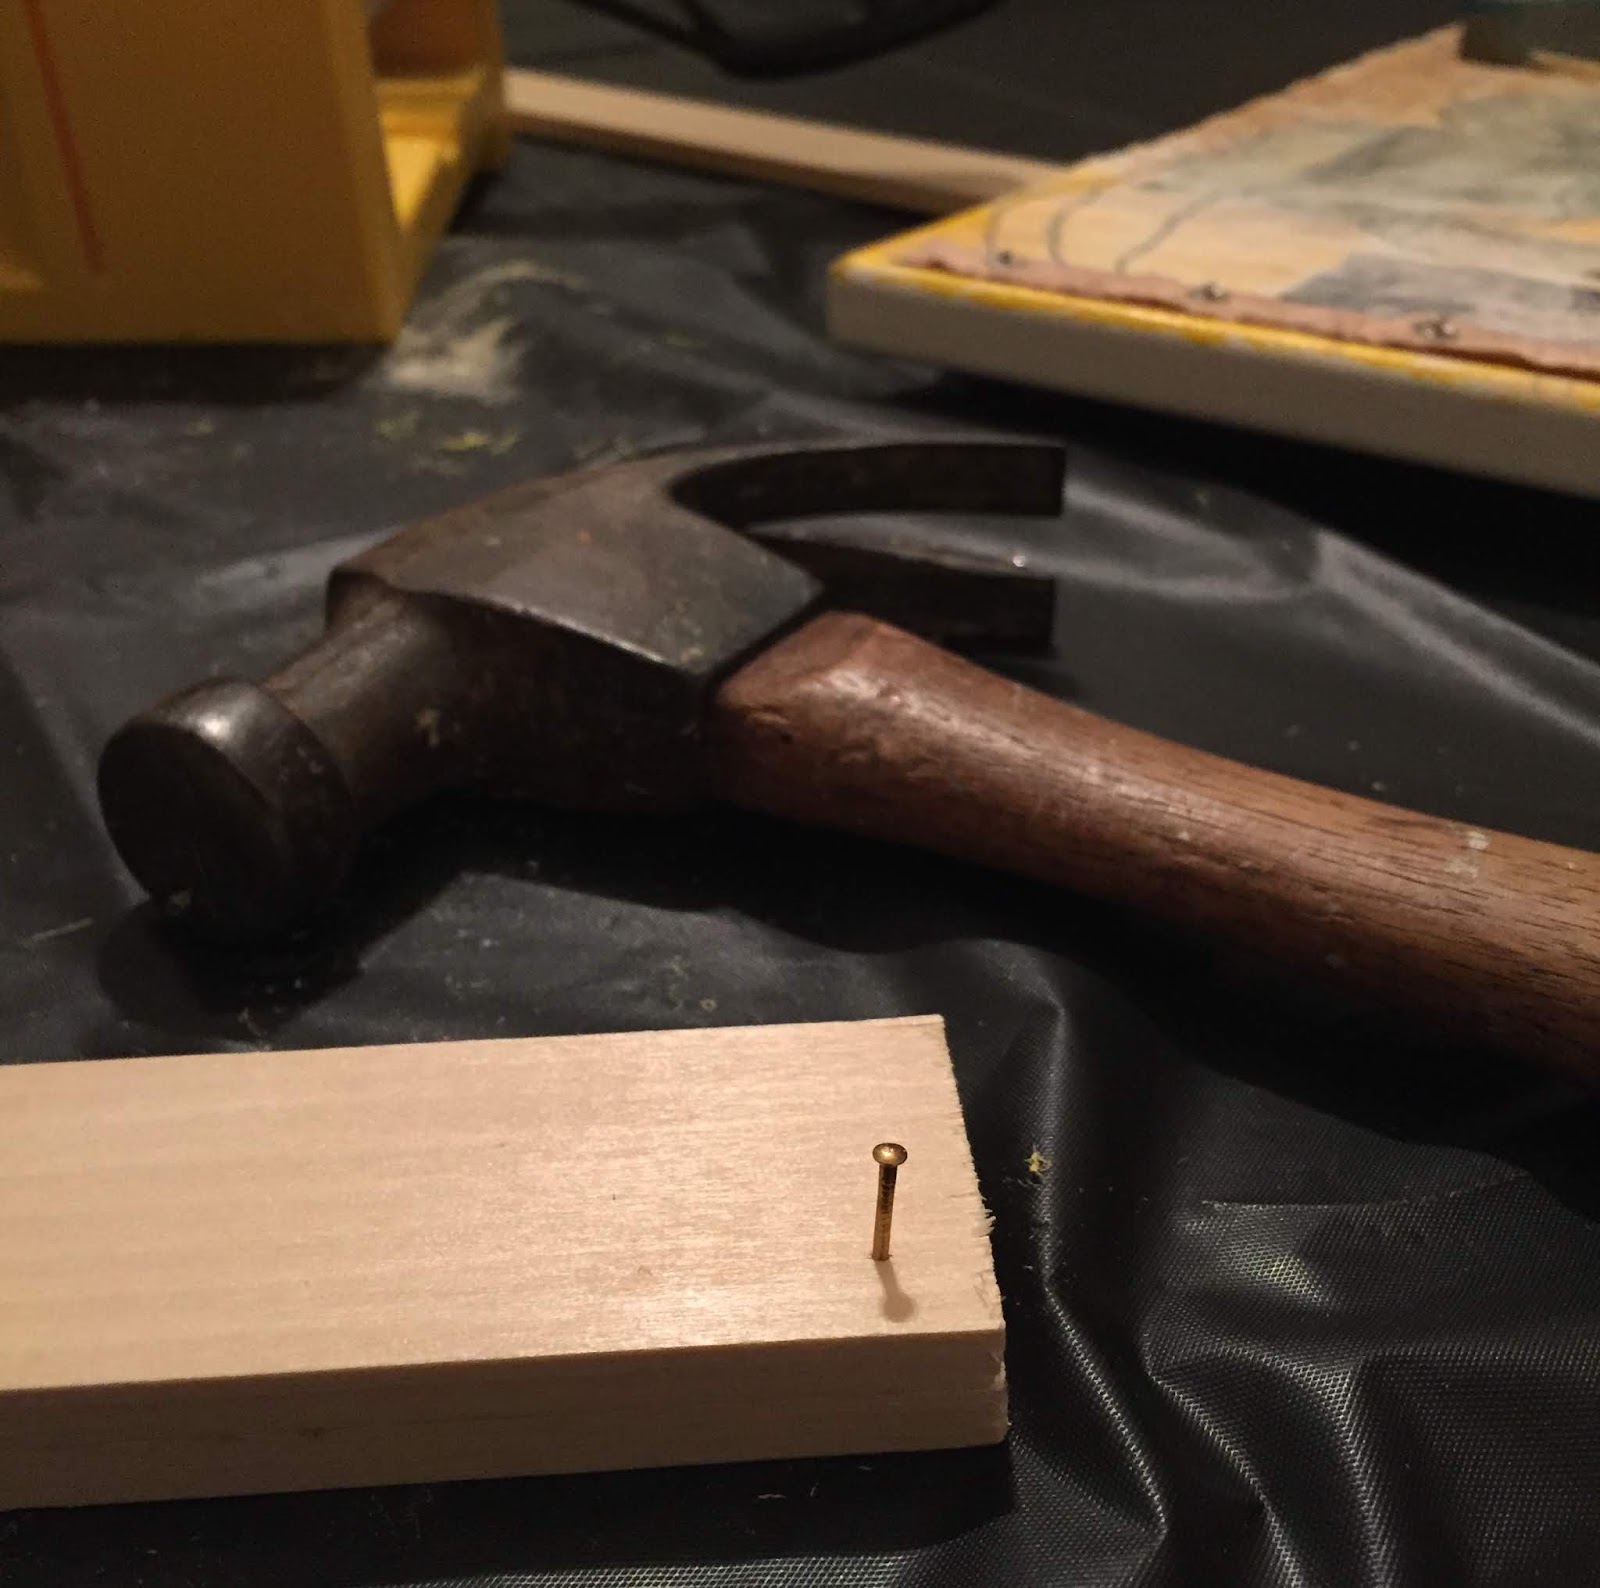
Make a hole with an awl, and push
the nail in before hammering.
Saw, saw, saw, and the wood is cut. I used a bit of fine-grained sandpaper to smooth the cut edges. I picked up some really small finishing nails at the hardware store. I used an awl to mark a hole to hold the nail while I hammer it in place.
 I attached both the top and bottom framepieces. Voila, I'm halfway home!
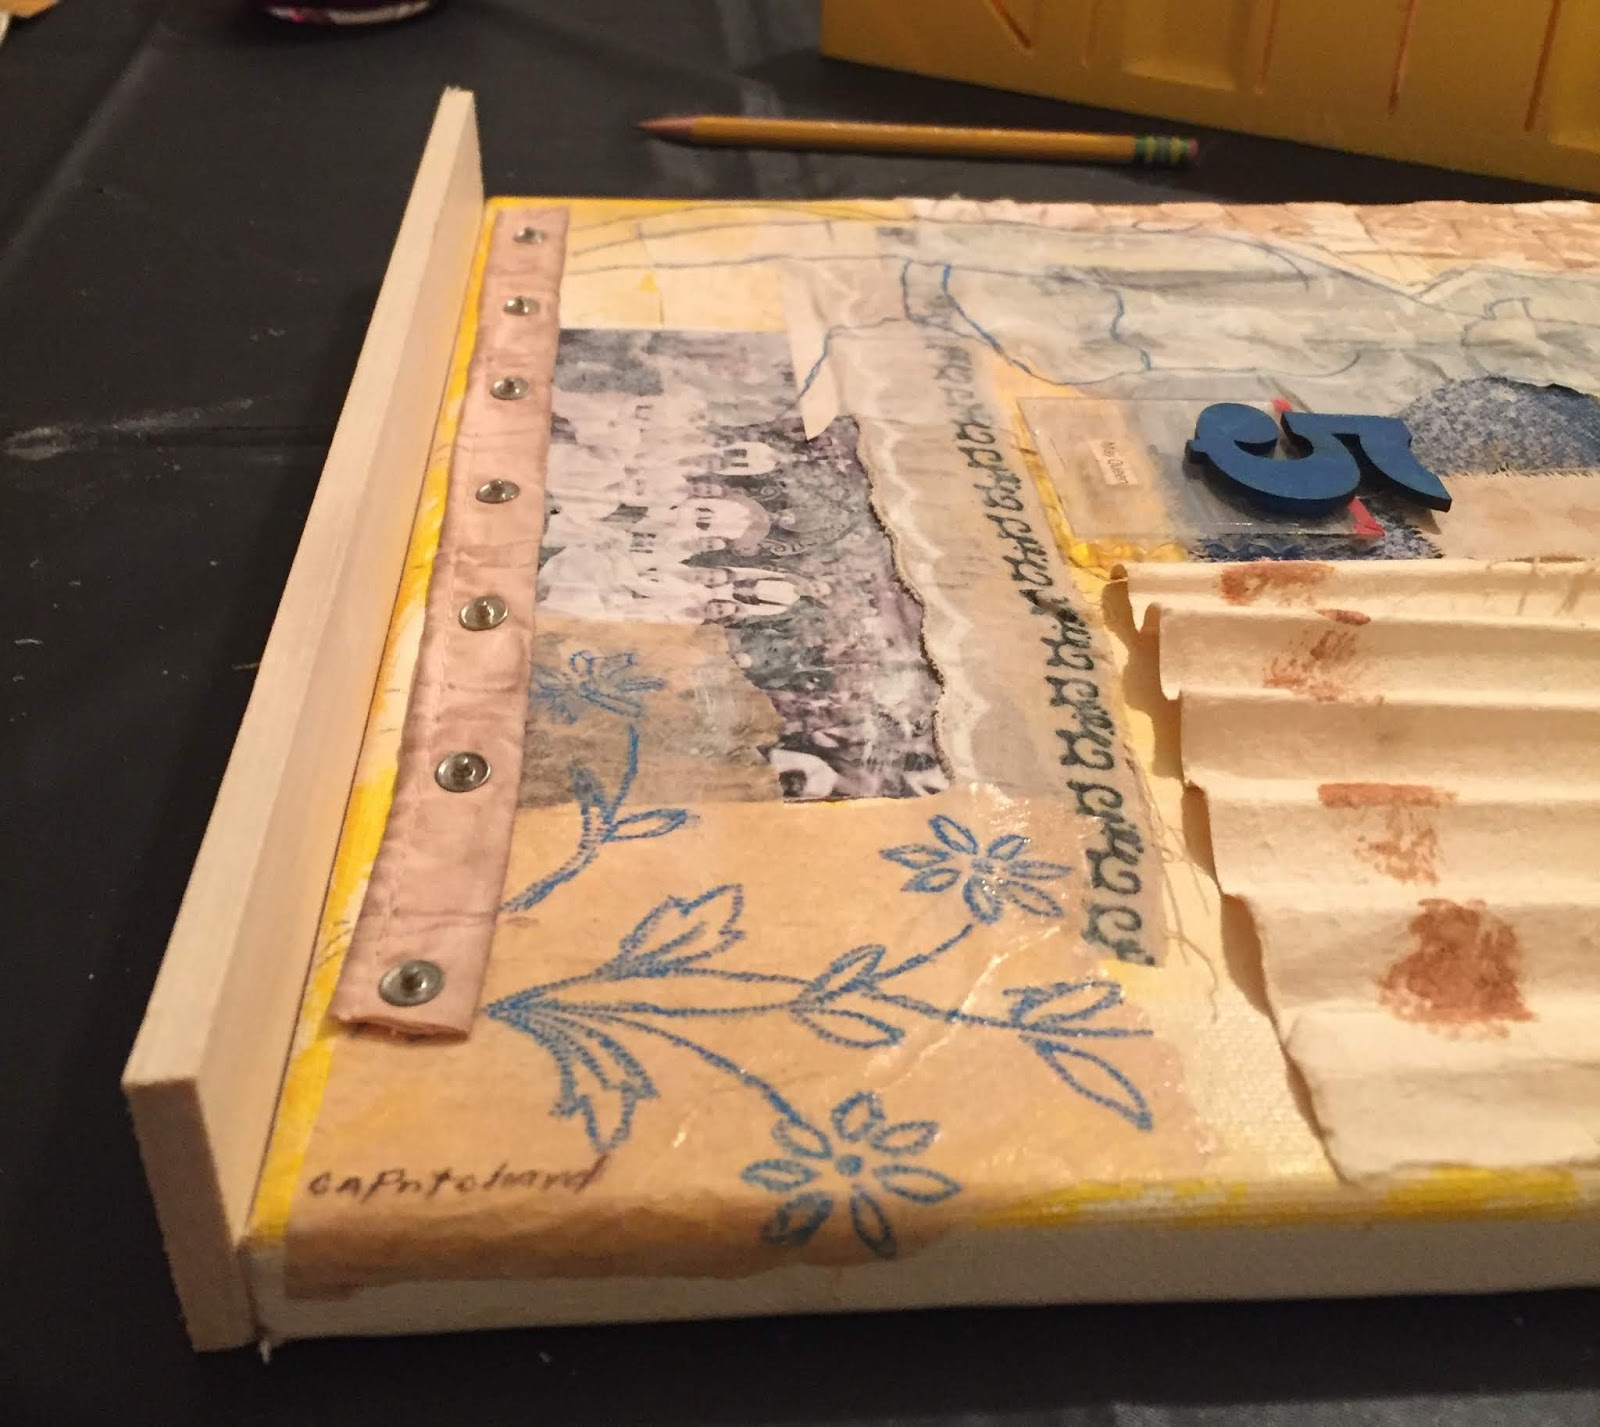 Measure and pre-mark all the nail hoes with an awl
before trying to hammer the finishing nails in place.
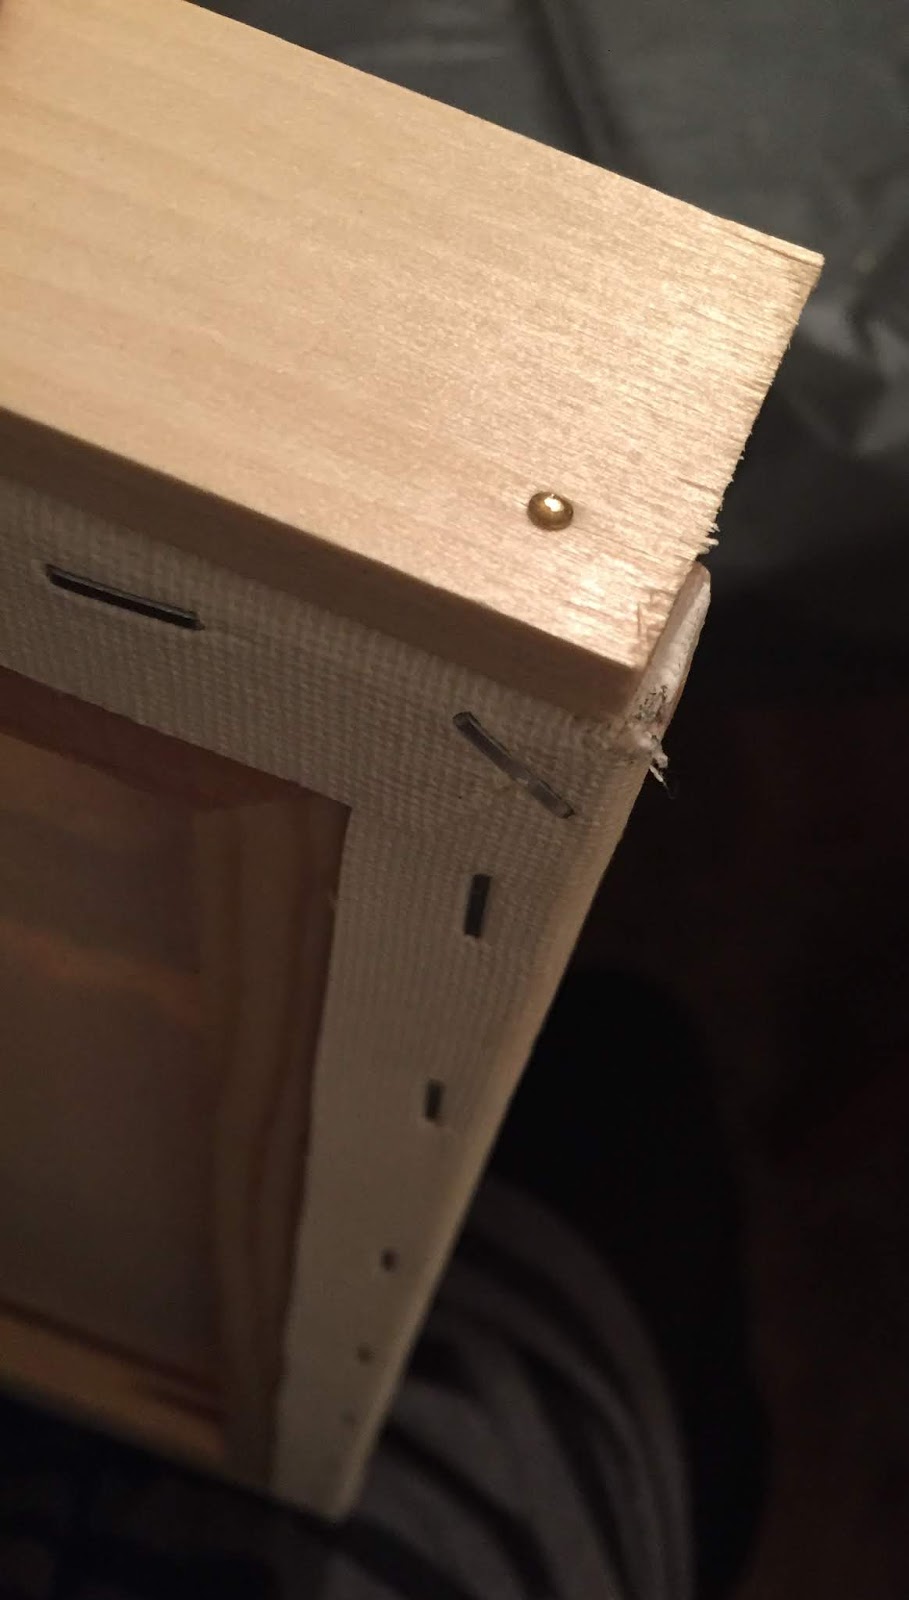
I ended up adding another nail in the center of each side,
since the canvas was not perfectly straight. The extra
nail eliminated tiny gaps.
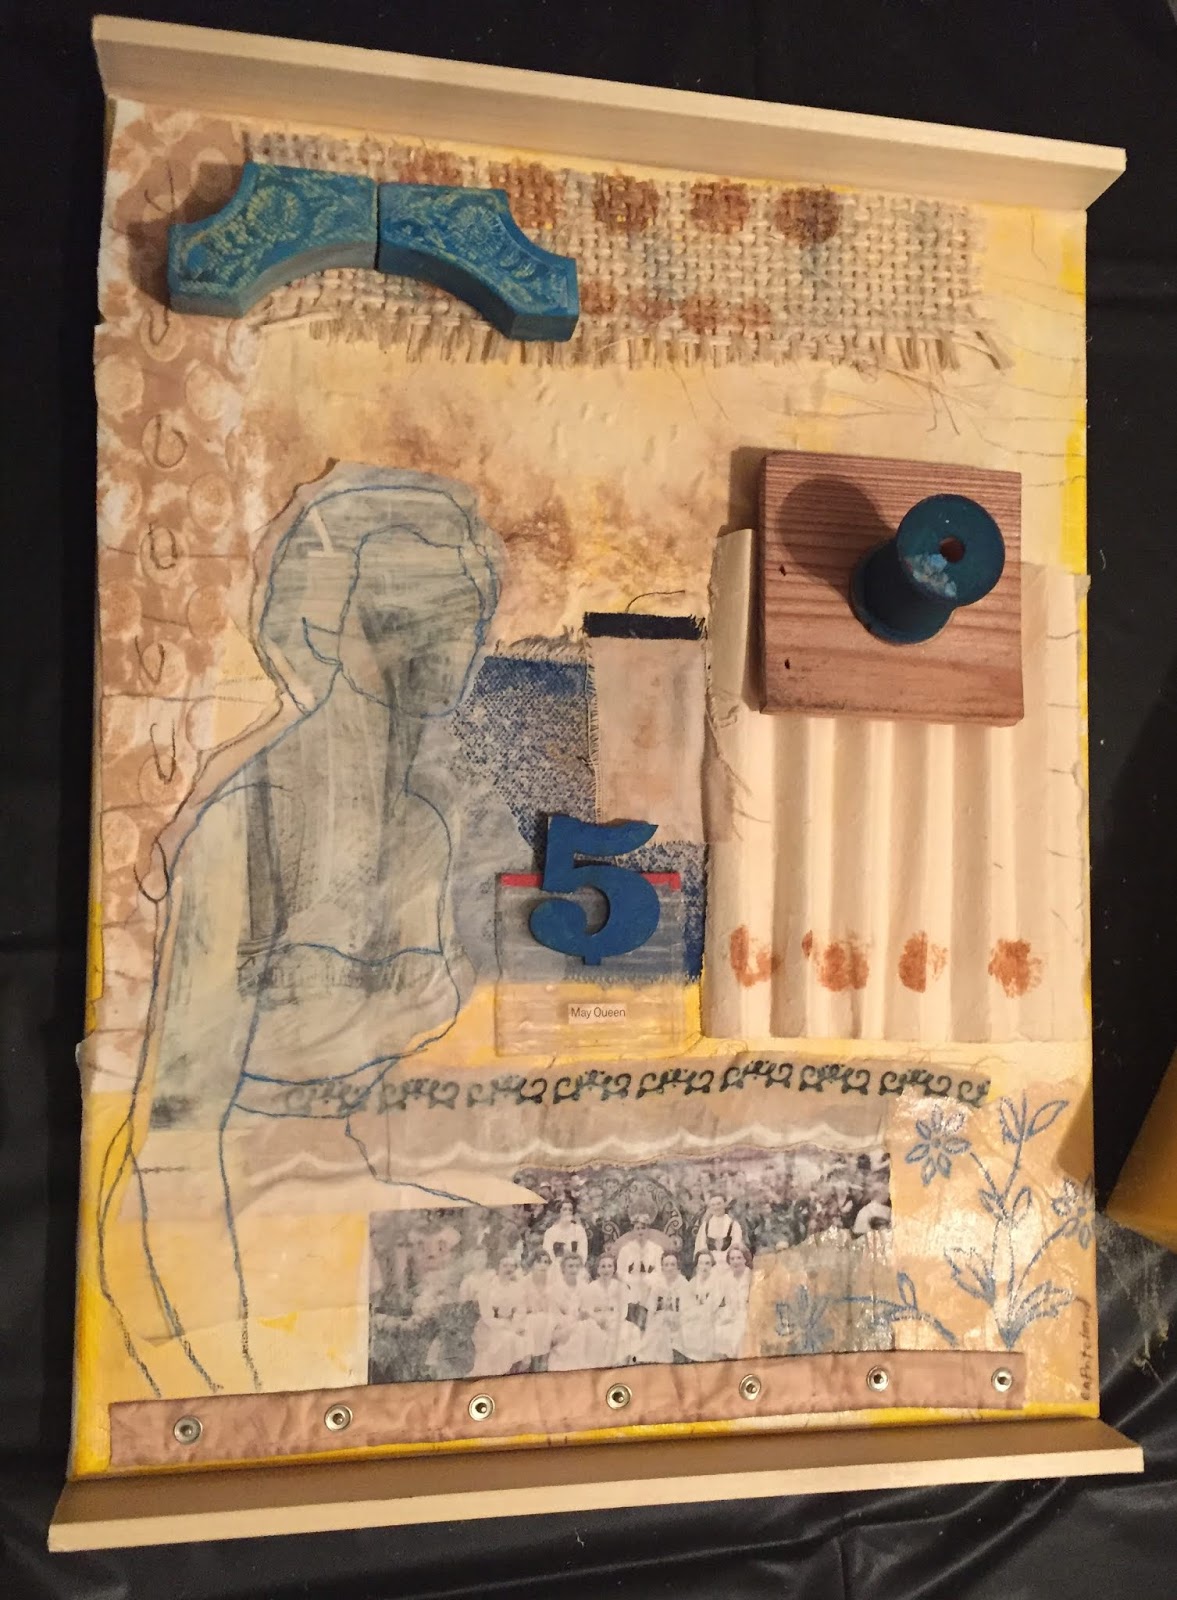 May Queen by Gayle Pritchard, half way framed!

No comments have been added yet.


