Time to #GetCrafty with Author Lia Michaels
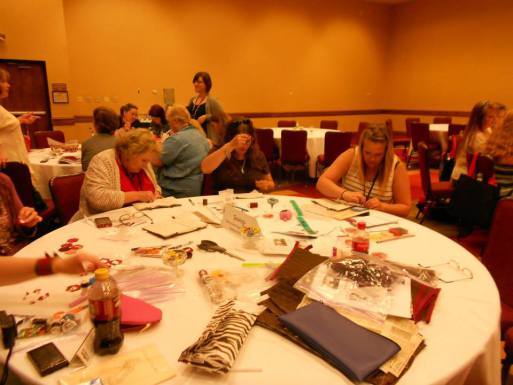
Welcome to the House of Taboo! This week I wanted to start off a feature I first experienced with RomCon 2014 in Denver, Colorado. I had a wonderful time with the other authors and readers creating fun projects to put together in the few hours we had for the event. I was assigned sewing. I hadn’t sewed much in years but thought it would be a hoot to give it a go. I settled on creating a trade paper back sized book cover. Participants only had to hand sew the pieces I provided and in the end, they had a cute cover for paperbacks. I provided them with a print out of the pattern which they could alter for any sized book if they wished. The following is a step by step instruction for creating this project. You will see the photos showcase different material. The browns are the colors we used for RomCon, and the bright colors were used to show the contrast between the material easier for the photos.
So let’s stop dilly dallying and get crafting!
 Cover For Mass Market Paperbacks
Materials needed
 Quilted material – 15 inches x 8 inches (17 x 9 1/2 for trade paperbacks)
Plain material (lining) – 10 inches x 8 inches (12 x 9 1/2 for trade)
Ribbon – 12 inches (or longer if you add a charm)
Extra wide double fold bias tape: 2 pieces 8 1/2 inches long
Steps
Sew bias tape on ends of quilted material
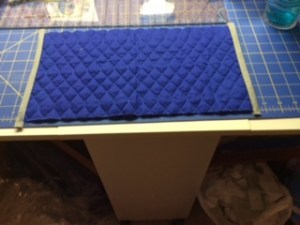
Fold ends of quilted material in 2 1/2 inches on each side
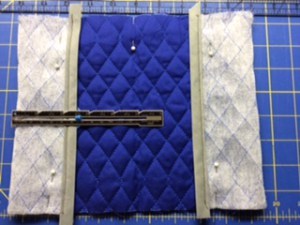
Mark center of quilted material (I did it with a pin in the picture)
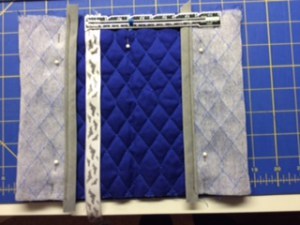
Pin ribbon 2 inches off center (right = front, left = back) (in my picture, the bookmark will be on the back) NOTE: If your ribbon has a right and wrong side, pin right sides together
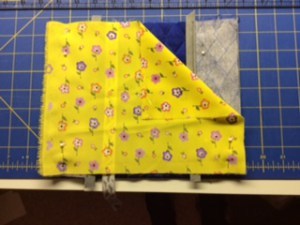
Pin lining material to quilted material. If it has a right and wrong side, pin it right sides together.
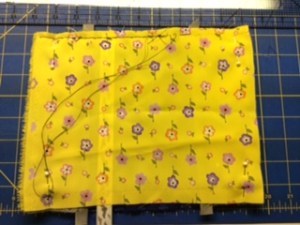
Sew lining across top and bottom with 3/8 – 1/2 inch seam, making certain to catch ribbon on top but not on bottom It took me about 15 minutes to hand sew both sides.
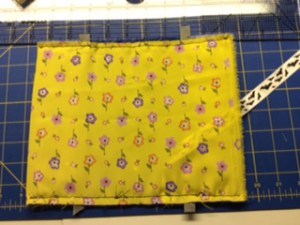
Turn inside out. Final product should be approximately 7 inches x 10 inches. Any smaller and a book won’t fit.
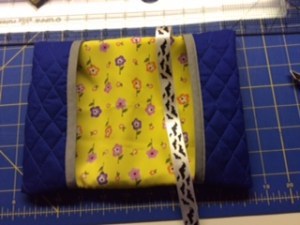
Notes:
The amounts needed for a trade paperback book are only estimates. I have found the sizes vary between these so best to measure for those books specifically.
Pattern courtesy of Denise Patrick
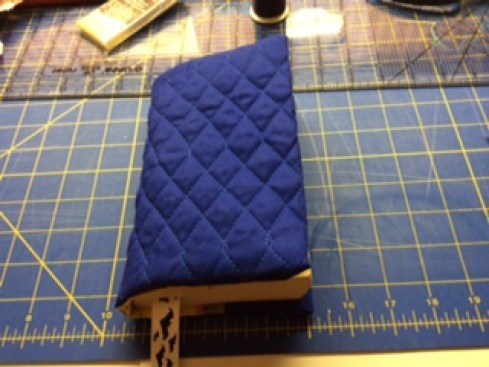
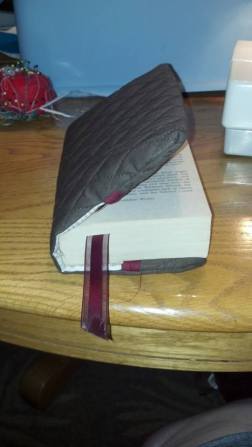
Here are a few shots of the finished product from RomCon…
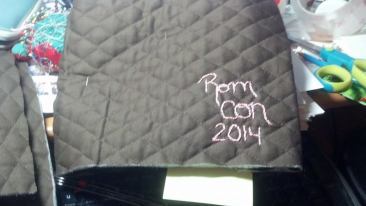 As you can see, you can embellish the material any way you wish. I embroidered a few of them before the pieces were assembled. Those finished products I used as giveaways during the convention. They were a big hit!
I hope you give this project a try and alter it to fit the sizes of books you have on your shelf. For authors, you can make these up for giveaways at conventions and raffle baskets. Go on! Make this pattern your own!
Until next time,
~Lia
4,591 total views, no views today


