How to make a watercolor portrait. (With steps)

Water colors are one of the hardest mediums to use to paint a portrait .The reason is that you cannot really control the paint, you cannot hide your mistakes, and you cannot over work. In Acrylic you can simply paint over, since it is opaque. So too in oil--you can 'fix' the mistakes. In Water color, it is such an art!
Above is a water color portrait I made, of my daughter which I am happy with. I have shared the image on my Insta art page too.
I got a lot of queries, asking me how I made it, and what materials I use.
So I thought I would do a post, showing you step by step.
Materials I use: Water colour: Sakura Koi (24 color paint box). This is what it looks like.
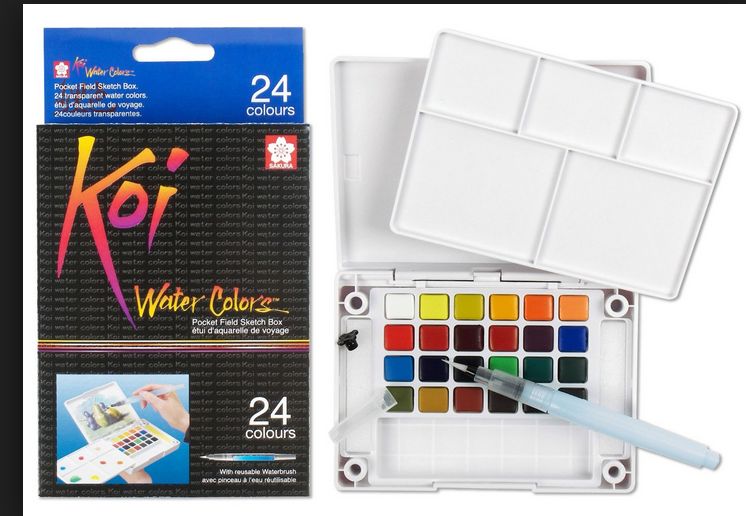
The paint brushes I use are sable hair brushes from UK. The brand is Pro-Arte. I use 0 number, 2 number, 4 number and 6 number.
Here's how I made the portrait.

I started with a line drawing. The drawing has to be accurate. You can see that I have marked very lightly with pencil, the areas where I want the highlights.

Then I wet the entire area of the drawing. I added a very light wash of the flesh tone which I got by mixing cadmium red and lemon yellow. I blocked in the hair using purple.
 Now you can see, I have painted the darker tones. I mixed a little cobalt blue with the flesh tint (mixed earlier) to obtain this. I also used yellow ochre. I have also added one more layer of the flesh tone, but this time , leaving the highlights untouched. At this point the deep brown looks too dark. But dont worry. This will change as you will see.
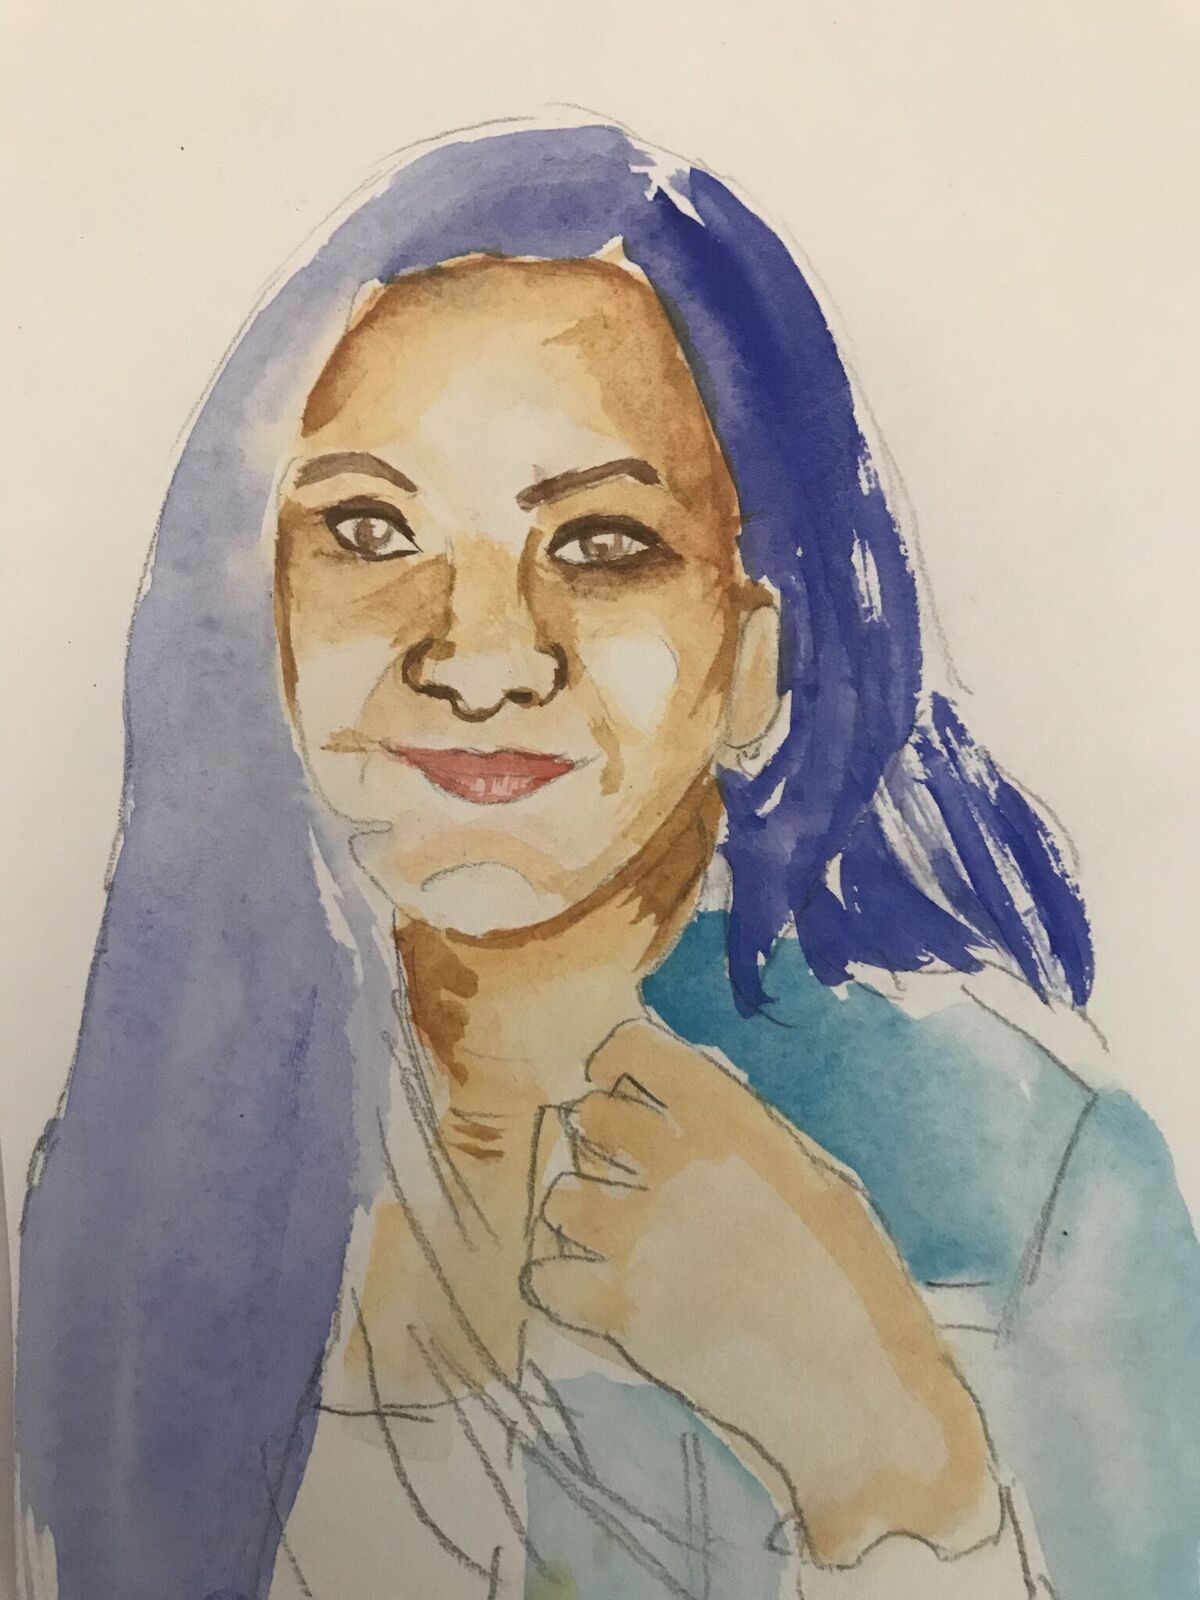 I painted the eyes and lips with burnt umber. This is just to add the first layer. At this point I have not yet touched the hair. I also softened the harsh edges of the shadows and highlights to make it blend in.
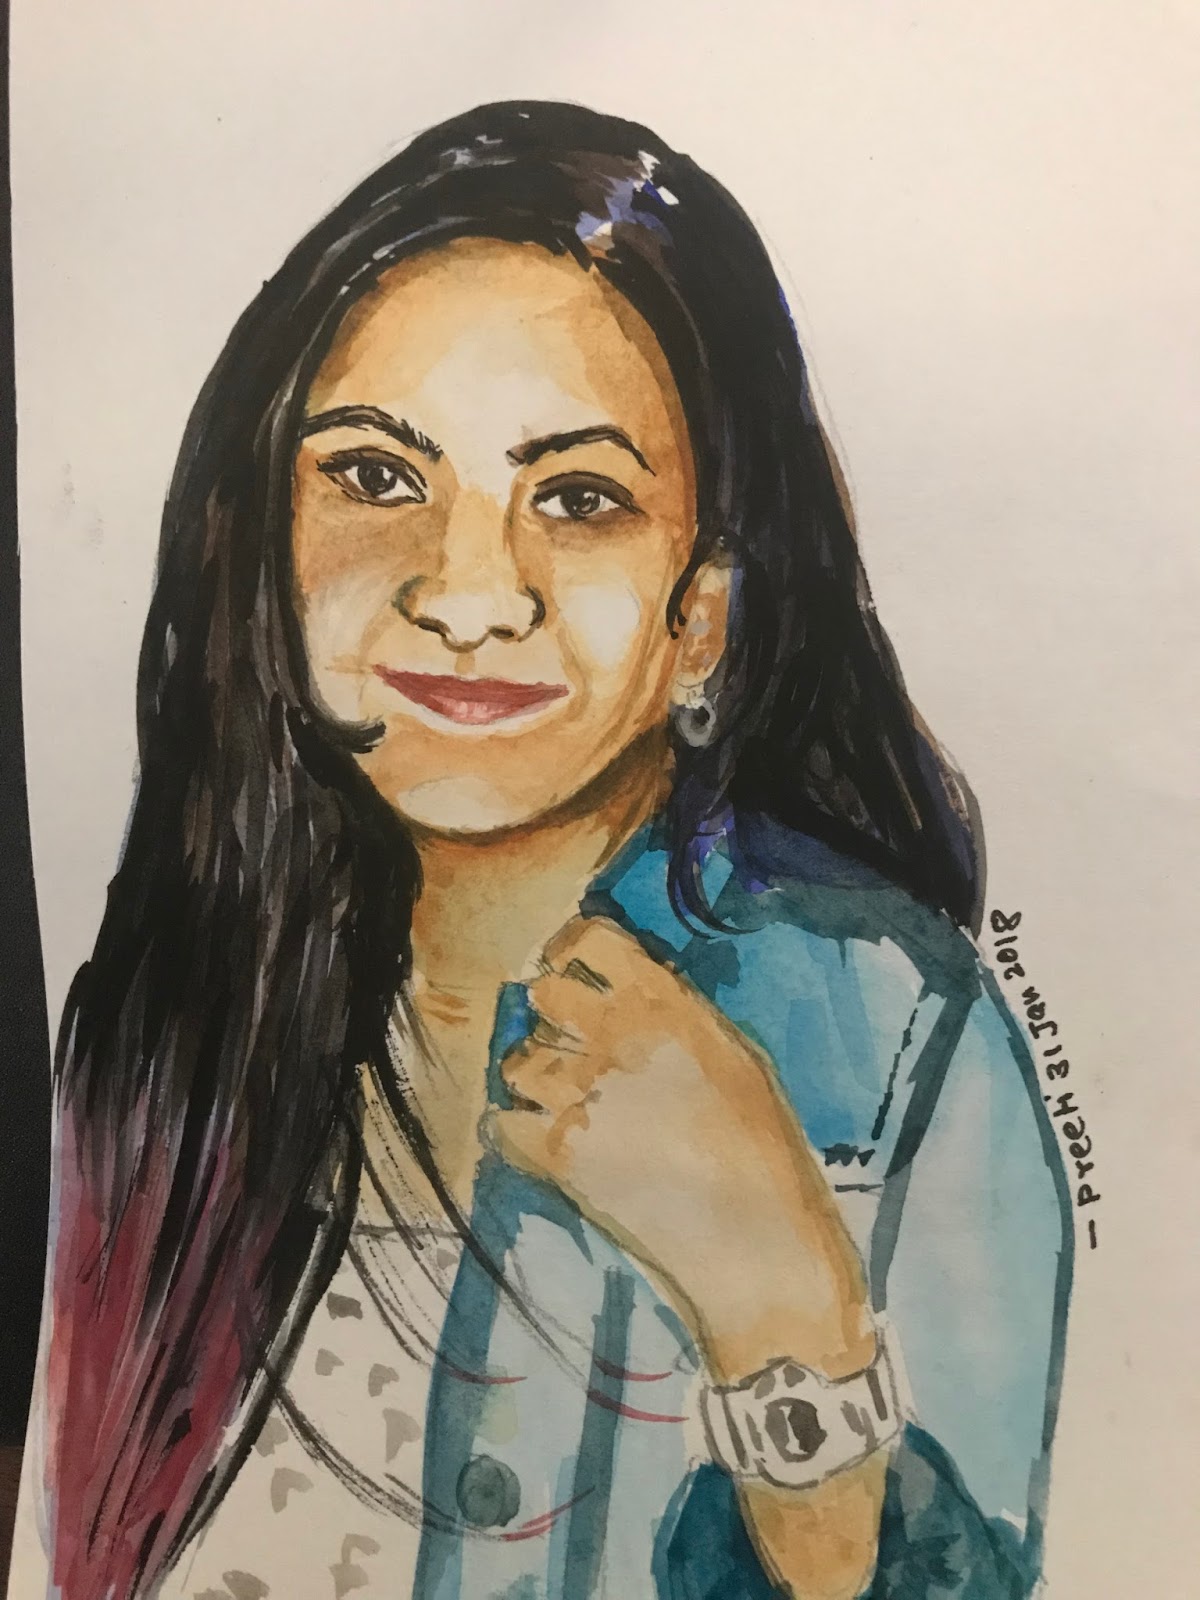
This is when it all comes alive. I painted the eye brows, the hair, and darkened the eyes, taking care to leave the highlights in the eye, untouched.
I also added the details on the clothes.
And voila--it is done!
Hope this helped all of you who wanted to know how I did this.
______________________________
Buy my books: http://preeti.io/amazon
Grab It's All In The Planets: http:/preeti.io/3
http://preetishenoy.com/


No comments have been added yet.