How to create a Mini Zine in 9 easy to understand steps.
What’s really cool about zines is their accessibility. Anyone can make a zine! This means I can make a zine, you can make a zine, your neighbour can make a zine, and your grandma can make a zine. These mini booklets or zines can be used to make anything weekly planner, coloring book, art project, kids game at a party. So put on your artistic caps and get ready to make some zines.
Materials Required:
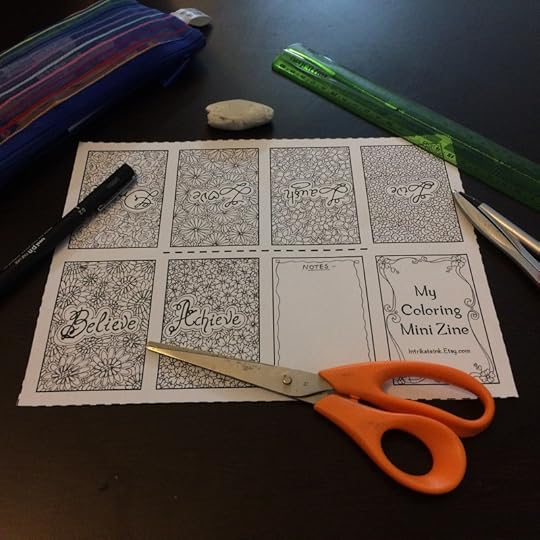
Any rectangular paper, US Letter 11X8.5 Inches has been used in this tutorial
Scissors
Step 1
Fold your sheet of paper in half hamburger style
Step 2
Unfold the paper. The sheet is now split into halves. Fold one side of your paper into the middle to meet the crease.
Step 3
Repeat step 2 for the other side of the paper
Step 4
If you unfold your paper you should have four equal sized vertical columns.
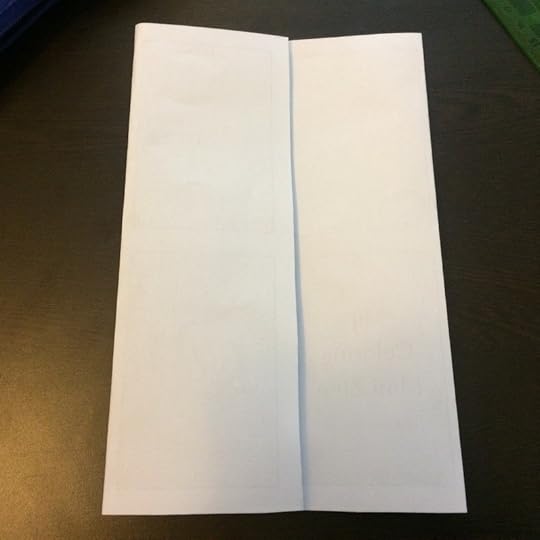
Step 5
Fold your paper in half again but this time vertically.
Step 6
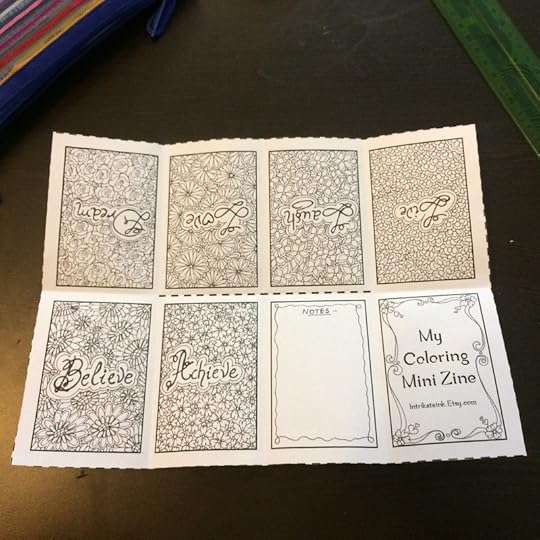
Unfold your paper you should now have 8 equally sized rectangles.
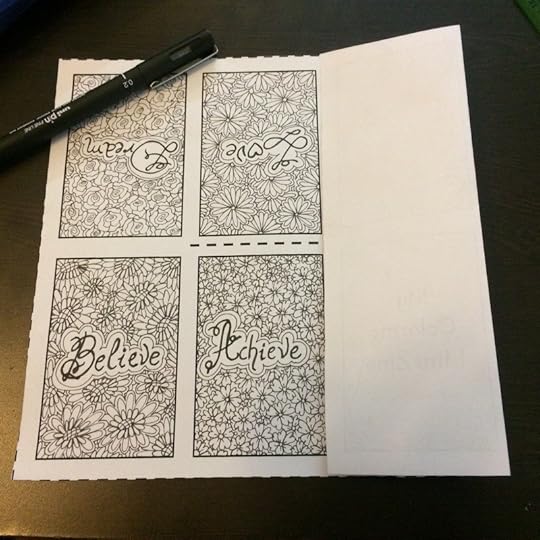
Step 7
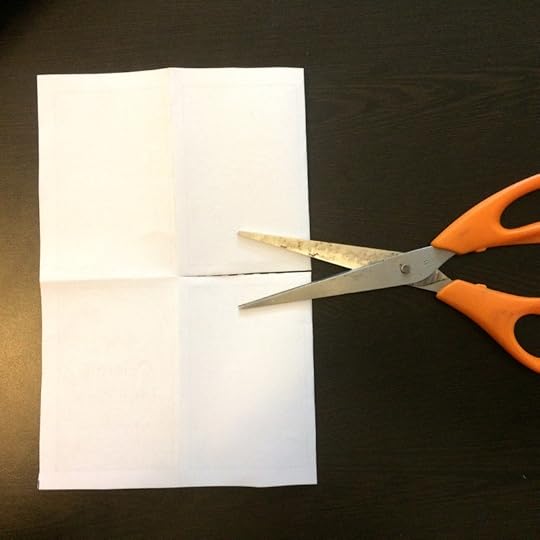
Fold your paper back in half as shown in image. Now cut halfway in at your crease, this cut will create a opening in the middle of your paper.
Step 8
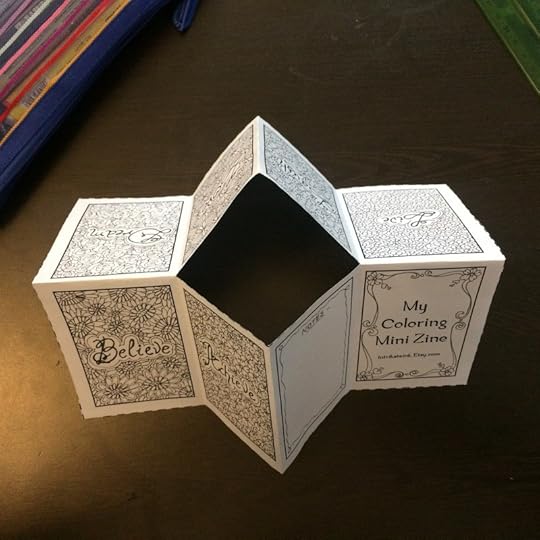
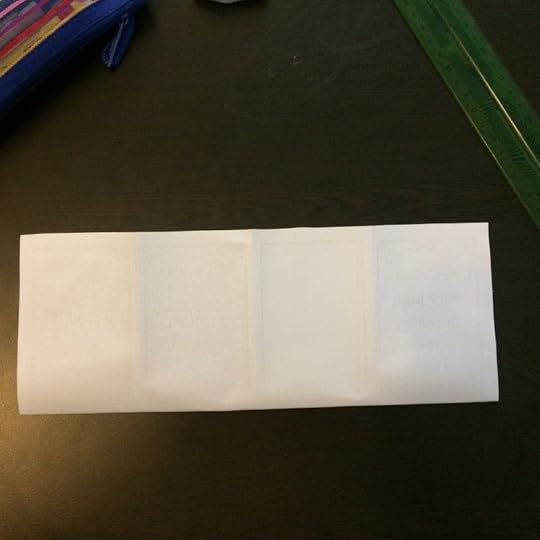
Now you should have a sheet with 8 sections and a slit in the middle. Open up your paper, fold in half like above. Then simply push the ends of the paper in and fold like a small book or pamphlet. Make sure that the printed side is on the outside.
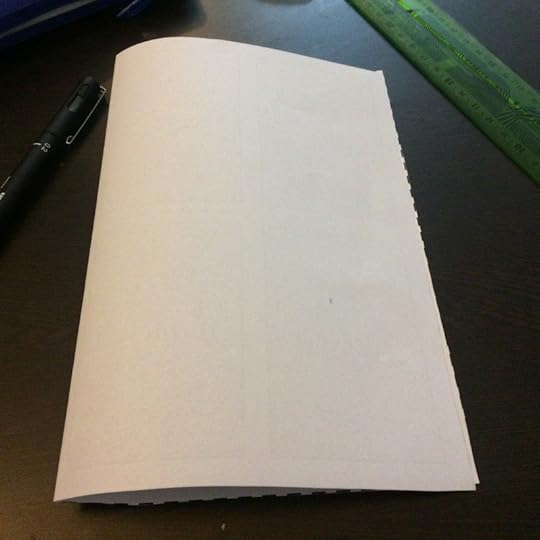
Step 9
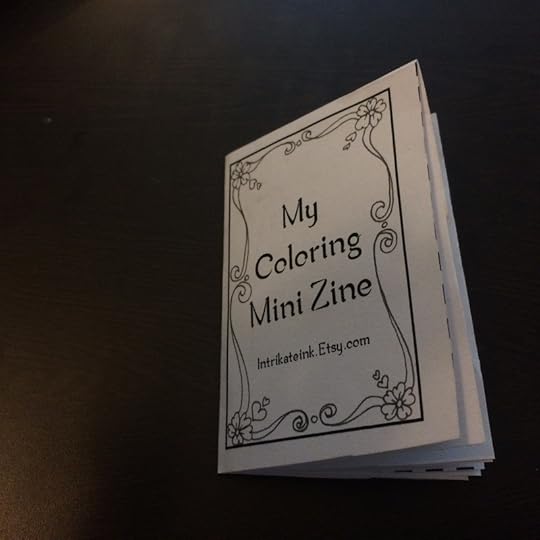
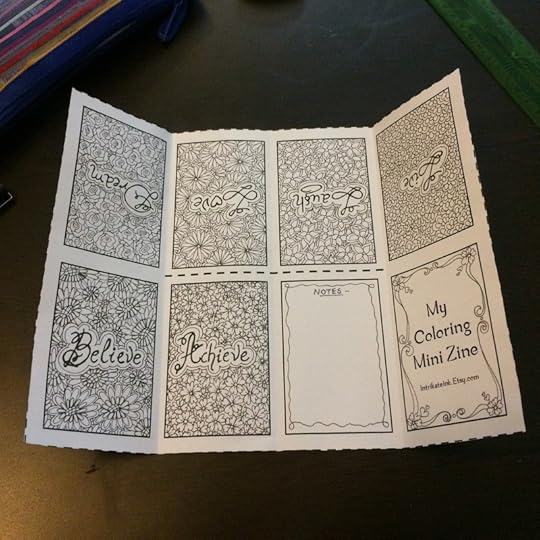
This is what your small one page zine should look like when you are done.
Easy wasn’t it….Share your mini zines on Instagram with #intrikateink to get featured here or even win some free giveaways. If you want to try some coloring mini zines click here.