
December Daily® 2016 | Foundation Pages + Video Overview
Tis the season to do some
December Daily® pre-planning in order to set yourself up for storytelling success.
The last couple of years I've gotten a lot looser with my foundation pages (
the work I do before December) vs. the prep work that I did in the past before working primarily with divided page protectors. These days my advance planning revolves more around setting my intention/reason why, thinking about stories I want to tell (and letting the products spark possible stories) and simply getting some things in the pockets before December begins. Over the years my approach for this project has changed a bit as I've narrowed my focus more towards the photos and the words.
All that said, here's my process for playing in my album before December begins (this is what I've been doing for the last week or so):
Turn on some Christmas music. This totally sets the tone and gets me in the mood when the weather outside still says Fall.
Pull out and look through your previous December Daily® projects. I just filmed a new walk-through of my 2015 album for the Storytelling With December Daily® workshop and it was so good to simply go back and see what stories I told and what techniques I used and to simply see the evolution of my story. Going back allows you to assess what worked and what didn't and make educated and intentional decisions as you move forward.
Organize your page protectors. I'm following the exact same design map as I did in 2015 - you can check that out and download it for yourself here (there are a couple more 6x8 pockets vs. 2, 4x6 pocket pages this year and I just substituted those). Look for other materials that can also be used as pages. Last year I used 17 page protectors in my album - the other days were a combination of different materials (vellum, large tags) or enlarged photos that are the same size as a full-page page protector. This is important to keep in mind as you are viewing these foundation pages - I definitely don't always use two-pages or a spread for each day.
Start with an intention or reason why. In 2014 I used the term "the reason why" and in 2015 I used "intentions" - either one works (click on either of those links to download the digital word art/PDF). This year I'm going back to "the reason why" and I've been thinking about this one a lot for the past week.
What do I want to focus on this season? What am I hoping for in terms of how I/we experience the season in our home? Why are you embarking on this project? What's different or the same in your home this year? Do you have different plans or are you starting new traditions? Read my reason why below.
Go through your products. One of the things I'm loving about the products in the main kit this year is that many of them are story sparks - specifically the cards. I'm loving that I can put in a card about gratitude and know that I can simply do a gratitude list on that day. This is also a great time - before December - to go through any other products you might have on hand in your stash that you might want to use in this product or that you aren't loving any longer that could be donated to others.
Start playing and putting things in the pockets and thinking about the stories you might want to tell that are sparked by the products. For now I'm keeping the white chipboard numbers white - I might stamp on them or emboss them later on similar to what I did last year. Remember that you don't have to glue anything down yet if you don't want to - there's nothing wrong with changing your mind along the way (the trap you want to stay out of is ending up not doing anything because you can't decide on which color or page protector or sticker to use).
Let's take a closer look at what I've got in the pockets so far (unless otherwise noted the cards/products below are included in my
December Daily® Main Kit). Scroll down to the bottom of this page for a video walk-through of what I've included up to this point and a second video that takes a closer look at what I've got in my red box on my desk:
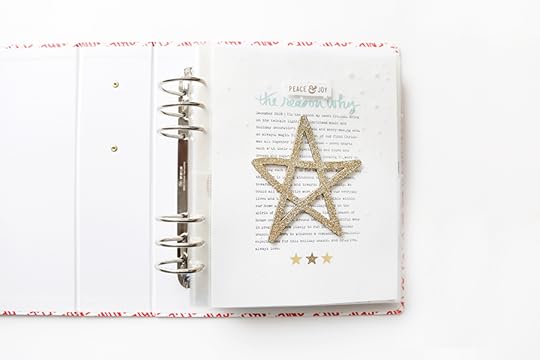
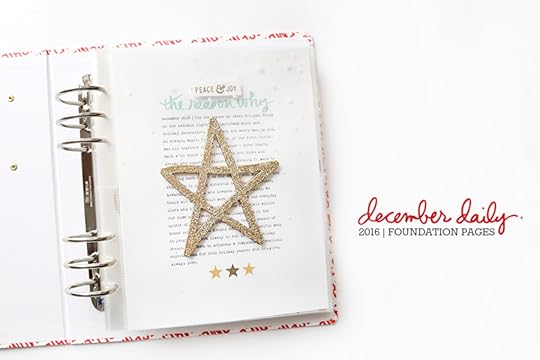
TRANSPARENT PAGE | I took the wood star from the kit and added
Zing Gold Glitter Finish Embossing Powder on top (it has more glitter "chunks" of glitter than the metallic finish powder). This is adhered/attached to the white star transparency with red line tape.
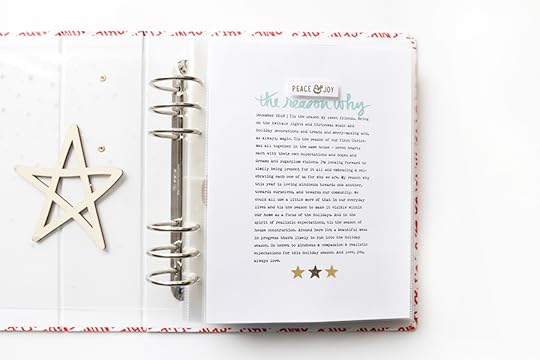
REASON WHY/INTENTIONS PAGE | Along the bottom of the page I stamped and embossed the star in the middle (using stamps from the
Christmas Star Set) and the two on the outside and from the package of stars in the main kit. The font I'm using this year is Remington Noiseless. You can download the Reason Why digital package here.
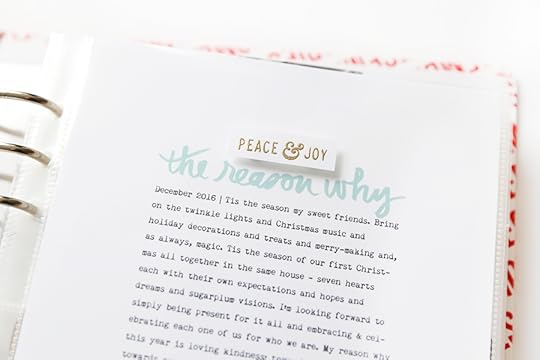
I stamped and embossed the
"peace & joy" with Zing Gold Metallic Finish Embossing Powder and then cut it out and adhered it to the page with foam dots.
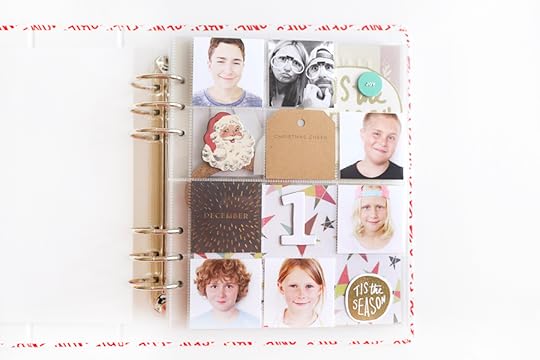
DAY 1 | I decided to start the album this year with the photos I took a couple months ago of each of the kids + a funny one of me and Aaron. I love that those kraft tags fit right into those 2x2 pockets (2 inches wide). I also, as you will see many times in this album, love to find opportunities to be able to "see through" to the next page.
The "December" card is from the
Jasmine Jones Mini Kit (cut down to 2 inch x 2 inch). The gold embossed "tis the season" circle is from the Christmas Messy Circles stamp set and was then hand-cut. The chipboard santa head is from the December Daily® Chipboard Shapes set.
I'll figure out what to put on the backs when we get to December 2.
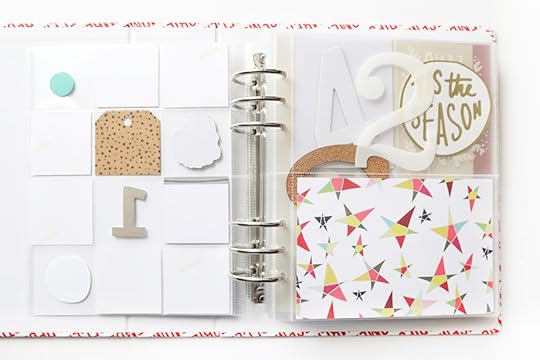
DAY 2 | Star patterned paper from
Pam Garrison's Mini Kit + plastic #2 from a previous Studio Calico kit.
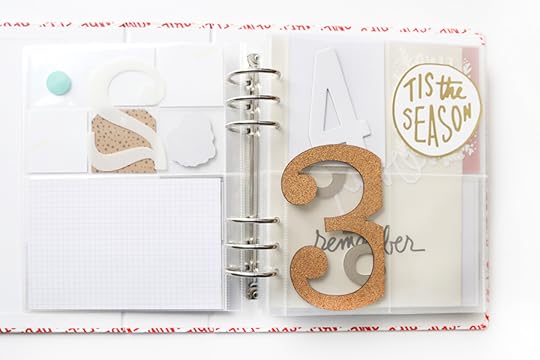
DAY 3 | As you might have seen in my previous
Beginning Preparations post, numbers are one of the things I look for in my stash. This very large cork number is from the Young At Heart Scrapbook Kit. To enable it to fit into the pocket I trimmed down along the edge and it's coming out of the top of the pocket. I paired the number 3 with one of the large messy circles from the Main Kit.
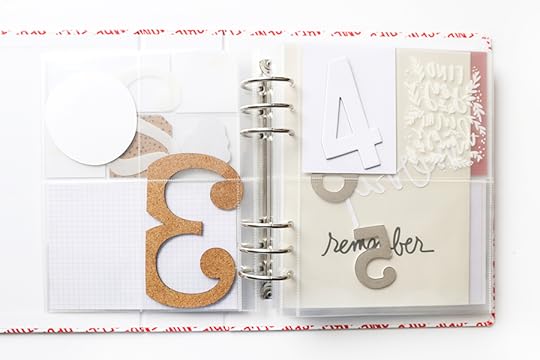
DAY 4 | I found a couple of these
white chipboard numbers in my stash and decided to add them in as well in a couple of places.
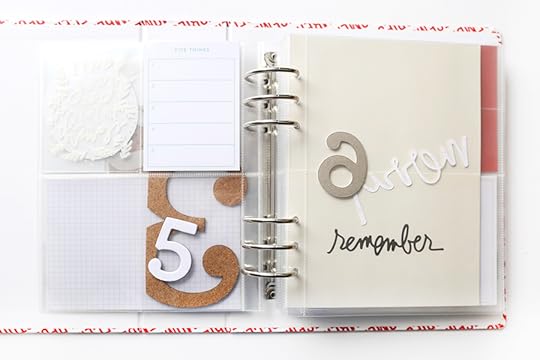
DAY 5 | This will likely be a day to document 5 things (again, loving that this simple card can be the spark for a specific story).
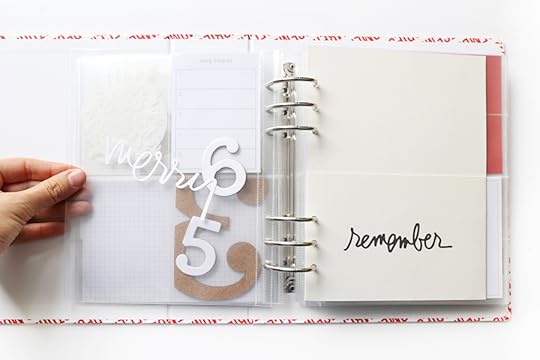
DAY 6 | I used the
Merry craft die and my Evolution machine to cut out the word "merry." I added in the "remember" pocket page here but might move it around depending on the story I end up telling.
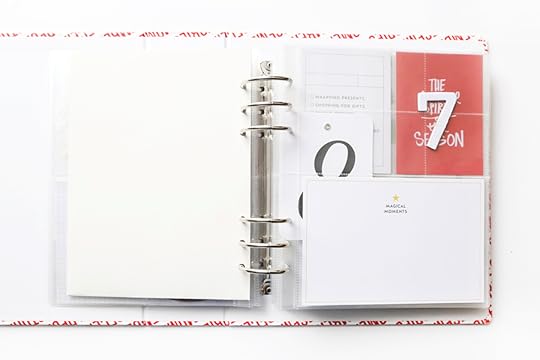
DAY 7 | Magical moments card + chipboard #7.
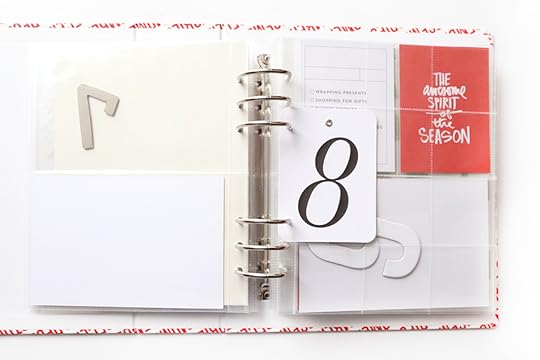
DAY 8 | I've had this number card forever. You could easily make this yourself by printing out an 8, rounding the corners and placing a grommet in the top.
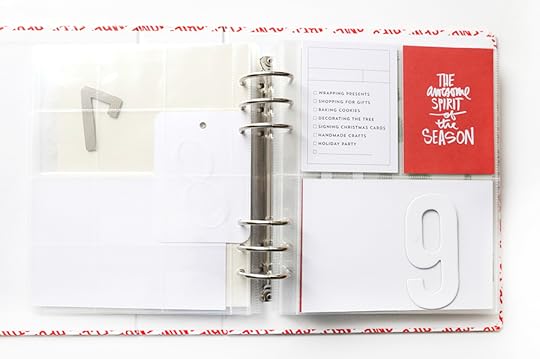
DAY 9 |
Cascade Chipboard Number + a checklist card + a sentiment card.
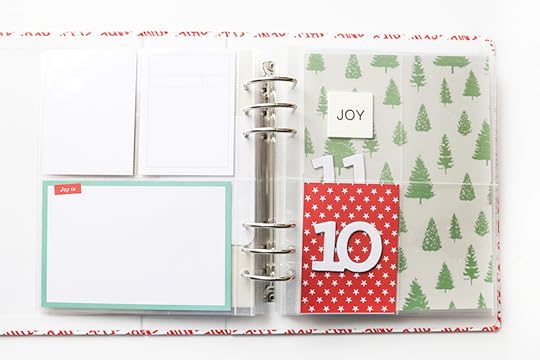
DAY 10 | The theme for this day will be "joy" using the "joy is" card from the main kit as the jumping off point. The white rubber "Joy" piece is from the
Paislee Press Mini Kit. The red star pattern is cut down from a 6x8 pattern paper in the main kit.
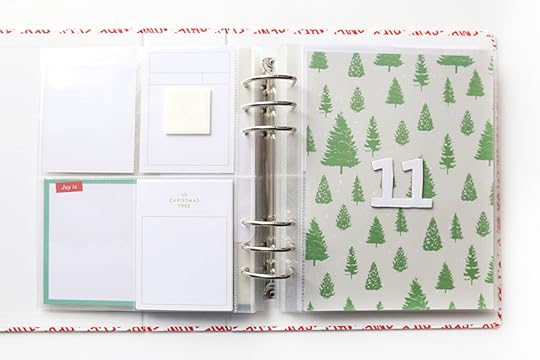
DAY 11 | Initially planning on Day 11 being the story of our tree this year.
DAY 12 | Planing to play with circles for Day 12 - including cutting circles out of some of the journal cards + using the
"joy" craft die. Makes sense to me to just slip them into the pocket for now. Large chipboard numbers are from the Cascade Chipboard Set.
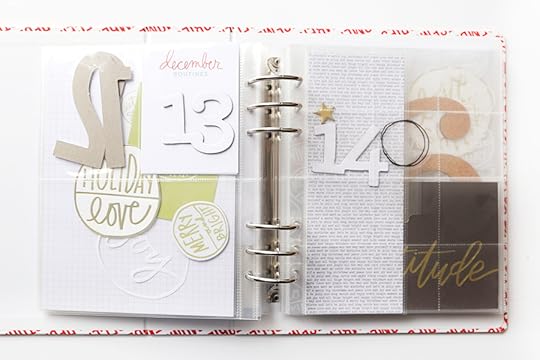
DAY 13 | I like the idea of identifying specific December routines so I'm going to document that on Day 13 (of course, the actual day is subject to change but I like the idea of this topic).
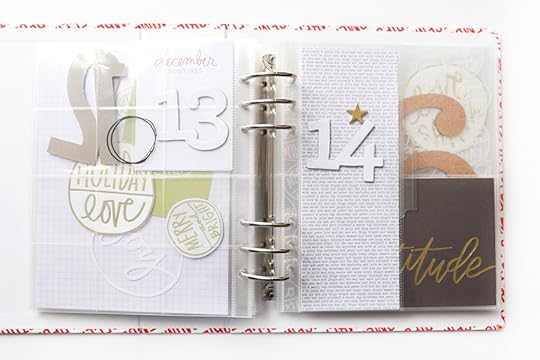
DAY 14 | I slipped in a
3x8 page protector + white chipboard number + gold chipboard star + cut pattern paper + Avery tab along the edge. Bring on the gratitude list.
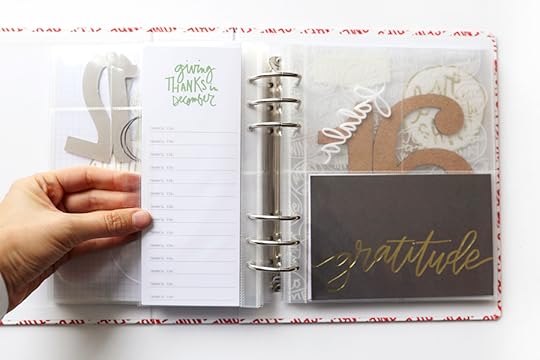
On the back I printed out one of my 3x8 layered templates from the
3x8 December Stories Layered Template Set and paired it with the gold foil "gratitude" card from Jasmine's kit.
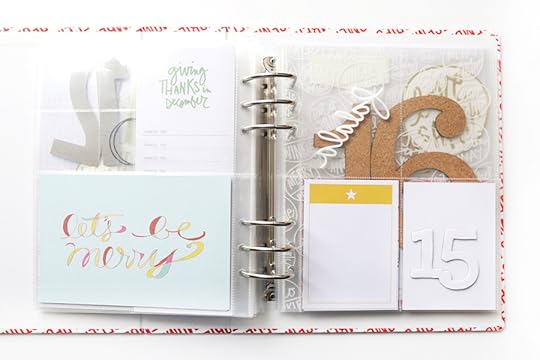
DAY 15 | "Let's Be Merry" card from
Pam Garrison's Mini Kit paired with the yellow star card and the "15" chipboard from the Main Kit.
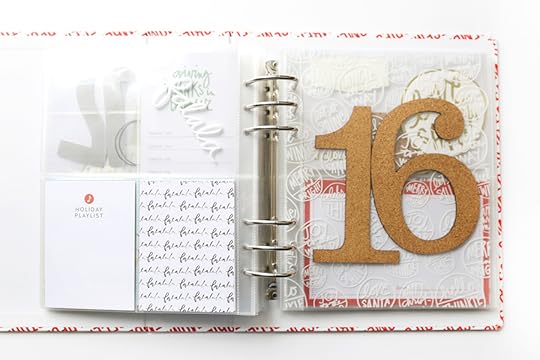
DAY 16 | I'm planning to document the music I'm listening to this year for this day. The large cork numbers from the
Young At Heart Scrapbook Kit are currently just sitting inside a 6x8 page protector.
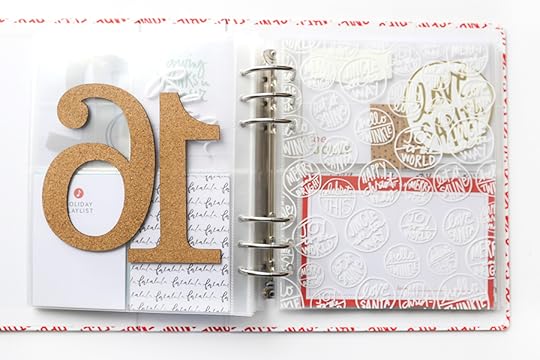
Next I put in the second pattern transparency page.
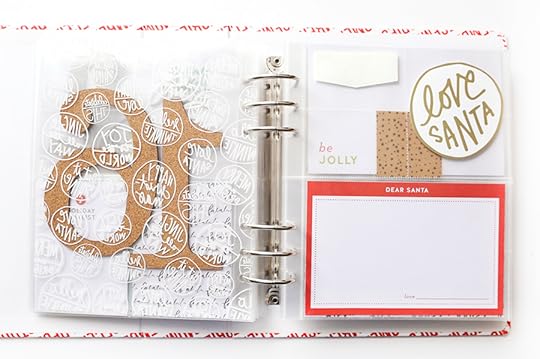
DAY 17 | I didn't put a number in here yet and it's likely I'll include some other things in here when the kids write their Santa letters. It's simply a starting place for a home for this story.
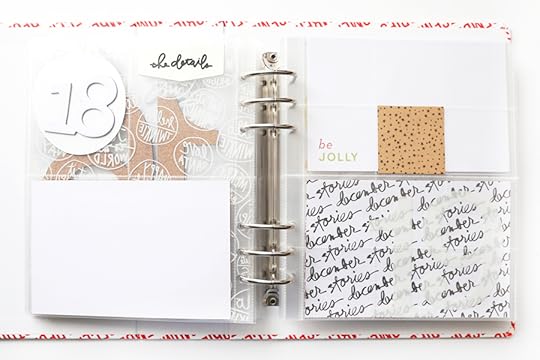
DAY 18 | The rubber "the details" piece is from the
Paislee Press Mini Kit. I love how the chipboard 18 can have a home behind one of those large messy circles.
Between Day 18 and Day 19 there's currently a 2x2 page protector with a bottom piece of one of the kraft tags slipped into the pocket.
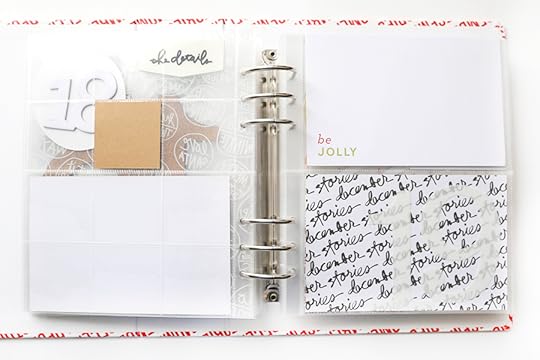 DAY 19 | Right now this day includes a "be jolly" card and 1/2 a sheet of the December Stories pattern paper from the Main Kit + a white plastic "1" and "9" from this kit.
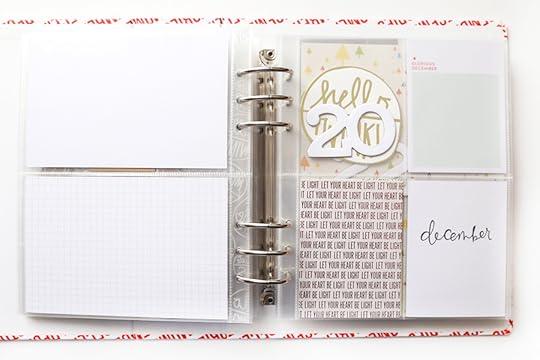
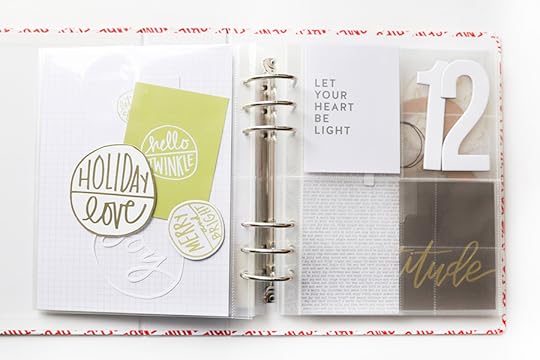
DAY 20 | For Day 20 I'm currently pairing the rose gold foil "Let Your Heart Be Light" card from the
Decor 8 Mini Kit + a white "December" card from the Paislee Press Kit (that will likely get covered up because I mainly put that in there for the other side as you'll see below).
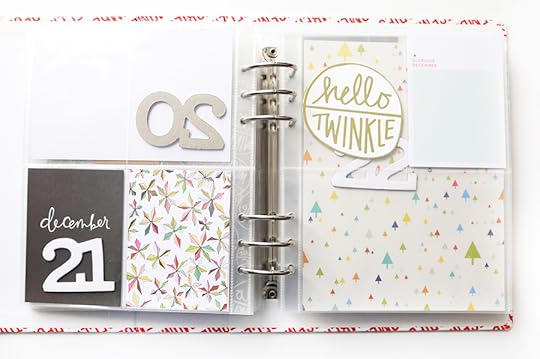
DAY 21 | "Glorious December" card + messy circle +
star card from Pam's Kit + 21.
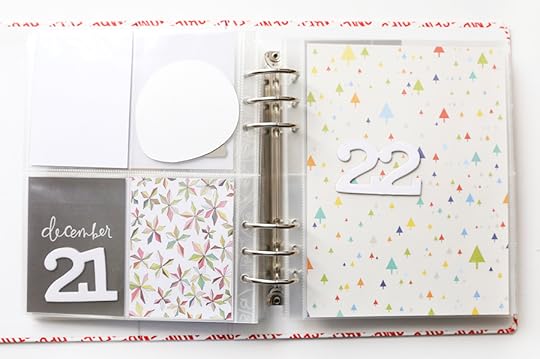
DAY 22 | As it gets later into the month my planning is usually even a little looser than the beginning. So many of my photos are led by the stories of what ends up happening at that time. Right now for Day 22 I'm just included the tree pattern paper and chipboard number from the Main Kit (again, nothing glued down).
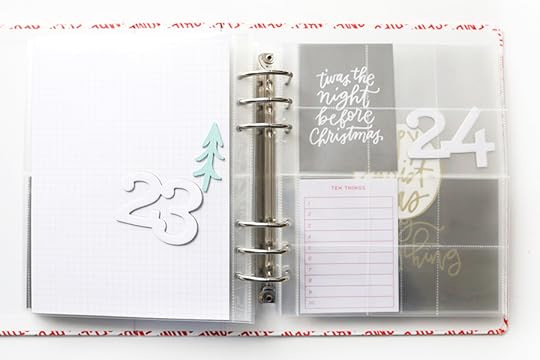
DAY 23 | I love those wood trees from the
Decor 8 kit so I'll likely include some story here and use the tree at the top. Love that color.
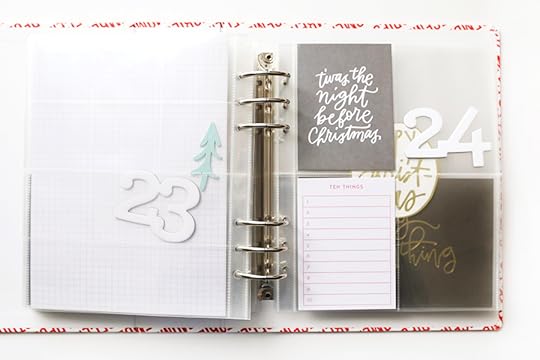
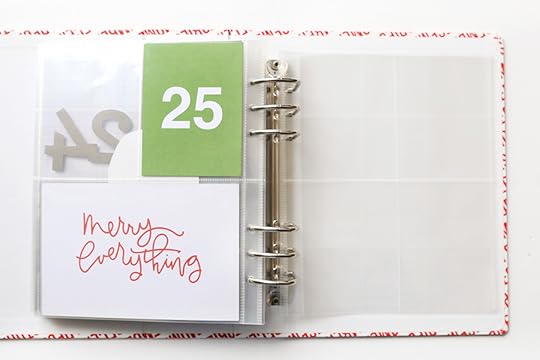
DAY 24 | I'm not sure yet what our plans are going to be for Christmas Eve and Christmas Day so I've just added in a few things I'll consider using when the time comes to tell those stories. I love that 10 Things list card from the Main Kit so that might get used on Christmas Day or Christmas Eve for my personal favorites.
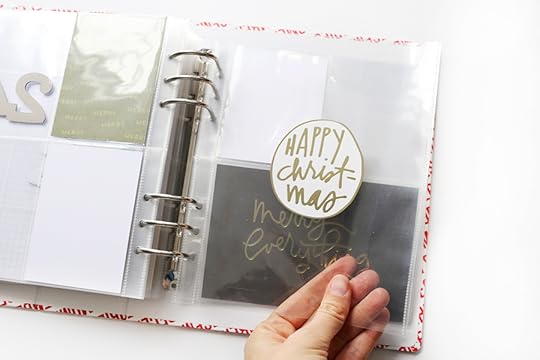
I love the idea
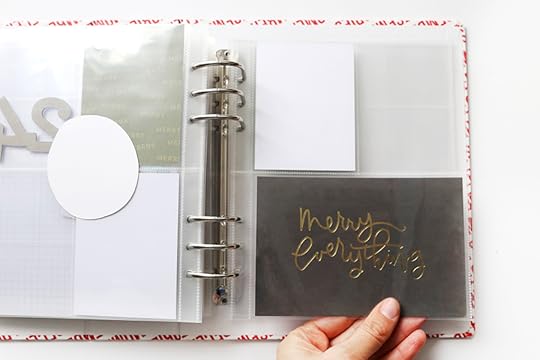
The "Merry Everything" card is from the
Paislee Press Mini Kit.
As always, things will look different once my stories start finding their homes in my album. You can see all my past December Daily® posts - including a video each day during my 2014 posts here.
2016 VIDEO OVERVIEWDESKTOP SUPPLY OVERVIEW
Here's a quick video of what's on my desktop this year as we get closer to December:
Check out my full collection of December Daily® products here.
I'm looking forward to telling stories with you this December!


