
shoomlah:
Thought it might be interesting to show how my Mos...

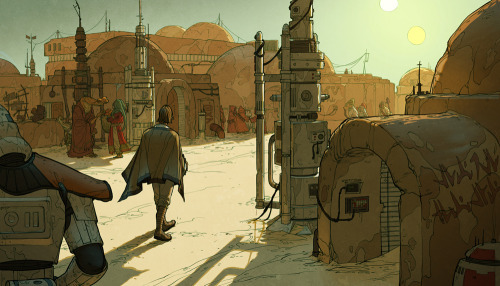
Thought it might be interesting to show how my Mos Eisley piece breaks down in Photoshop! Despite technically being made up of a ton of layers (just for organization and ease of selection), the final piece breaks down into about five parts: inks, flats, shadows, bounce/atmosphere, and overlay.
Sketch
I actually blocked out a small scene in Maya to help me compose this shot – Mos Eisley has a lot of domes and ellipses and, as much as I adore drawing in perspective, it definitely helped having a basic maquette for placing the camera. We had to get the sketch approved by Lucasfilm, so I did a quick value pass to hint at the time of day.
Final Sketch
This is where I’m finalizing the composition before inking. This meant fine-tuning figure placement, environment details, and any text I had written on the walls. Luke was almost entirely central in the initial sketch, so I shifted him to the left to let the piece breathe a little more.
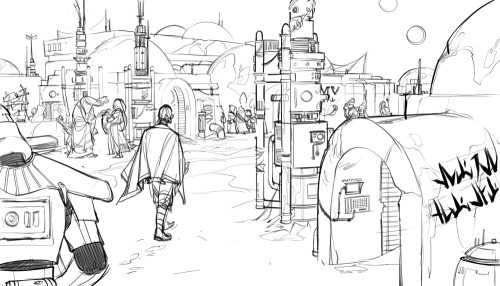
Inks
The first stage of the final piece, and probably my favourite – I can just turn off my brain, zone out, and ink. Since Star Wars is a notoriously “used” universe, I went for a bit of Geof Darrow vibe and let the inks do a lot of the texture work for me. The inking is actually done over some twelve-odd layers (sandtrooper, Luke, foreground moisture vaporator, etc), but that was just to organize my file and facilitate expedient flatting later on. The final inks are a dark green-blue, with a bit of variation in the distance to reinforce the atmospheric perspective.
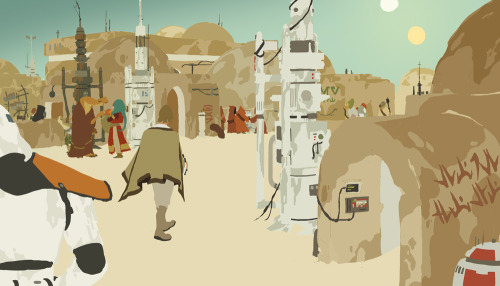
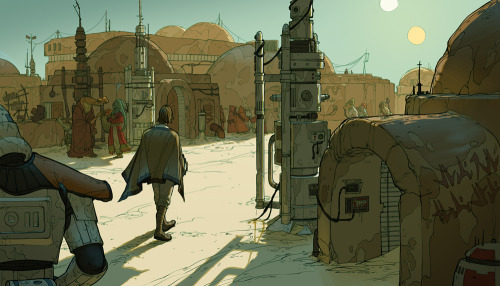
Flats
This aaaalways takes longer than I expect. This stage changes depending on my process, but I went with pretty basic local colors this time around. Nothing fancy.
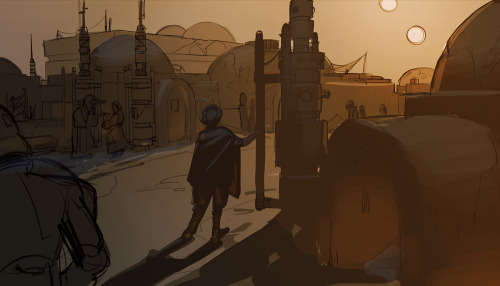
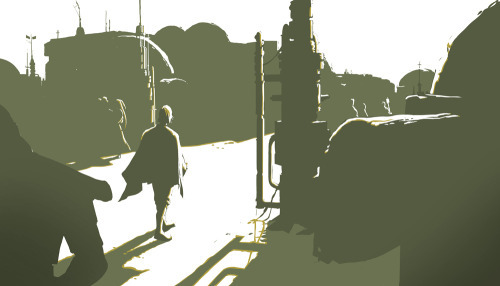
Shadows (multiply layer)
The shadows are all on 1-2 multiply layers, pretty basic. This was a deceptively simple lighting setup, so I wanted to make sure any edges that were catching light read really clearly. I added the warm rim of subsurface scattering to break up the edges a bit.
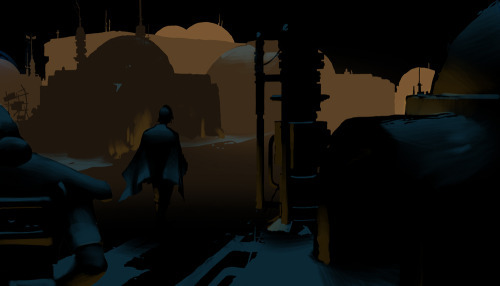
Bounce Light and Atmospheric Perspective (screen layers)
A couple separate layers, but they serve similar purposes. This stage added bounce light from the sky and sand, as well as layers of atmospheric perspective to separate out the foreground, midground and background.
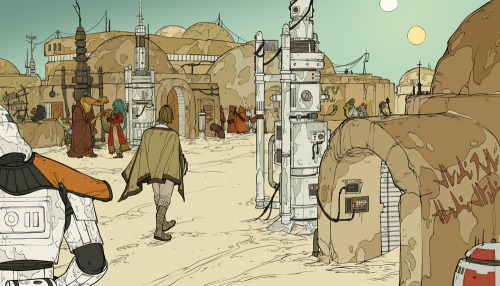
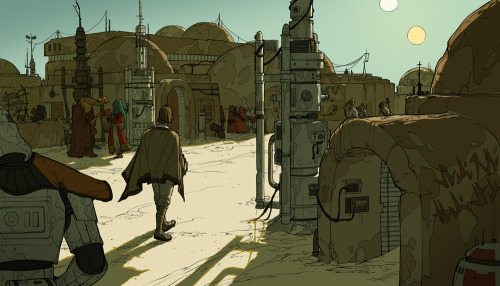
Final (overlay layers)
The final piece! I used a subtle overlay layer to marry the colors, as well as some film grain and light watercolor texture to break up the swaths of flat digital color.So that’s my jam! I’m changing up and improving my process constantly, but this is definitely one way to get things done. :)


No comments have been added yet.
Maggie Stiefvater

I don't read blog comments here — it's a feed from my site at www.maggiestiefvater.com
...more
- Maggie Stiefvater's profile
- 171419 followers

