
How to make fiery letters in paint.net
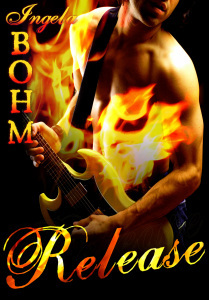
On all my Pax covers, I’ve used fire in both text and image. Over the top? Perhaps. But if you want to use the fiery idea to make your title or any other text more vivid/dynamic/eye-catching, this is how you do it.
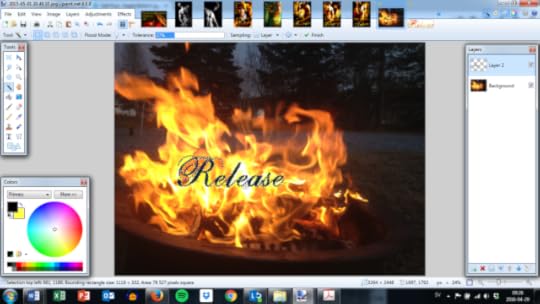
First, you need a picture of fire. I took this one during an evening when hubby and me were grilling with friends.
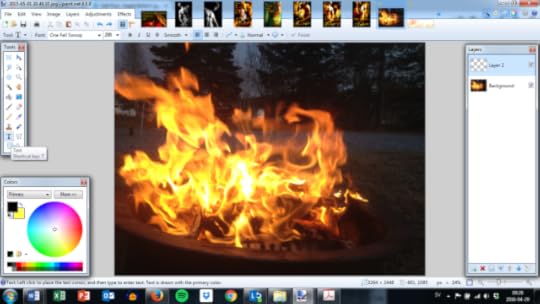
As you can see in the box to the right, I’ve added a new layer on top of the fire image. That’s where the text will go.
I used the font One Fell Swoop, which is free and can be found here.
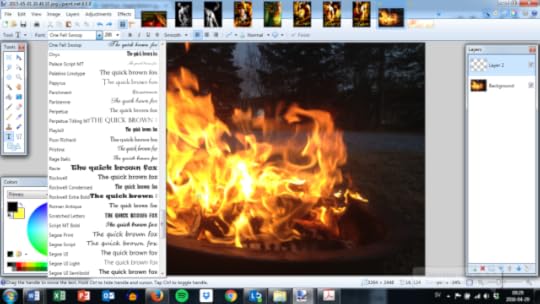
Write the text anywhere you like, just remember that it’s what’s in the image underneath that will make up the letters once you copy it into a new document. Move it around if you’re not happy with the colours, or change the size.
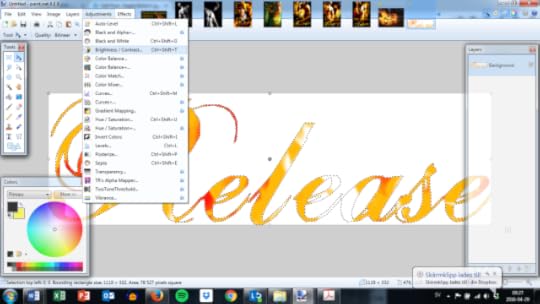
Next, you use the magic wand to select the letters (still on the second layer, otherwise you select the fire instead).
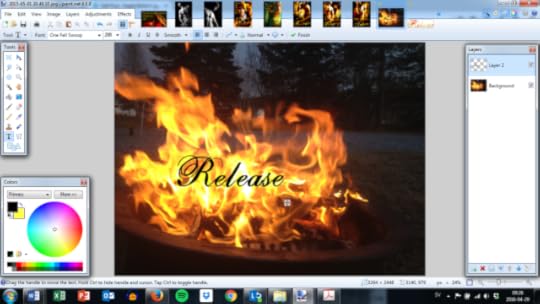
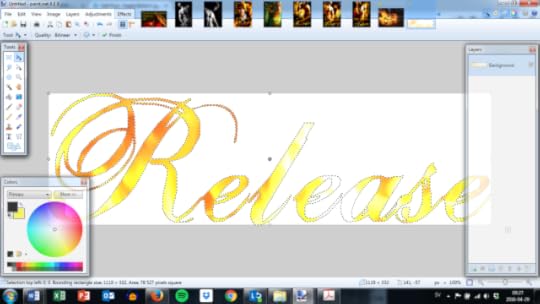
Then you switch to the Background layer again and copy your selection. What you’re doing now is, you’re using the text from the second layer as a template for what you want to copy from the fire image.
Create a new document and paste the copied fire text.
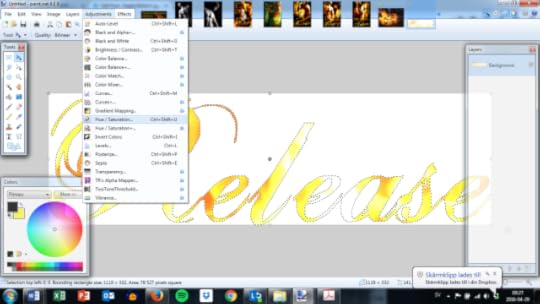
If you’re not happy with the colours, remember you can go back and move the text around and copy new versions.
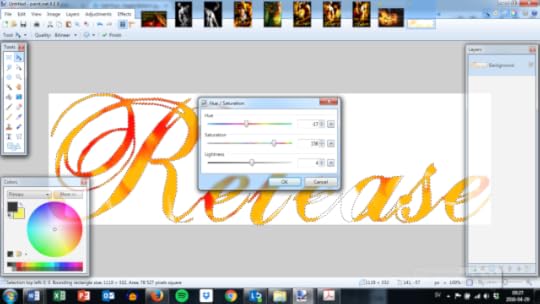
When you’ve chosen the best version, you can modify the colours and contrast by using Hue/saturation and Brightness/contrast.

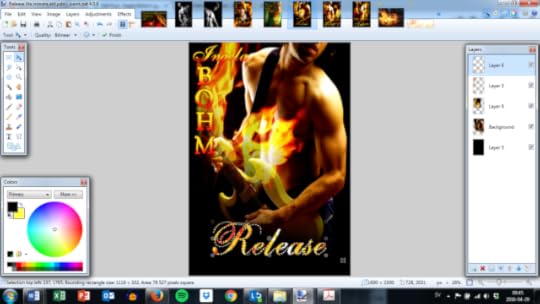
And now you’re ready to copy the text onto a new layer on the cover or whatever it is you’re making!
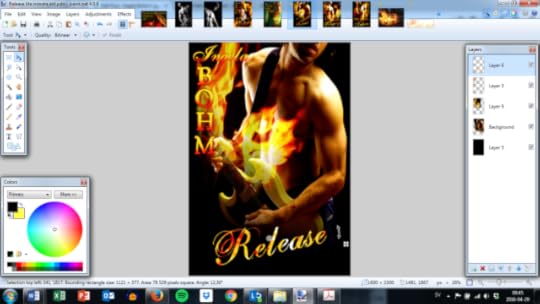
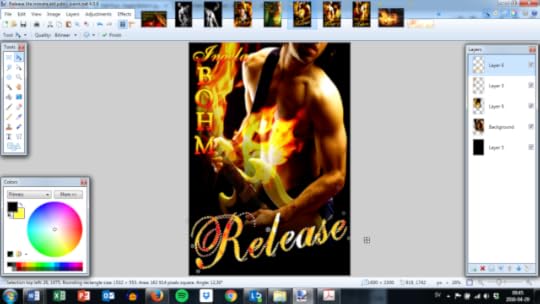
If you want, you can change the orientation and size of the text by pulling on the bent arrow thingumajig that appears when you hover close to your selection.
Done![image error]
Of course you can use other images besides fire to make your text pop. In this one, for example, I used rainbow watercolours and changed the hue to mostly blue and green, in order to create the impression of a stream.


Ingela Bohm's Blog

- Ingela Bohm's profile
- 19 followers

