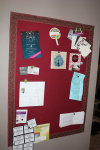
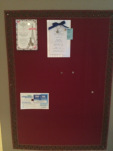
DIY Magnetic Memo Board!
Magnetic memo boards are a great way to display cards, coupons, bills, and the more than occasional wedding invitation.
I find lattice memo boards a little restricting,

and think they look messy, as everything has so be askew to fit papers through the ribbon.

Magnetic boards are easier to customize. Get decorative, and unclutter your kitchen table!
You will need:
magnetic sheet metal
steel Cutters to trim board to size (if needed)
double-sided tape
hot glue
packing tape
fabric for background
trim (frame or ribbon)
4 nails
magnets for finished board

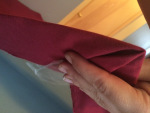
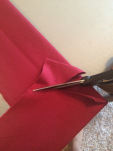
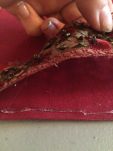
Step One: Cut and wrap your metal in the fabric of your choice. Metal is sold in sheets at home depot, and we borrowed a magnet to test the board before we bought it. A thin to medium fabric will allow magnets to stick. I used double-sided tape to secure the fabric on the front side’s perimeter and pressed the fabric across, wrapping it around to the back.

The back of your board needs to be secure, not look pretty!
Step 2: tape the back with clear tape to secure. It doesn’t have to look pretty, because it’s the back!
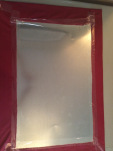
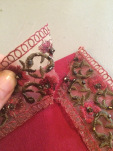
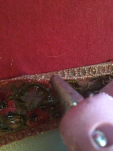
Step 3: Cut and attach your trim with hot glue. I used a fabric ribbon because it’s light and glues down fabulously. The beaded pattern also helped camouflage seams in corners. If you want a wood trim look, I’d suggest shopping for a picture frame and replacing the glass with sheet metal. I had a picture frame that broke, so I took the glass out, put the remainder of my sheet metal in, and then gave it to a friend.
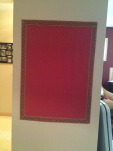
Step 4: Place a nail in each corner of the board to secure into the wall.
Step 5: Decorate!
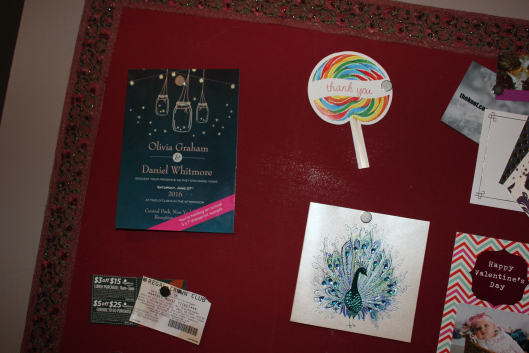
Now, we’ll never miss Olivia and Daniel’s wedding!
If you make your own project, please post a picture to share in the comments below![image error]