
Day In The Life™ 2016 | Working With The Layered Template Set
Happy Monday! This week I'm going to be sharing how I collected all my Day In The Life™ content together to tell the story of my day.
Today I'm sharing a layered template tutorial to walk you through the steps of working with my new Day In The Life™ layered template sets and tomorrow I'll share my completed project + my Week 13 of Project Life® (home for my Day In The Life™ inserts) along with a video overview.
For my own project this time I used one of the 6x12 templates + supplies from the Day In The Life™ kit to record my story. These layered templates - for use with Photoshop or Photoshop Elements and offered in both 4x6 and 6x12 sizes - were designed specifically to work with the rolling time stamp that was part of the now sold out Day In The Life™ kit.
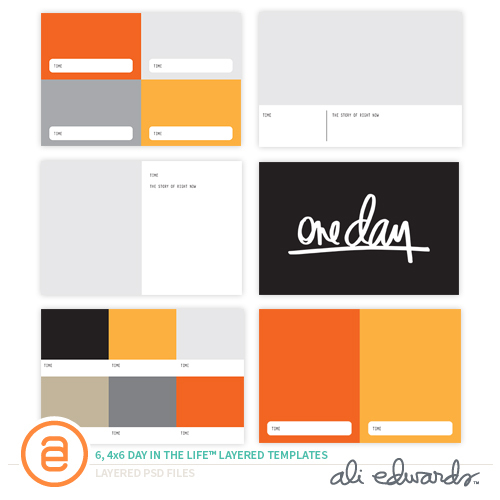
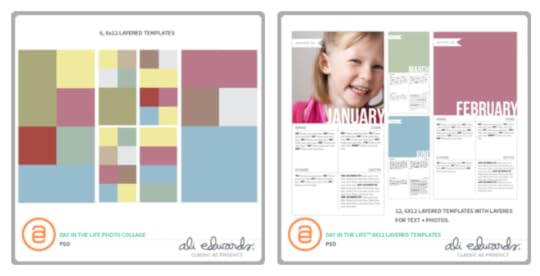
Here's a look at the 4x6 set:
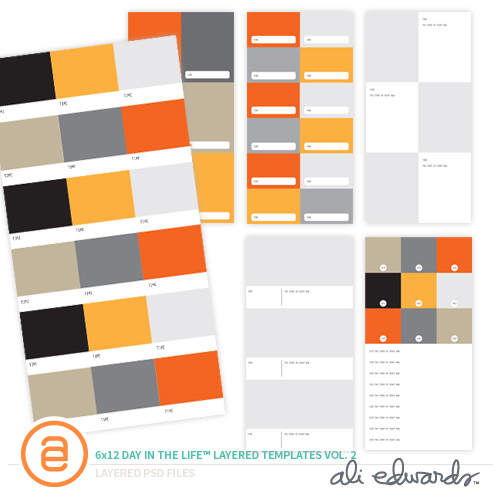
And the 6x12 set:
Both sets are super versatile and can be used for a variety of projects, including just weekly in Project Life®. Here's a look at how to work with the Day In The Life™ layered template sets:
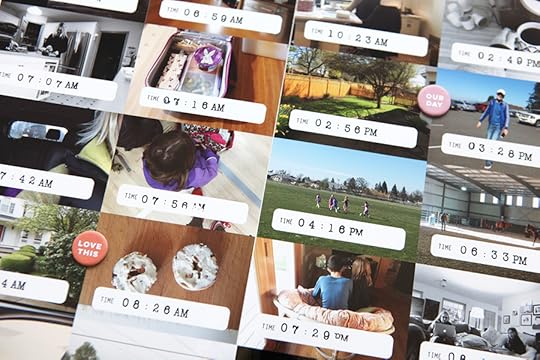
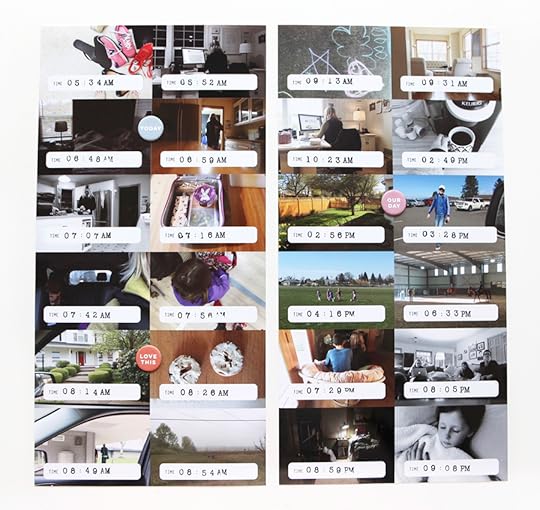
And here's a look at how my 2, 6x12 pages turned out (I'll share the additional inserts that made up my day in my post tomorrow):
Also, in addition to the two new sets we've also re-released my Day In The Life™ 6x12 Layered Template set and Day In The Life™ 6x12 Photo Collage Layered Template as Classic AE products in my shop (this means it was originally available at Designer Digitals).
If you are interested in learning more about getting started with digital scrapbooking check out my free series of posts here: Getting Started With Digital Scrapbooking.
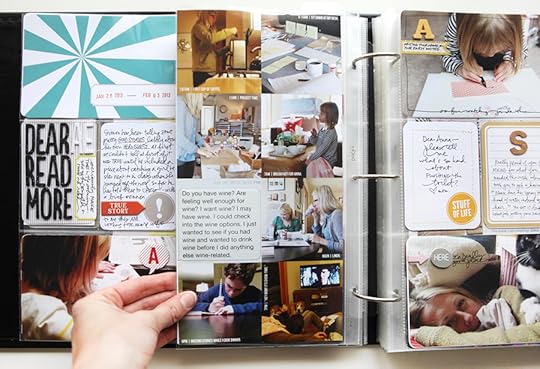
Here's a look at the first
6x12 layered template set in use in my Project Life® album back in 2013:
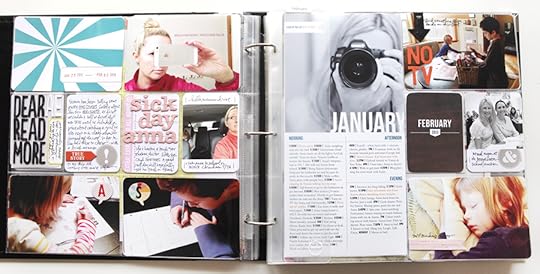
On the back I used a
Day In The Life™ 6x12 Photo Collages Layered Template set:
You can check out a tutorial on working with that particular layered template set
here.
See all my past posts about
Day In The Life™ here.


