
Guest Post: How to Make a Coroplast Emergency Shelter (or Post-Apocalyptic Bicycle Camper)
©2016 Paul Elkins
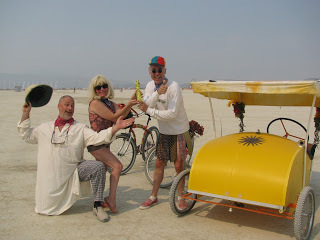
I used Coroplast for the first time when I decided to frame up a small Cube structure to hang out in at the 2003 Burning Manart festival.
Prior to this decision, I’d recently traveled around America for seven weeks in my tiny home-built Stealth Camper created in the back of my Toyota pickup. It was a comfortable space with bed, kitchen, electricity and even a TV. Everything was readily at hand. But I planned the Cube to be only four feet square, so sleeping in the Cube was out of the question. I did however install my small beat-up recliner, along with shelves for books, radio, knickknacks and my cooler. I even cooked on the door ledge from the comfort of my recliner. The door was closed when the dust storms blew through, and unlike other years of staying in a tent, I was able to breathe without a dust mask and watch stray tents blow by through my 18" bubble window.
The next year for Burning Man I made my version of a Post-Apocalyptic Bicycle Camper. At six feet long and three feet wide this new structure was equipped with a bed, bathroom, kitchen, solar hot water and solar power. It even had a solar food dehydrator. To keep the structure light I again used Coroplast for the shelves, boxes, shell and a semi arced roof.
Several years later I was curious to see if arcing a Coroplast sheet end to end would afford enough space to move around in, and after some preliminary positive tests and many drawings I purchased 4 sheets and went about building the Homeless-Emergency Shelter.
But unlike the post-apocalyptic bike camper, which used aluminum tubing for the support frame, I decided to go without frame support and rely on just the strength of the arced Coroplast material itself. Triple folds on the ends of the joining roof panels created a ledge for the wall panels to rest against. I also included a Coroplast floor. To keep the build simple, cable or ‘zip’ ties were used to attach all the panels together. To keep moisture from getting in, duct tape was laid over the cable ties.
At a cost of $100 for all materials, this small structure I feel is a step ahead of a conventional tent, offering some insulation properties, overhead shelving and a rear wall that you can lean up against. The door has a Plexiglas window that lowers, and a hasp lock, which will keep honest people honest.
The arced structure works well in the Northwest elements, having withstood 5 years now of outdoor exposure to sun, wind, rain and 6” of snow fall.
I was thinking of using plywood for the sidewalls, but to keep cost and construction simple I opted to go all plastic.
If one were to plan on mass producing these shelters, the sheets could be cut on a CNC router machine. The panels could be stacked 4 high per structure. A three foot tall 4x8 foot pallet would yield over 45 structures, making easy shipment for Emergency use.
The assembly time would take longer than erecting a tent, but sometimes it’s good to have busy hands so the mind can be occupied on something other than the fear, sorrow and anxiety that an Emergency situation usually brings.
At the time I made this structure I was interested in what several philanthropists were making for their local homeless population.
I envisioned constructing these for a sanctioned Homeless encampment or use Camouflaged UV protected Coroplast, something the manufacturer offers, for unsanctioned stealth camping, which is usually the case in most cities.
I've since played with another design. In this you’re able to stand up and sleep two comfortably with room on the sides for storage. Assembly and dis-assembly takes a matter of minutes, and no need for one-time use zip ties. It's an 8 sided Teepee, again only using 4 sheets, but with a tarp floor. Duct tape was used to attach the panels together. Stored as a 1-1/2" thick pie, once unfolded a long Velcro strip joins the sides together. A rain cap also held down with Velcro ties the whole thing into a solid structure. Flaps at the base of the Teepee have eyelets installed so tent stakes can be driven down to hold the structure firmly to the ground.
Several people have made both of these structures for the homeless in their communities, absorbing the cost through charitable collections from their Church congregation.
There are those who have played with larger Coroplast structures using 10 sheets for the floor, walls and roof. Someday I plan to try out a version similar to these but outfitting the room with Coroplast table and shelves.
Not long ago I made another Bicycle camper, this more for practical use utilizing recycled campaign signs for the shell and having a rounded nose for better aerodynamics. Foil bubble insulation was added to the interior along with shelving and counter space on both sides. Including the storage bins, 3" sleeping pad, stove and sink, the structure weighs only 60 pounds. I see this as having several uses: for touring, for Nomad inexpensive living, for a homeless individual or as a bug-out vehicle.
Besides these shelters I've also used Coroplast for vehicle skins, a dog house, several motor boats and even a folding Kayak. Coroplast has its limits, but so far I've been very happy playing and discovering what can be made with this light weight, cheap and weather proof material. Coroplast is a trade name. It’s more commonly known as ‘fluted plastic’.
I purchase my material at a plastic supply store, where I sometimes have a choice of thickness, size and color options. Home Depot is starting to carry standard 4mm white sheets in some of their stores. They also offer 10-sheet packs through their on-line store for $120 delivered within a week to your nearest store. Sign stores are another option to purchase a sheet or two, as Coroplast is used mostly for outdoor signs. So if you happen upon an old campaign sign along the roadway, I encourage you to grab it, take it home, play with it and see where your imagination takes you...
ElkinsDIY.com or Paul Elkins Youtube
Click HERE to see see this article in the Apocalypse Observer Newsletter with more pictures from Burning Man!
Sign up to receive the Apocalypse Observer Newsletter in your inbox.
www.readmota.com
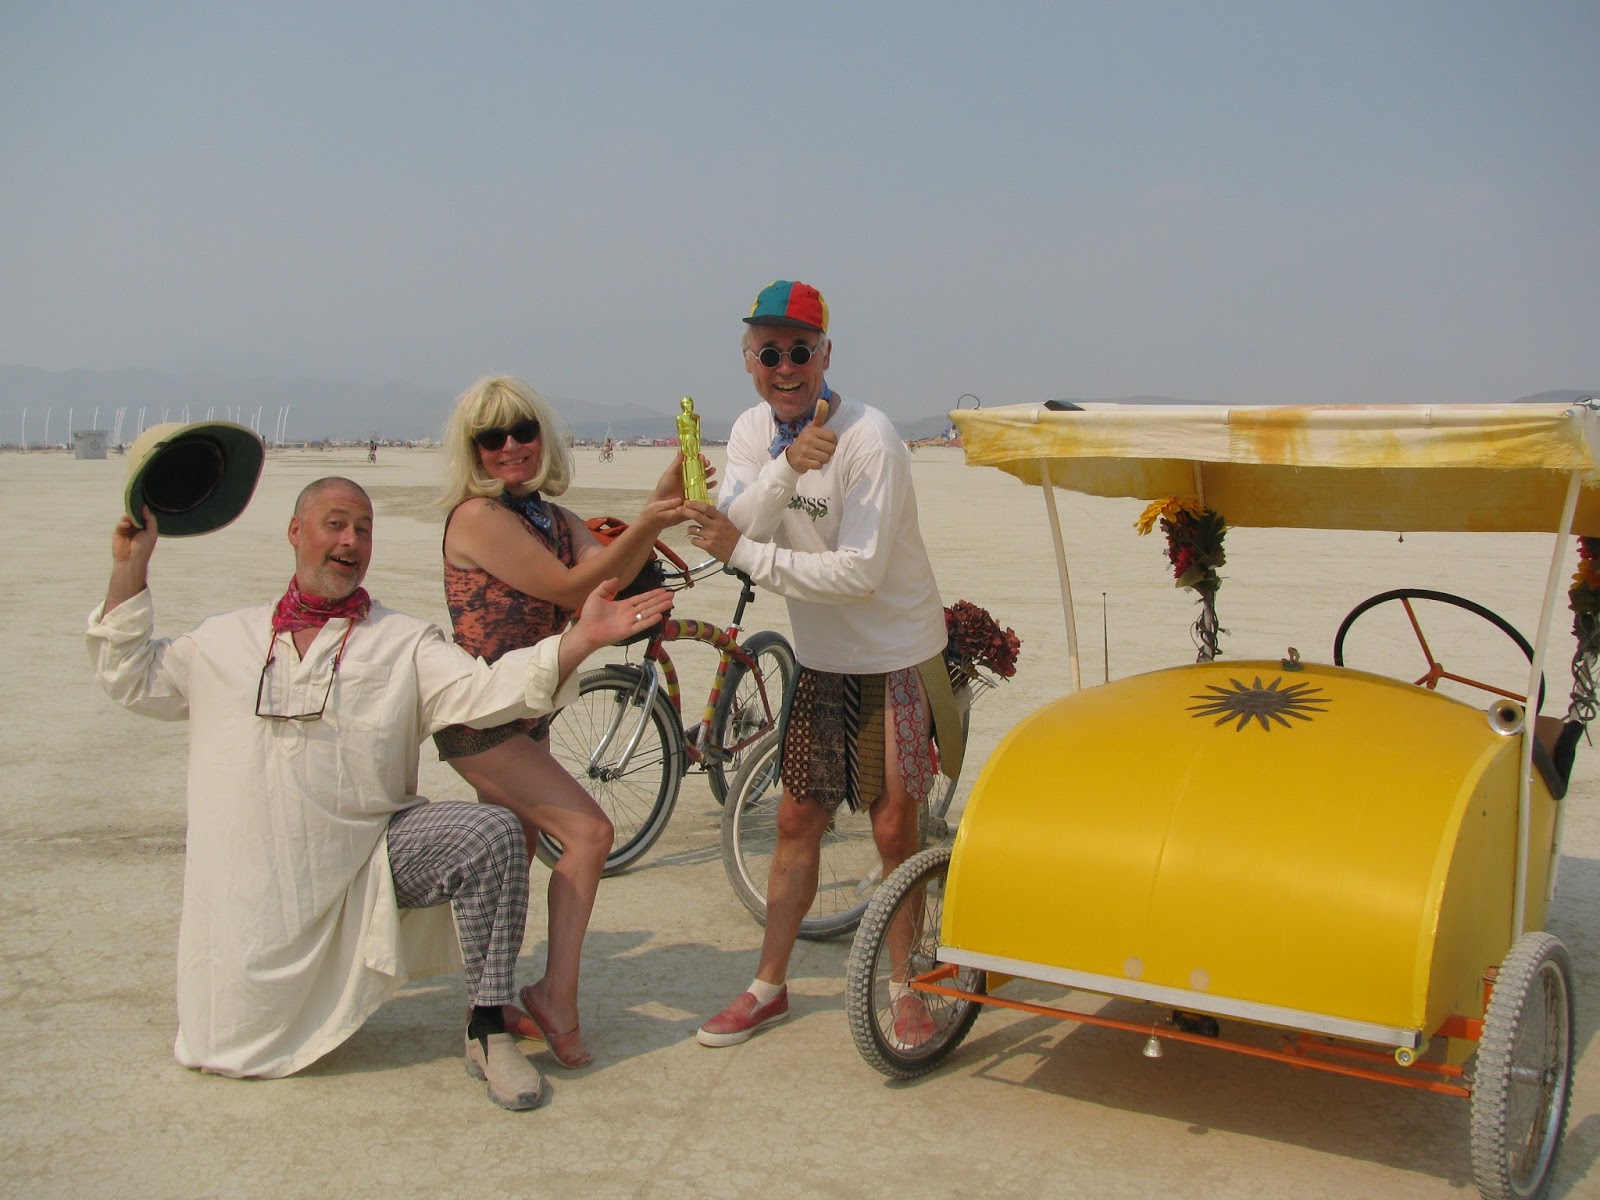


No comments have been added yet.


