
Meredith McClaren's Blog, page 259
April 29, 2016
Hey, can I ask how you do your coloring? I've been trying to create that sort of Colored Line or No Line Just Colored Shapes look that you have going on(which is gorgeous btw) but it seems like the kind of thing that takes a lot of planning. Where do you s
Oh boy.
This is hard to do without pictures. But I don’t have time to do a visual walk through so words will have to do.
FIRST.
THANK YOU! I’m glad you like my stuff!
SECOND.
Here’s what I do to get the no lines look.
I pencil and ink by hand. Pencils are done in red. Inks are done with two technical pens. One thicker than the other for more general shapes. And the thinner one doing only the details. No spot blacks.
I scan at 600 dpi full color.
In photoshop, I go take the picture and go into CHANNELS (should be off to the side beside LAYERS. I select each channel on it’s own and delete them. Until only CYAN is left. This pulls out the red pencil.
I then convert the entire picture to grayscale. I go to FILTER< BLUR< GAUSSIAN BLUR and then take it to 1.5. I then go into IMAGE< ADJUSTMENTS< LEVELS and move the middle bar around until I’m satisfied that the lines are full and thick enough. I then go into IMAGE< ADJUSTMENTS< THRESHOLD.
Now I have solid line art.
At this point I save just the line art as it’s own file. Just in case.
Then I readjust the image size to 400 dpi and convert it back to CMYK or RGB. Depends on what the files future use is. CMYK, I intend to print it at some point. RGB, it’s fan art and I will never mass produce it. It will live solely on the internet.
Then I IMAGE< ADJUSTMENT< THRESHOLD again. Because resizing everything blurs the lines again.
Now. Here’s the key to my success.
I create two new layers on top of this one. One is filled with my background color. Usually white to begin with. I go back to the layer with my line art and select only the black. I then go to the top layer and fill the selection with black. This is my LINE layer. Now, right above the line layer there will be four little buttons. The first looks like a chess board. While in the line layer, press the checkerboard button. A padlock will appear next to your line layer’s name.
THIS MEANS THE PIXELS ON THIS LAYER ARE LOCKED. Anything you do to that layer will only occur on the pixels on that layer (which is the linework.) Try painting over a great big swath of that layer. You’ll see only the linework is affected.
Now I am free to color on any layer I create below the line layer.
Once I am satisfied with the colors I go back into the line layer. I take the colors next to the black of the linework and with my pencil tool, fill in the lines next to their corresponding color.
In some cases you will want a line to still be there (wrinkles, noses, stuff). I tend to go with a color just a bit darker than whatever is surrounding it so it remains distinctive.
This is all very time consuming.
And calming.
I love it.
When you’ve colored in all the black lines, it should look like there’s no line work at all and the piece consists solely of colored shapes.
And you’re done.
Again, I never really feel totally comfortable explaining this stuff, because sometimes an written explanation falls short of a visual one. One day I should do a tutorial or something.
But I hope that helps.
Good luck!
April 27, 2016
A friend of mine pointed out that in my previous round of...
A friend of mine pointed out that in my previous round of Practical Clothing for Powerful Ladies and Gentleman, I mainly focused on DC players and largely ignored MARVEL. (I think I only did Deadpool, Angela, and Black Cat…)
So why not have another go?
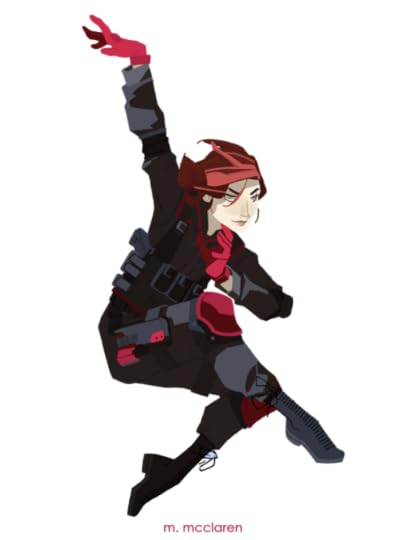
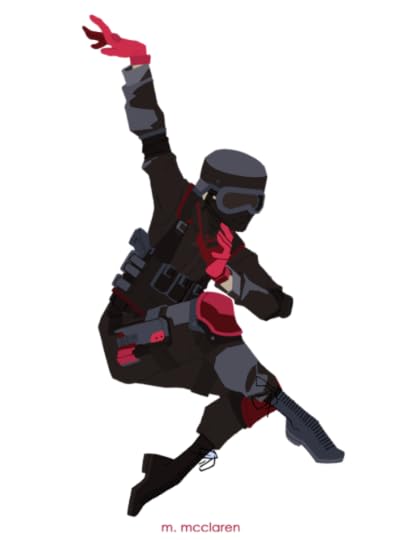
First up. Black Widow.
Her pose is a nod to her ballet training.
Black Widow belongs to Marvel . Artwork by Meredith McClaren
PLEASE NOTE: (Because someone’s always gotta grumble.) This is a fun excercise for me based on the simple premise that not every
super-individual is gonna have the ability to sew. And might, you know,
have tactical armor based on the actual technology they have access to. And maybe employs the use of a sports bra.
Whatever choices I make about body types, physical background, and choice of dress are mine to make because I’m just having fun.
April 25, 2016
shannagins:
Just, you know, helping a friend decide who to draw...
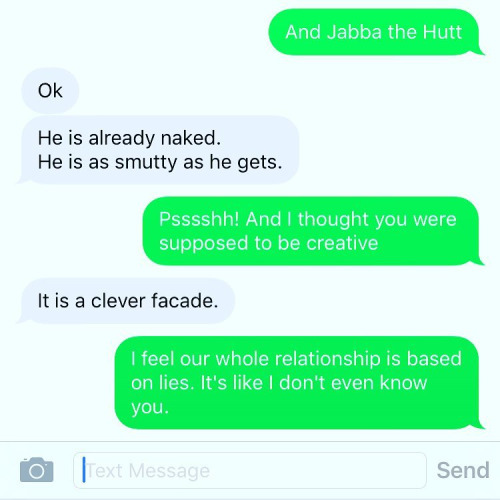
Just, you know, helping a friend decide who to draw all sexy-like. #Friendship #SquadGoals
I mean, if that’s what you really want…
Yep.Man Smut Monday 04.25.16Deadpool belongs to Marvel . Artwork...
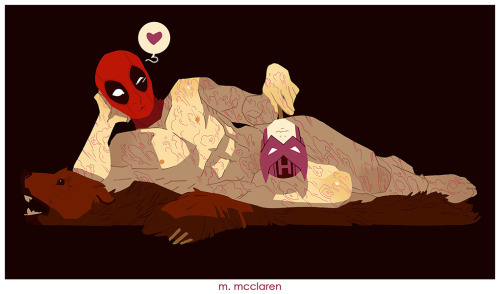
Yep.
Man Smut Monday 04.25.16
Deadpool belongs to Marvel . Artwork by Meredith McClaren
Meredith McClaren's Blog

- Meredith McClaren's profile
- 97 followers

