
Ali Edwards's Blog, page 191
October 9, 2015
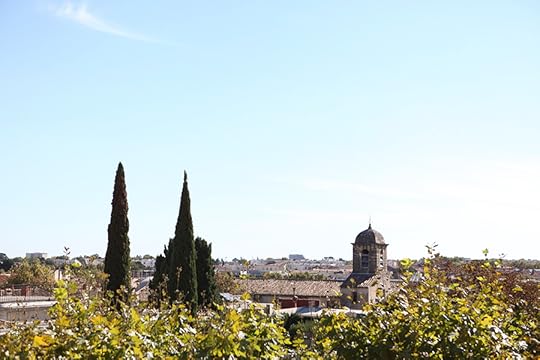
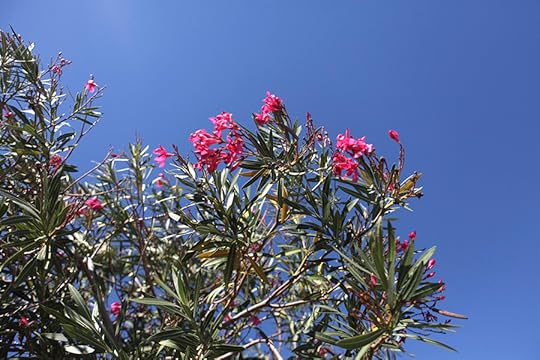
Southern France 2015
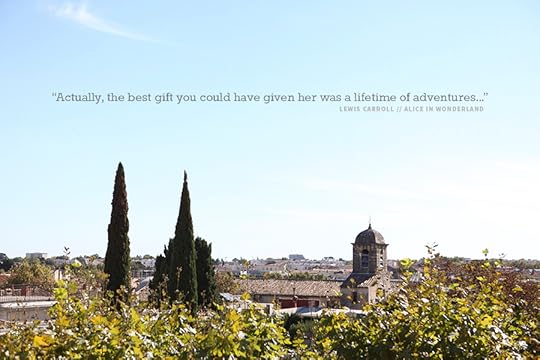
Over the last few years I've developed a tradition of a fall work trip. In past years I've done trips organized by Jim West at Scrapmap/Craft Tours (Italy, Ireland, China, Peru). This year I decided to mix it up and attend an event in Montpellier in southern France organized by my friend Celine Navarro.
The trip ended up being part vacation and part work as are many of these kinds of adventures. Aaron, being the good sport that he is, came along for all the reasons I'd want him along.
We arrived in Montpellier a week ahead of the event for the vacation portion of the trip. This was the least planned trip I've been on but it ended up working out just fine (least planned in terms of knowing exactly where we were going on what days and what cities we were going to focus on). Part of it was that we'd both been busy and part of it was that it was hard to choose and I kept changing my mind on where I wanted to go. I wouldn't necessarily recommend this method of last minute booking during a busier time of the year, but for late September/early October it worked fine and we had no issues finding rooms.
We ended up venturing outside Montpellier to three locations using trains as our method of transportion - all happen to begin with the letter A - Aix-en-Provance, Antibes, and Arles. We used TripAdvisor and Booking.com to find hotels in each location. We considered renting a car to be able to get to some of the smaller towns but ultimately decided it was simpler to just stick with locations we could get to via trains.
This was my first time in the southern part of France.
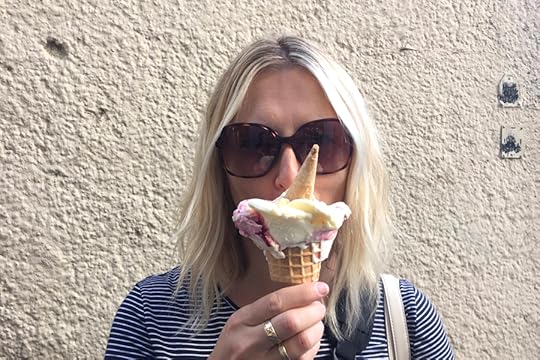
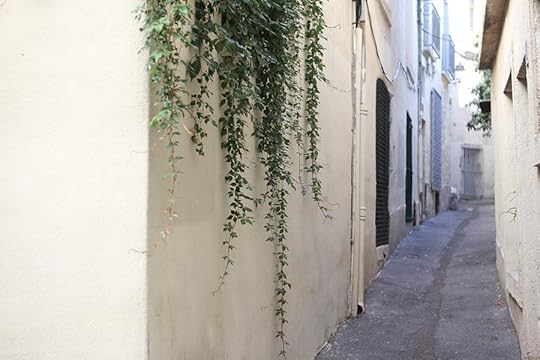
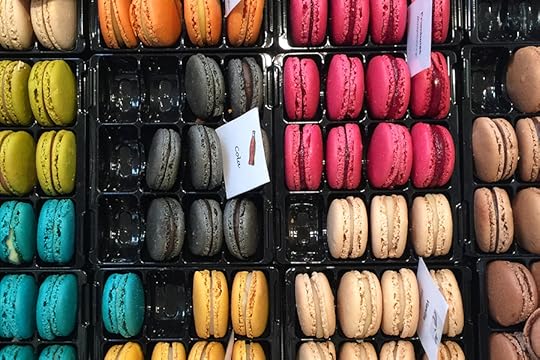
There was a lot of wandering. There was a lot of peeking around corners. There was a lot of wine and bread and cheese. There was a lot of looking up and looking down. Photos below were all taken with either my DSLR or my iPhone 6.
I'm thinking I'll do another Artifact Uprising photo book for this trip.
Here's a look at this adventure via photos.
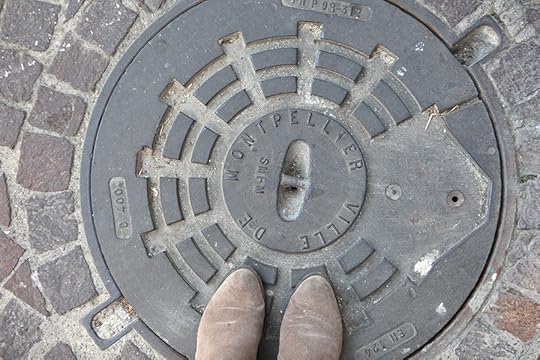
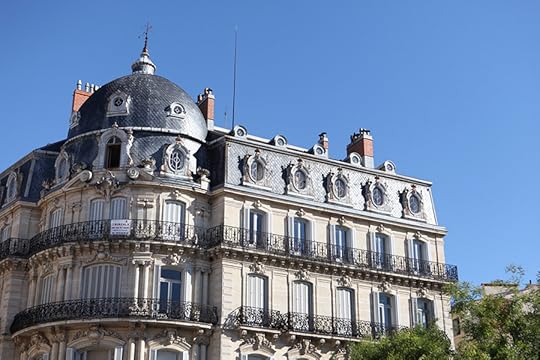
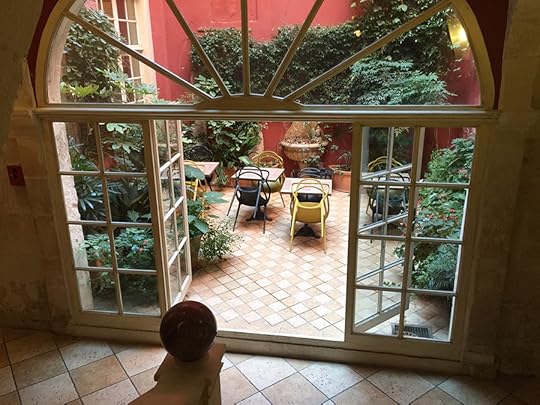
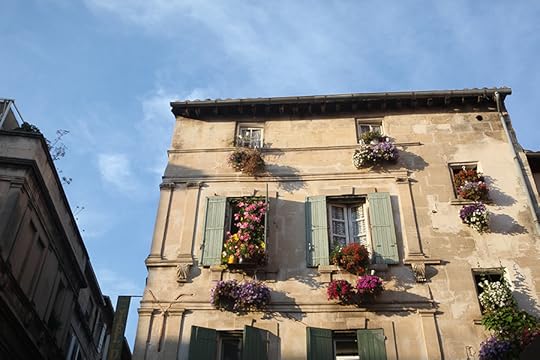
MONTPELLIER
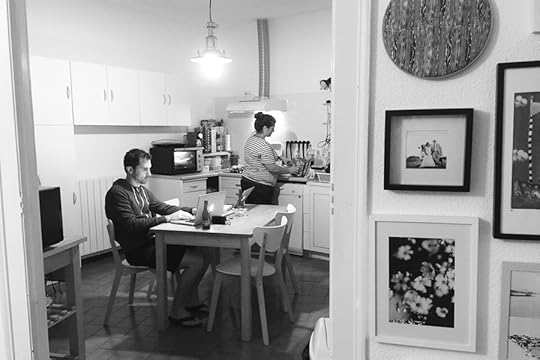
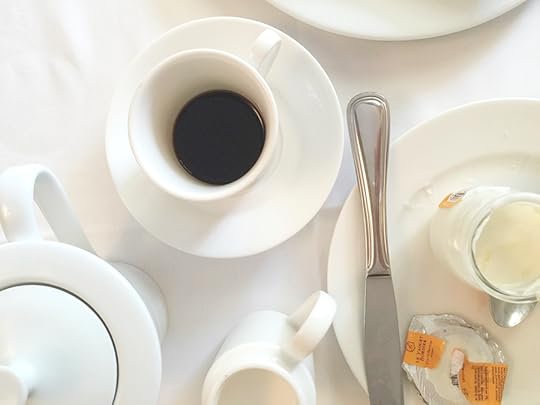
For the first couple of days we stayed with Celine at her house and it was so, so fun to get to stay with her and her husband and share meals with them and chat and laugh.
There was so much laughing.
Celine showed us around Montpellier and the weather was beautiful.


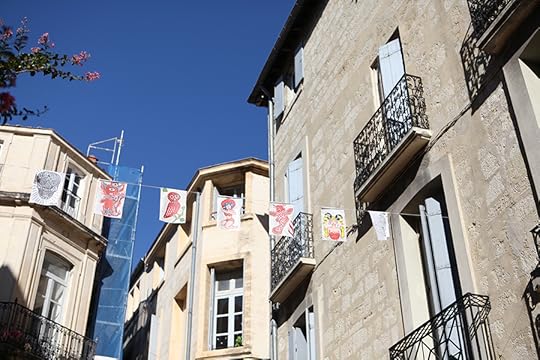

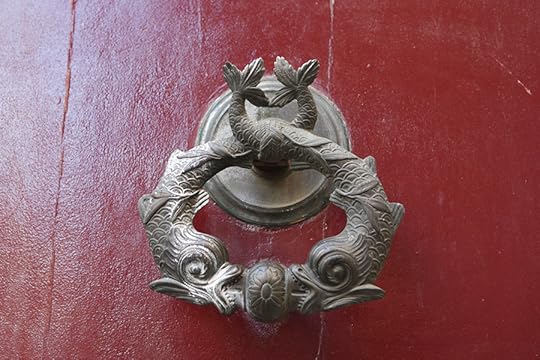
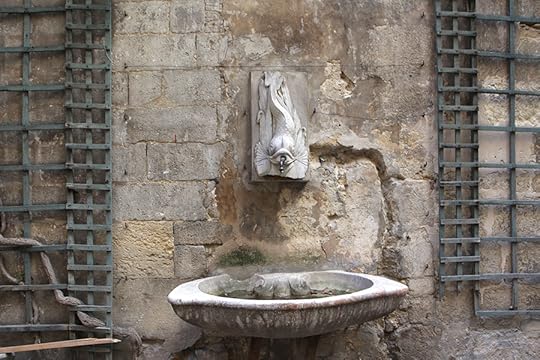
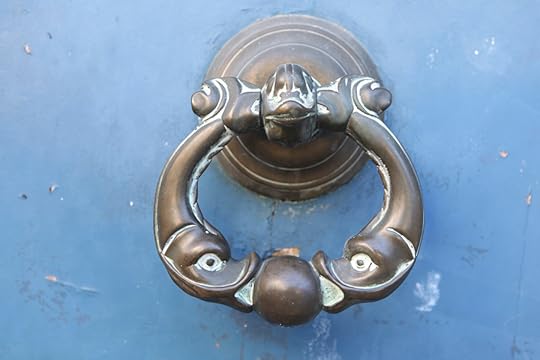
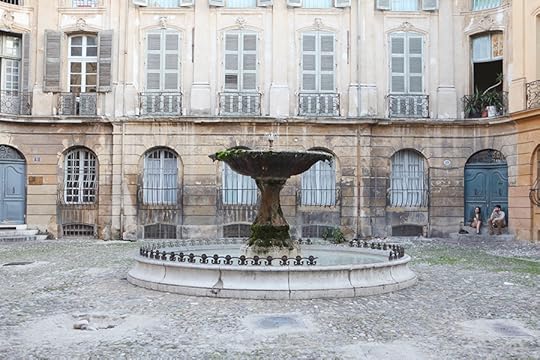
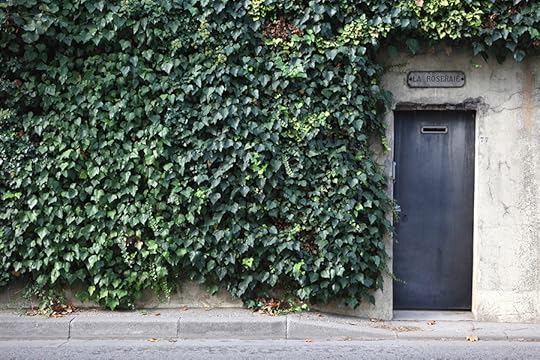
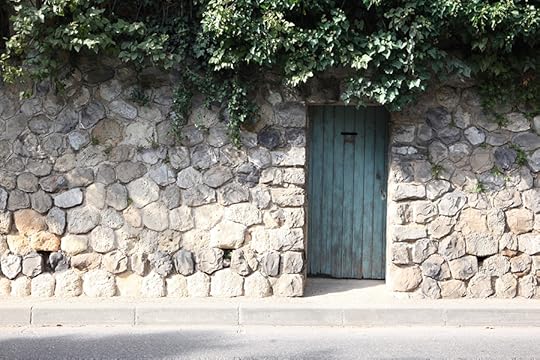
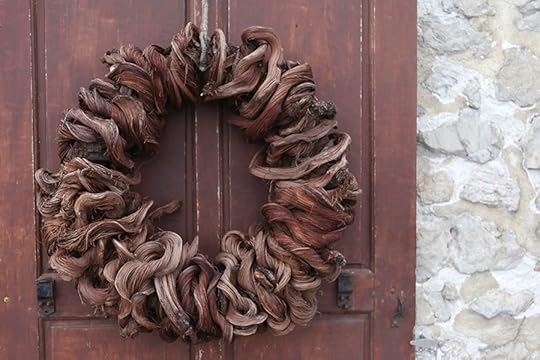
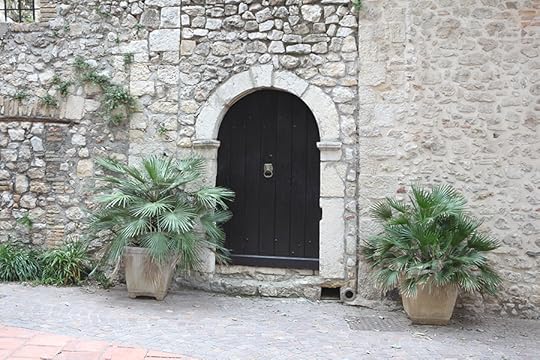
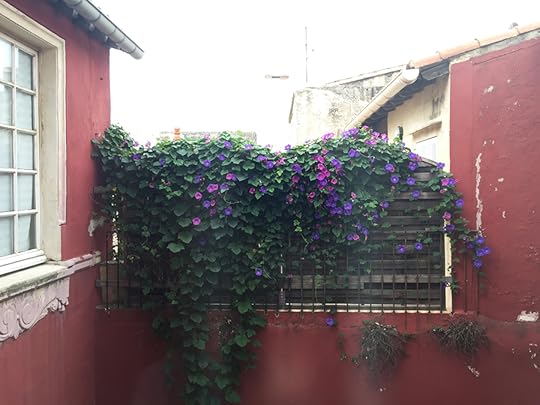
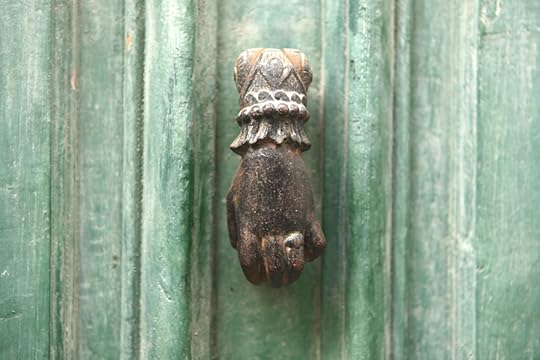
I love checking out doors in other countries as you'll see throughout this post.
In Montpellier there were these awesome fish door knockers which I'm assuming is because of it's proximity to the Mediterranean Sea.


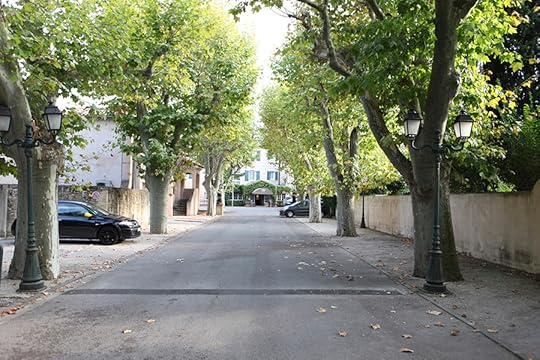
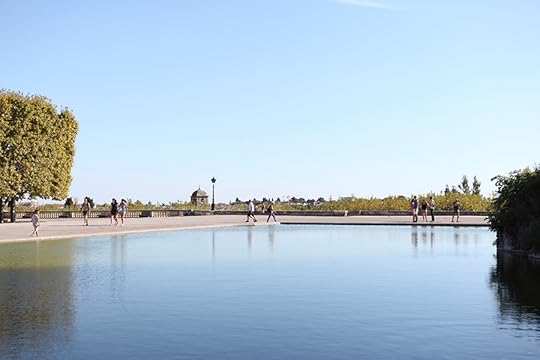
Our first stop outside Montpellier was Aix-En-Provence (the "Aix" is pronounced "X").
Our hotel (Le Pigonnet - found via Trip Advisor) was an easy walk from the train station to the hotel and an easy walk to the center of town.
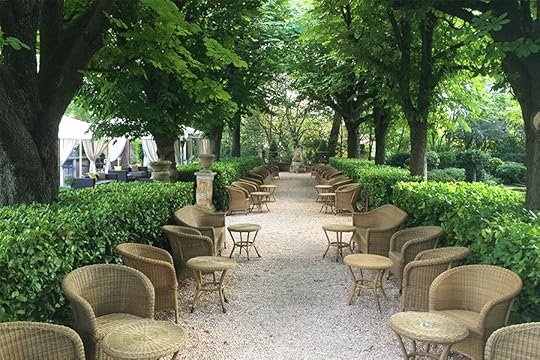
The grounds of the hotel itself were beautiful and I could have just hung out there for awhile.

Ah but the light calls.
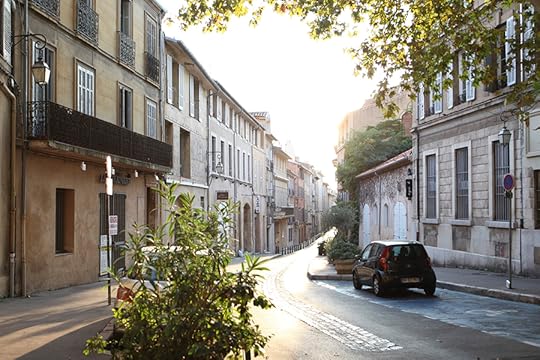
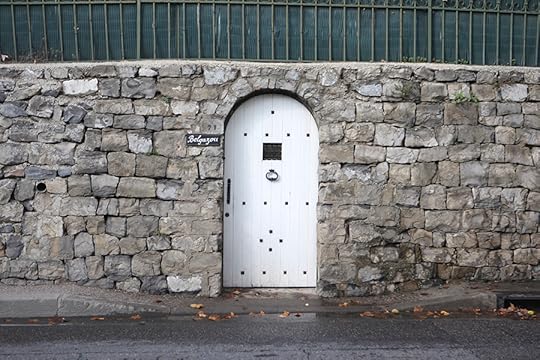
These three doors were found as we walked along a street out of the center of town. We walked and walked and walked.
We stayed in Aix-En-Provence for two nights. If I was doing it again one night would have been fine. Also, because we didn't really plan ahead, some of the things I'd have liked to have seen there (a museum specifically) were closed on the days we were there (Sunday & Monday).
ANTIBES
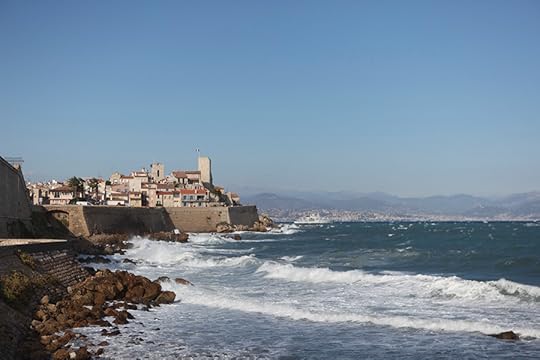
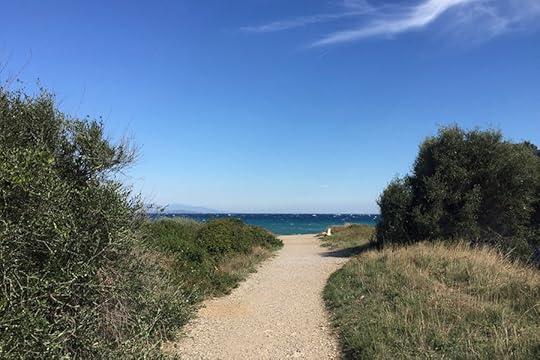
We knew that we wanted to stay in at least one town along the Riviera and we ended up choosing Antibes (located between Cannes and Nice).
It was a good choice.
We stayed here two nights (booked one night and then ended up staying a second night to spend more time there). If you are following the news you might have seen that there was severe flooding in Nice and the surrounding areas. We were there before the rains came and it was really, really windy.
Such a beautiful spot.
I loved this town.

We spent a lot of time on one day just walking around looking at all the boats in the harbor. Everything from small fishing boats to the biggest yachts I've ever seen.
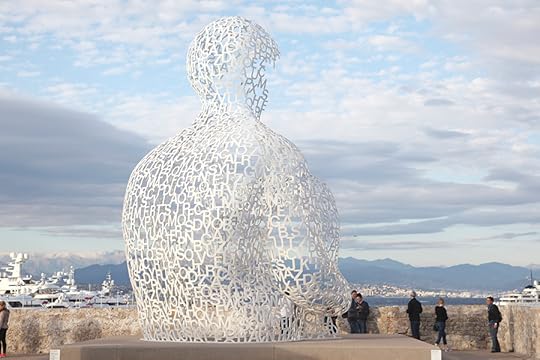
Antibes is home to this amazing sculpture made of letters of the alphabet by James Plensa. Awesome.
We also went to the Picasso Museum - which I loved. It featured paintings and drawings from a period of time when he lived in Antibes. I loved being able to see the progression of the artwork from some of his initial sketches/drawings to the completed paintings.

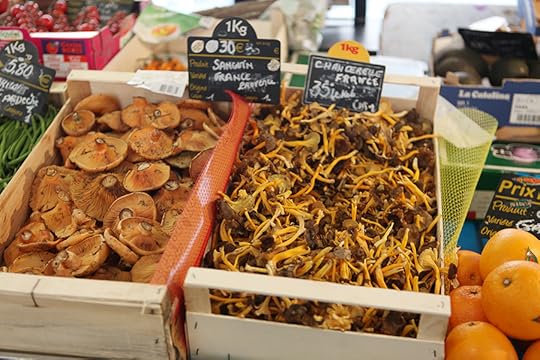
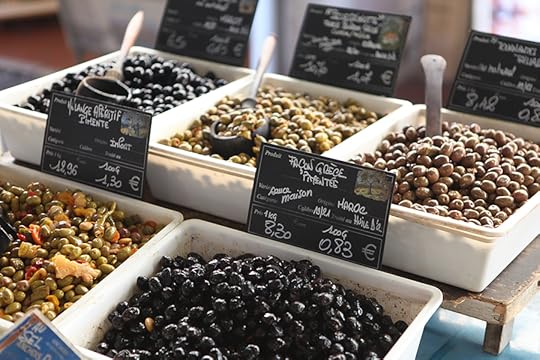
Antibes has a great market area - definitely one of my favorite things to capture with my lens.

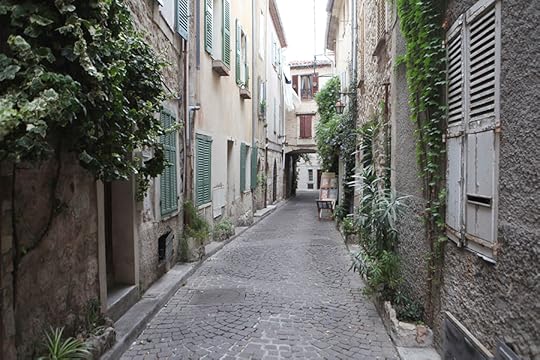
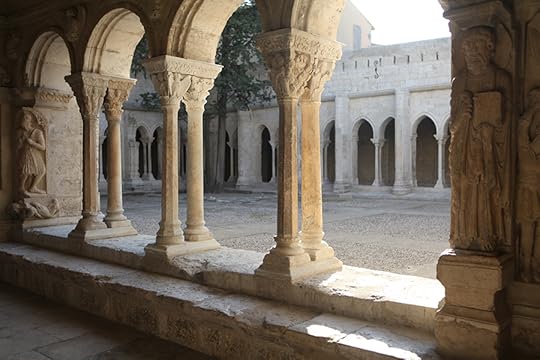
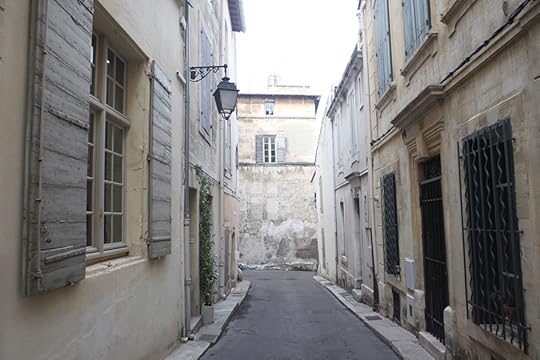
ARLES
The third place we visited was the lovely town of Arles.
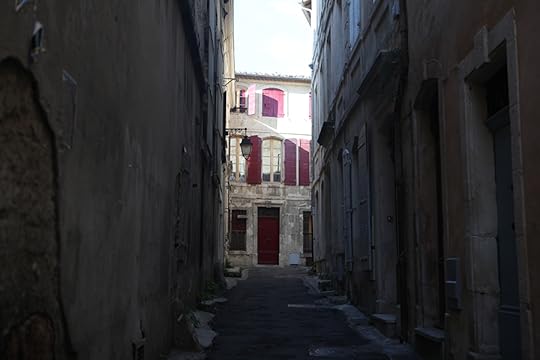
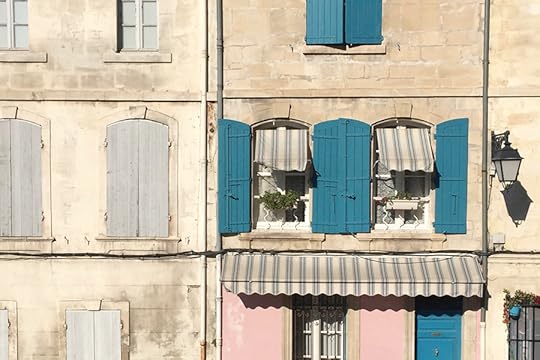
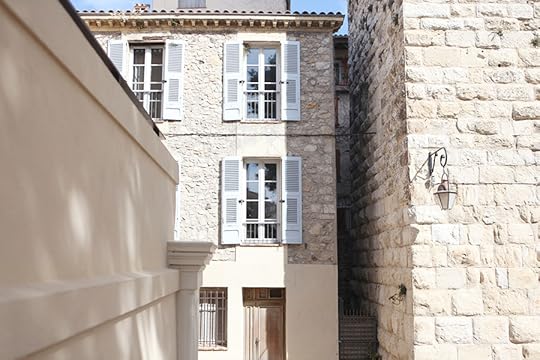
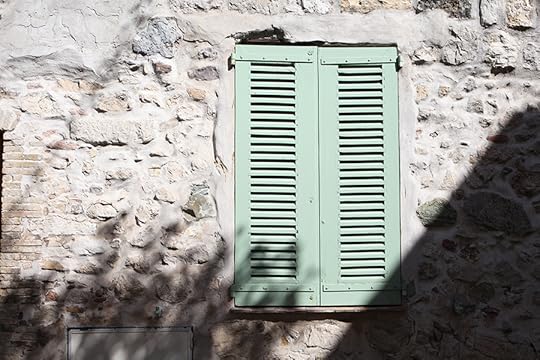
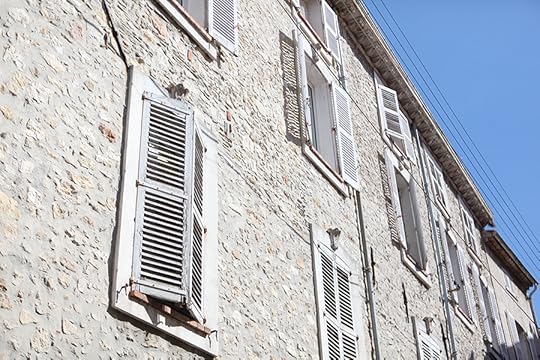
The shutters. Definitely one of my favorite things to check out in each place we visited.


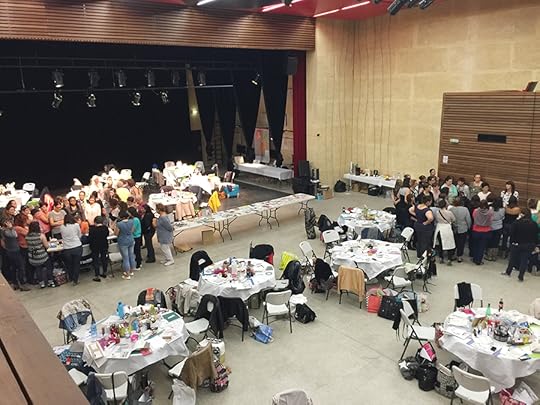
After Arles it was back to Montpellier for workshops.
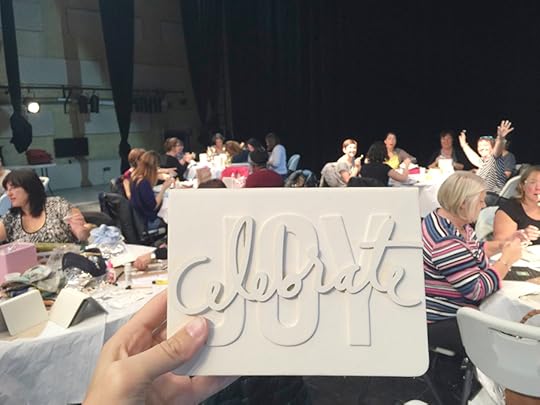
For this event I put together a new class called Book Of Joy to celebrate some of the things that bring us the most joy in life.
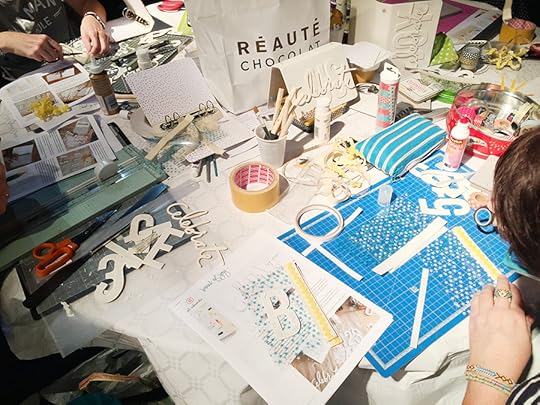
As always it is so fun to see the students working with the products, creating their albums and telling their own stories.
Big thanks to all the students for your enthusiasm and laughter and for putting up with me as I practiced my French.
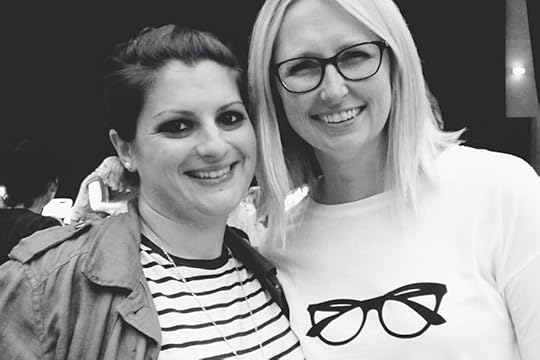
I'm so thankful to Celine for inviting me to come and stay with her and teach at her event. Her friendship and kindness and hospitality and sense of humor is a blessing in my life.
It was exactly where I needed to be.
As some of you know, Chris remarried while I was away. It's been tougher than I thought it was going to be emotionally. Traveling was great and hard at the same time. I'm thankful that Aaron was able to come with me on this adventure and for his compassionate heart along the way. I'm also thankful for my other close friends whose support means so much.
Now it's back to the business of being at home and kid routines and Fall and pumpkins and December Daily® preparations and continuing to work on living the length and the width.


October 6, 2015
December Daily® 2015 | Digital Products Now Available
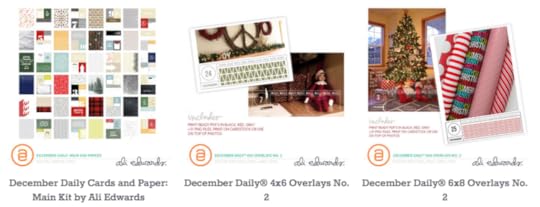
This year's December Daily® digital products are now available in the shop.
Just like last year, I have included 6x8, 4x6, and 3x4 - sold in individual packages - as well as offering a combo pack that includes all three sizes. Each package includes 31 individual PNG files for each day in December + easy to print PDF's in black, gray and red.
Here's a look at the digitals that are available this year:
OVERLAYS+ PRINTABLES
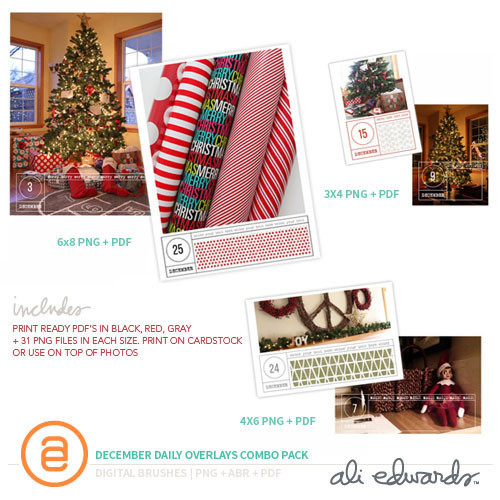
December Daily® Overlays Combo Pack
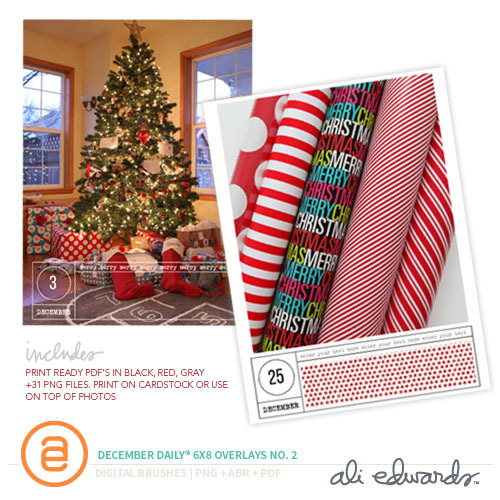
December Daily® 6X8 Overlays No. 2
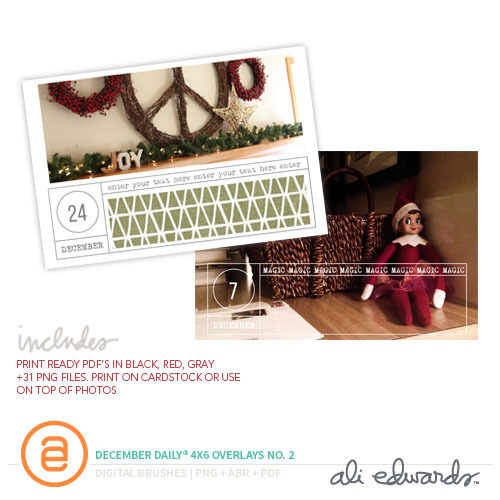
December Daily® 4x6 Overlays No. 2
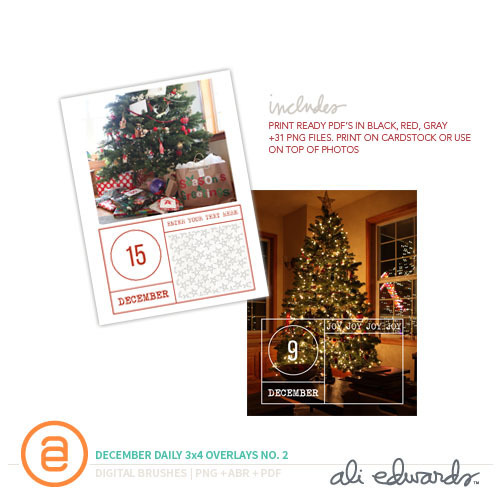
December Daily® 3x4 Overalys No. 2
LAYERED TEMPLATES
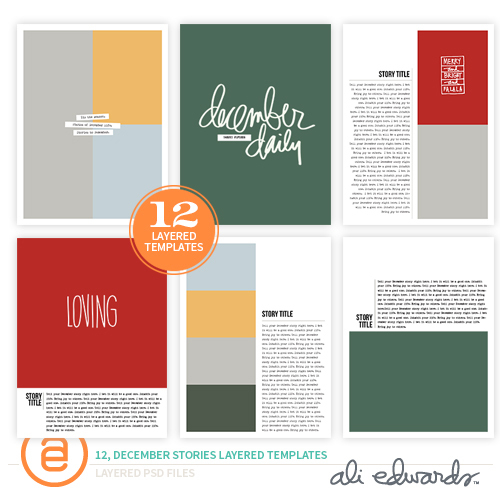
December Stories 6x8 Layered Templates No. 2
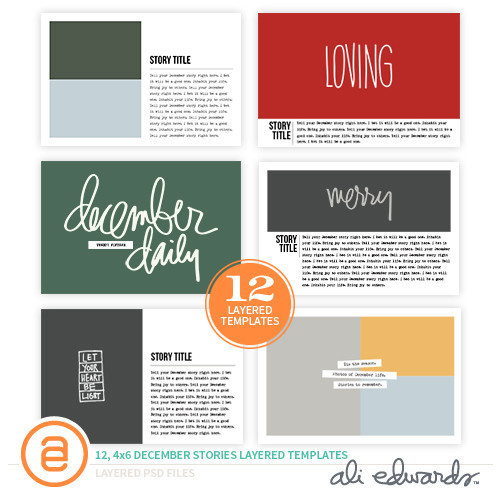
December Stories 4x6 Layered Templates No. 2
MAIN + MINI KIT PAPERS & CARDS
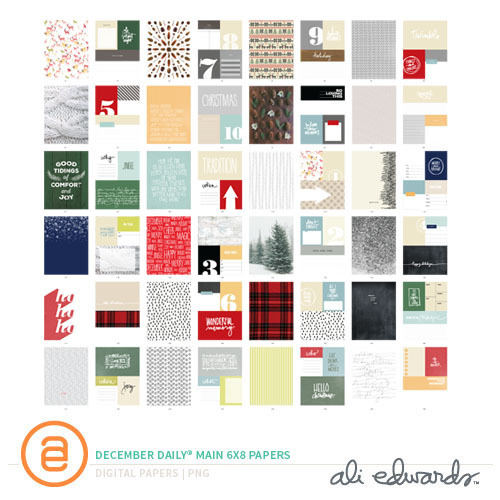
December Daily®: Main Kit 6x8 Papers
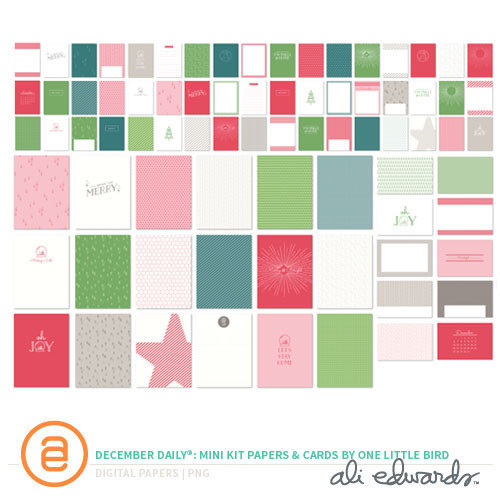
December Daily®: Mini Kit Papers & Cards by One Little Bird
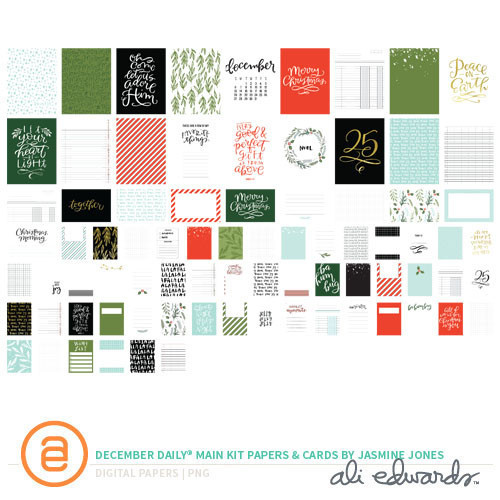
December Daily®: Mini Kit Papers & Cards by Jasmine Jones

December Daily®: Mini Kit Papers & Cards by Ashley G.
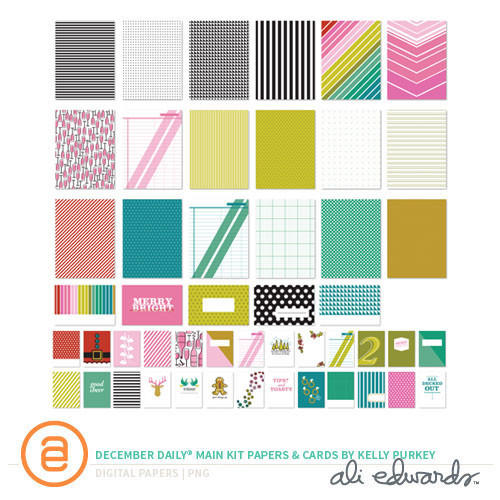
December Daily®: Mini Kit Papers & Cards by Kelly Purkey
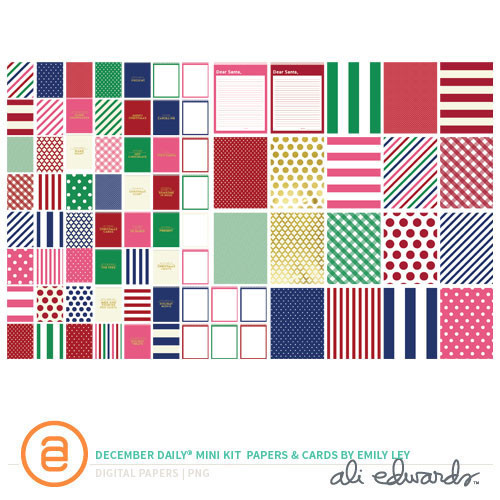
December Daily®: Mini Kit Papers & Cards by Emily Ley
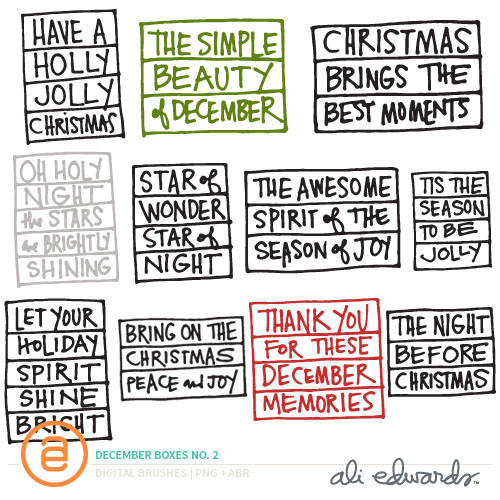
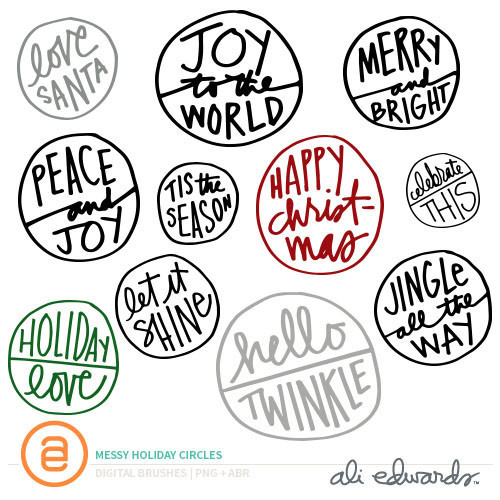
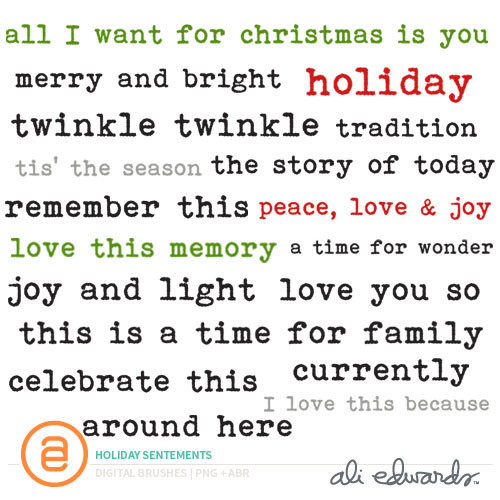
SELECT STAMP SETSThe artwork from some of the new physical stamp sets this year are already existing digital products that we have released previously:
If you are interested in the digital version of the Holiday Scripts Stamp, you can find that set here.If you are interested in the digital version of the To/From Stamp, you can find that set here.If you are interested in the digital version of the Holiday Circles stamp, you can find the set of circles here. We have turned the typed sentiments into a word art set this year: Holiday Sentiments.
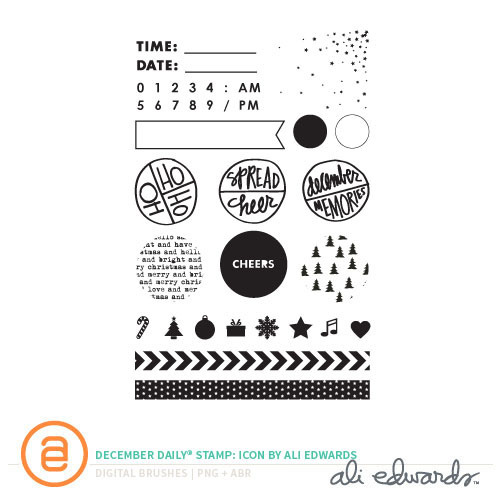
December Daily® Stamp: Icon by Ali Edwards
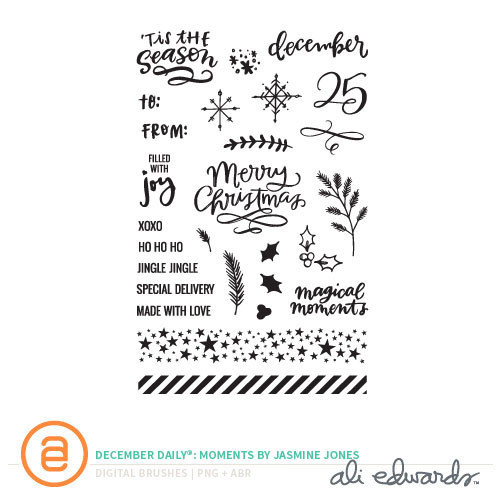
December Daily® Stamp: Moments by Jasmine Jones

December Daily® Stamp: Good Cheer by Kelly Purkey
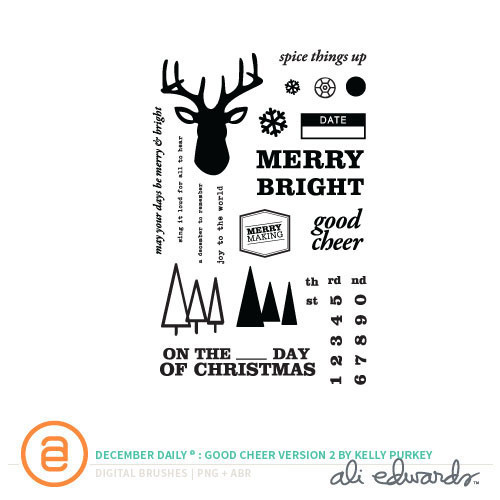
December Daily® Stamp: Good Cheer Version Two by Kelly Purkey
WORD ART

October 4, 2015
Give Sunday | 39
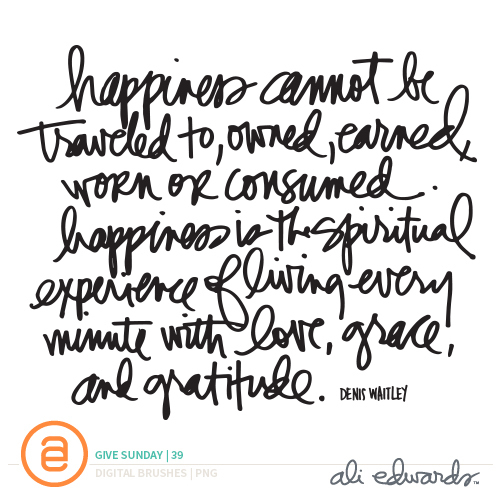
This year, in honor of my 2015
One Little Word® "give," I'm sharing a hand-drawn quote each Sunday here on my blog.
Click here to read my initial post and download the #givesunday word art title and checklist for helping you to give a little something today. You can also view all the past #givesunday quotes via the archives.
Click here to download the #givesunday 39 quote. Please note: If you are reading this post via email you need to click through to the actual blog post to download the file.

You're invited to join me. What will you
give today?
Have a wonderful Sunday.

October 1, 2015
December Daily® 2015 | Main Kit Unboxing Video
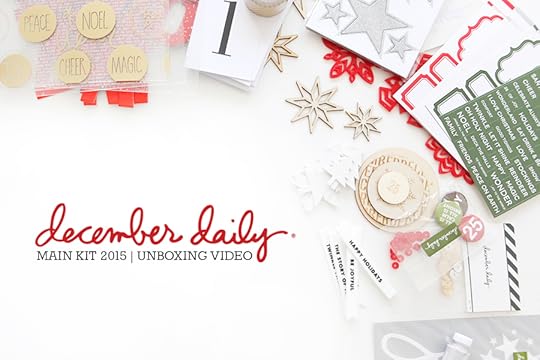
As we get closer to ending the
2015 December Daily® pre-order period and start packing up and shipping out your kits we wanted to share unboxing videos for each kit with you.
If you like to be surprised, don't watch.
And in case you missed it, we were able to restock the stamp sets and those are currently (at the time I'm writing this) still available to add to your box. Once the pre-order ends regular shipping charges will be applied for all kits.
We will be communicating a firm pre-order end date and shipping date soon. Please sign up for the December Daily® newsletter to stay up to date with those details.
I'm super excited to share this look at the 2015 Main Kit with you and I'm so looking forward to telling stories with you this holiday season.
Click the links below to check out the mini-kit designers unboxing videos:
Kelly PurkeyAshley GoldbergPeppermint Granberg / One Little BirdJasmine JonesEmily LeyThank you again for being part of this tradition.
If you have any questions regarding your order please start a conversation with my Customer Service team here.

September 27, 2015
Give Sunday | 38

This year, in honor of my 2015
One Little Word® "give," I'm sharing a hand-drawn quote each Sunday here on my blog.
Click here to read my initial post and download the #givesunday word art title and checklist for helping you to give a little something today. You can also view all the past #givesunday quotes via the archives.
Click here to download the #givesunday 38 quote. Please note: If you are reading this post via email you need to click through to the actual blog post to download the file.
You're invited to join me. What will you
give today?
Have a wonderful Sunday.

September 23, 2015
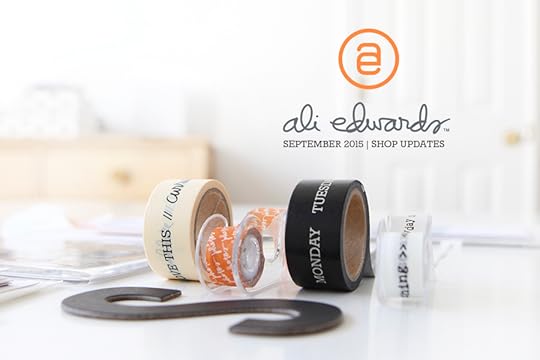
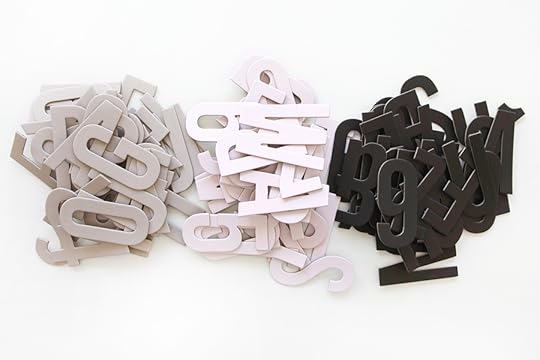
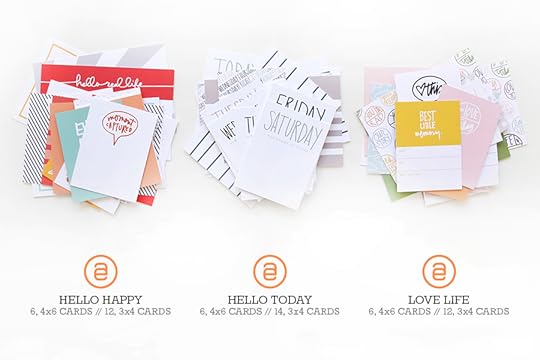
September 2015 Shop Updates
Happy Wednesday!
I'm super excited to let you know that I've got a bunch of new products available in my shop including six new stamp sets, three new journal card sets that include 4x6 and 3x4 cards (in the same weight as my Story Kit™ cards), four new washi rolls/paper tape, and three new chipboard alphas. We've added a New Arrivals category to the shop to make it easier to see them all together.
Here's a video overview:
And a couple other shots:


Thank you again for all your support!

September 20, 2015
Give Sunday | 37
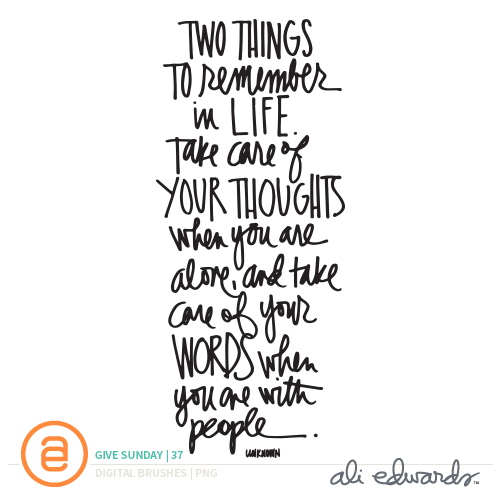
This year, in honor of my 2015
One Little Word® "give," I'm sharing a hand-drawn quote each Sunday here on my blog.
Click here to read my initial post and download the #givesunday word art title and checklist for helping you to give a little something today. You can also view all the past #givesunday quotes via the archives.
Click here to download the #givesunday 37 quote. Please note: If you are reading this post via email you need to click through to the actual blog post to download the file.
You're invited to join me. What will you
give today?
Have a wonderful Sunday.

September 18, 2015
Week In The Life™ 2015 | Sunday In Album
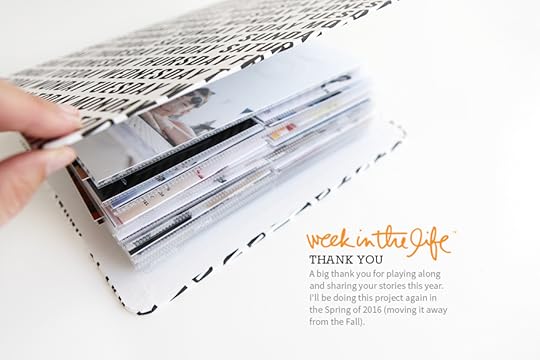
I want to begin today with a huge thank you for participating in this year's Week In The Life™.
I love seeing the enthusiasm and participation and support via social media and here on my blog.
Just a heads up that I will be doing this project earlier in 2016 - sometime in the Spring - in order to move it away from the Fall and spread out my bigger annual projects. I'll have a new available and more information in the new year.
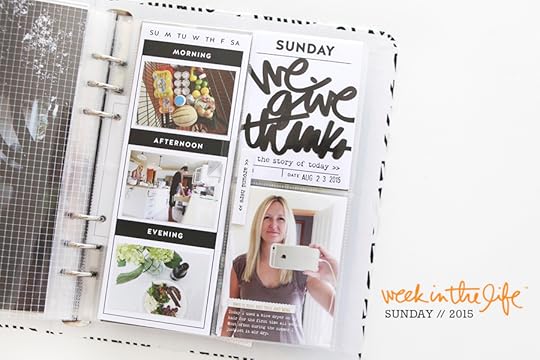
Here's a look at my Sunday:
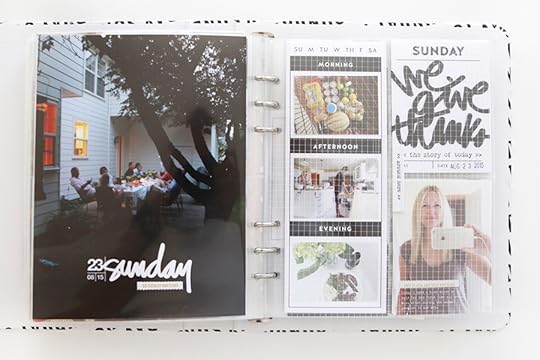
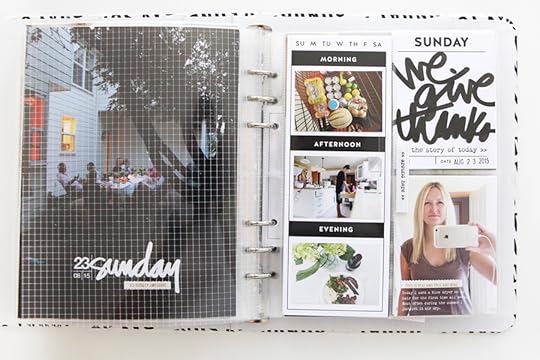
I really loved those 3 inch x 8 inch cards - so great for photos or for holding words.
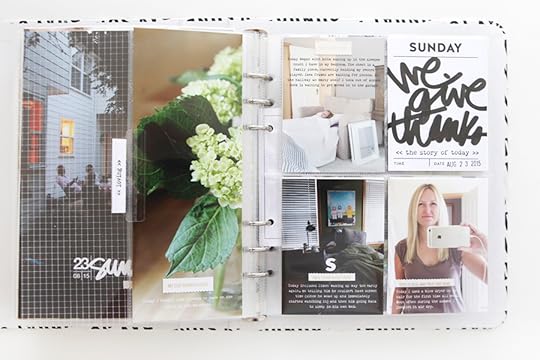
On the Sunday card I added "we give thanks" to give a sense of completion to the week. I loved added those thick script words onto those cards this year.
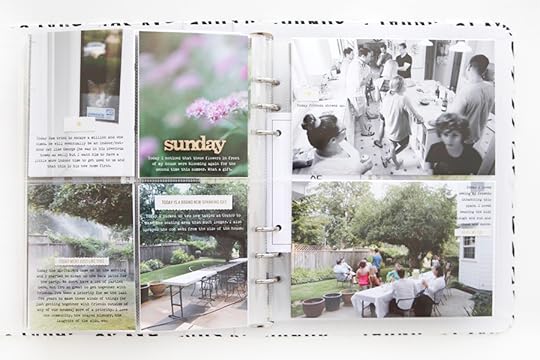
I love when I look through the album that Saturday and Sunday look different than the rest of the week. Saturday was slow with few photos and Sunday is full of the green of summer - outdoor photos and photos of friends at our party. It shows more of the whole of our lives.
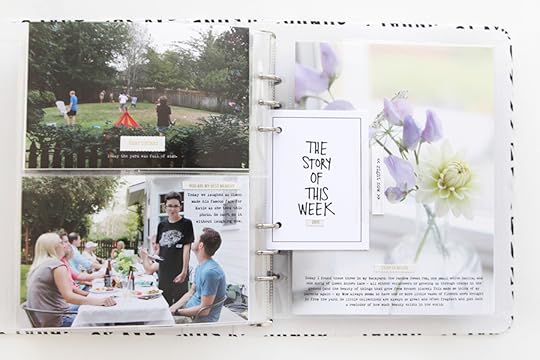
I added a 3 inch x 4 inch card again to the last spread. This card is great for the beginning or the ending of the week.
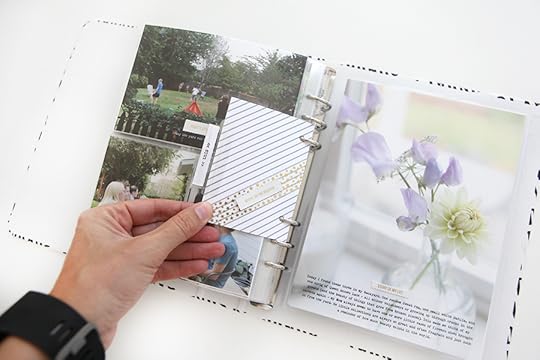
For my very last page I enlarged one of the backyard photos before the party and added the date and the statement, "Thank you God for this week in our lives."
Week In The Life™ Album Kit (includes album, page protectors, stamp set, pattern papers, cards and embellishments) Avery 2-Inch Plastic Index Tabs Black Staz On Epson R2000 Printer (for anything larger than 4x6) Epson PictureMate Show Printer (for 4x6 and smaller) Tiny Attacher Faber-Castell PITT Artist Big Brush Pen Font is a free font called Remington Noiseless 6x8 Week In The Life™ Layered Templates No.2 Crop A Dile Silver Chipboard Mixed ShapesMORE INFORMATION
Other posts from the album creation portion of
Week In The Life™ 2015 so far can be found here:
First Steps In Creating An Album Monday In Album (with a video overview) Tuesday In Album Wednesday In Album Thursday In Album Friday In AlbumSaturday In Album

September 17, 2015
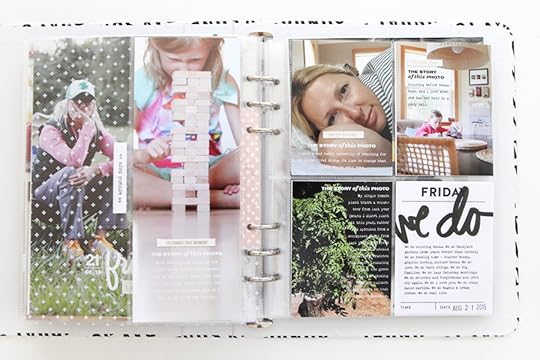
Week In The Life™ 2015 | Saturday In Album
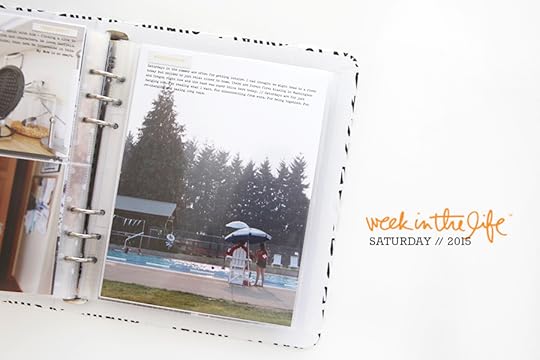
Saturday was my day with the least number of photos.
When working on projects like this - in-depth with a lot of content - I try to have flexible expectations. I think part of that comes from practice but also from knowing that I'm doing the best I can with what I have in front of me right now. Without exception I think I have always had less photos on the weekend - it's just part of how it goes around here.
Rather than simply fill up the 3 inch x 4 inch pocket pages with something else I just took them out. It was an easy choice considering how full the book is as well.
Here's a look at Saturday:
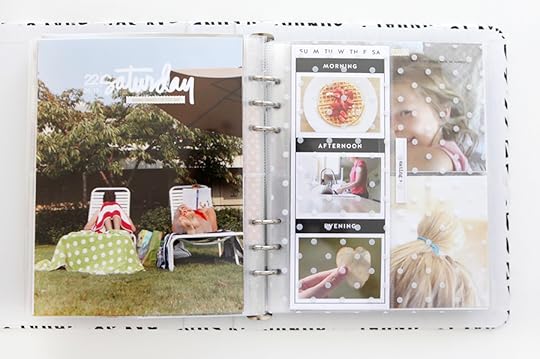
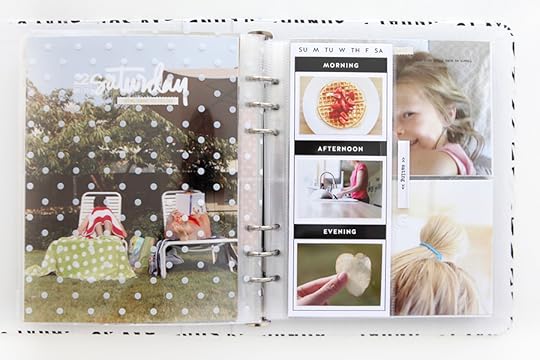
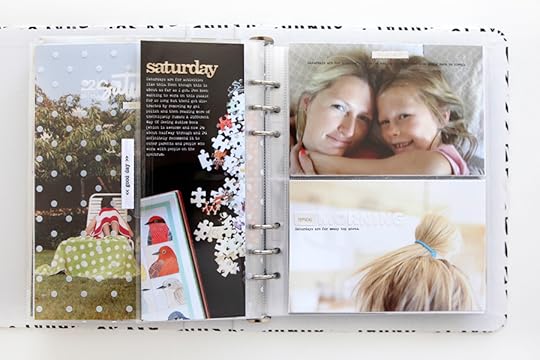
On the photo of my hair I used the white letter stickers alongside the perforated word "typical." My alignment-loving self love the fact that they were the same height.
And because I didn't use any 3x4 pockets for this day I added the "Saturday" wood veneer to the top of the 3 inch x 8 inch page protector.
I'll be back tomorrow with my Sunday in-album post.
SUPPLIESWeek In The Life™ Album Kit (includes album, page protectors, stamp set, pattern papers, cards and embellishments)
Avery 2-Inch Plastic Index Tabs
Black Staz On
Epson R2000 Printer (for anything larger than 4x6)
Epson PictureMate Show Printer (for 4x6 and smaller)
Tiny Attacher
Faber-Castell PITT Artist Big Brush Pen
Font is a free font called Remington Noiseless
6x8 Week In The Life™ Layered Templates No.2
Crop A Dile
Silver Chipboard Mixed ShapesMORE INFORMATION
Other posts from the album creation portion of
Week In The Life™ 2015 so far can be found here:
First Steps In Creating An Album
Monday In Album (with a video overview)
Tuesday In Album
Wednesday In Album
Thursday In Album
Friday In Album

September 16, 2015
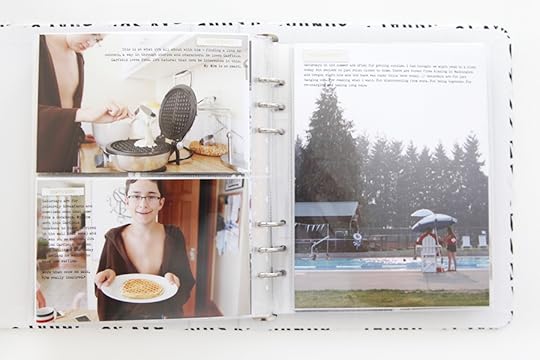
Week In The Life™ 2015 | Friday In Album
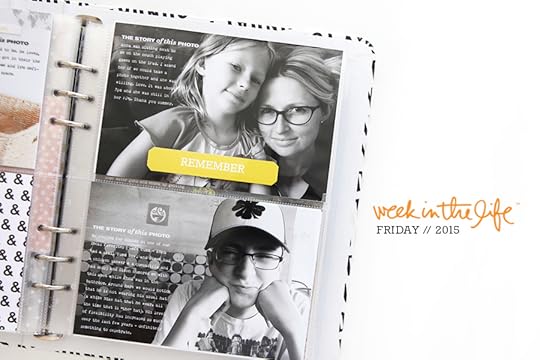
On Friday of my 2015 Week In The Life™ album I used the repeated phrase "the story of this photo." It's another one of those simple, focused sparks that helps get to the story told. I usually try to include the why along with the who and what and where and when.
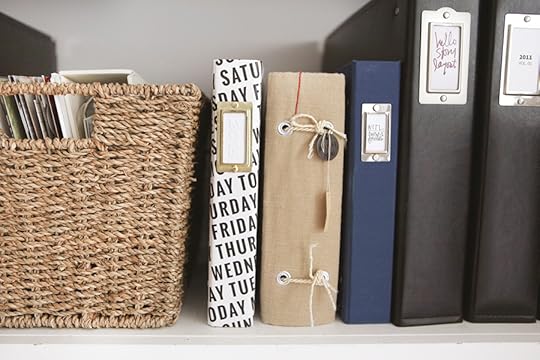
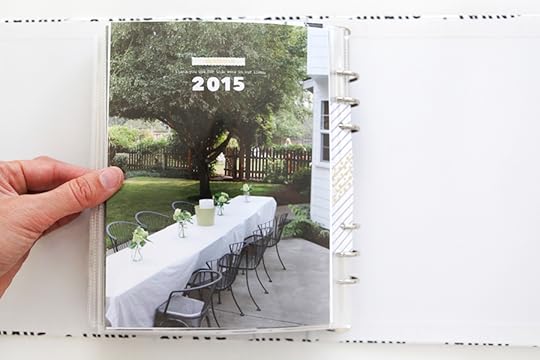
For my spine this year I simply added the year "2015" using the white letter stickers from the kit.
Here's a look at Friday:
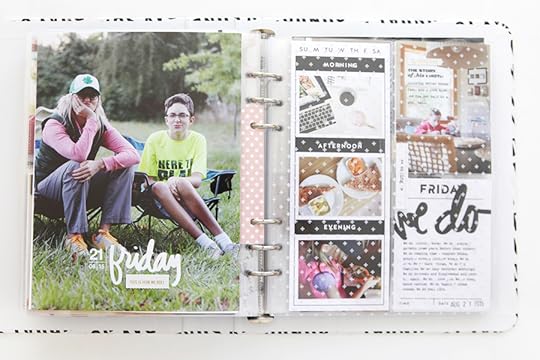
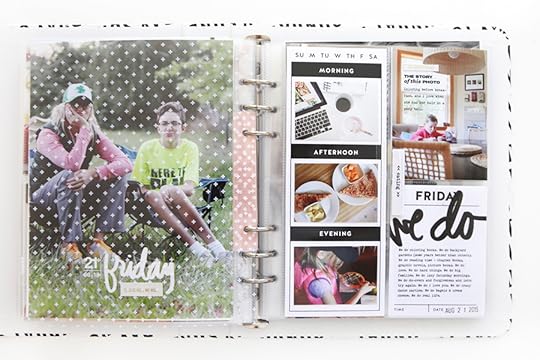
On the Friday card I added "we do" and detailed some of the things that are important to use around here. Simple stuff like "We do coloring books." and
"We do lazy Saturday mornings."
On top of each photo I added the digital word art "the story of today" before adding my journaling (which you can read here). I saved that word art and am making it available to you below:
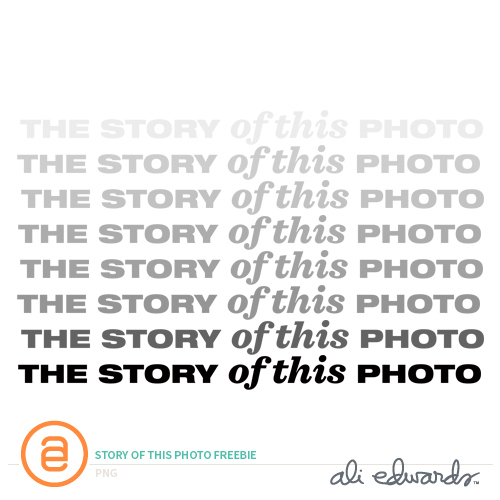
Download "The Story Of This Photo" here.
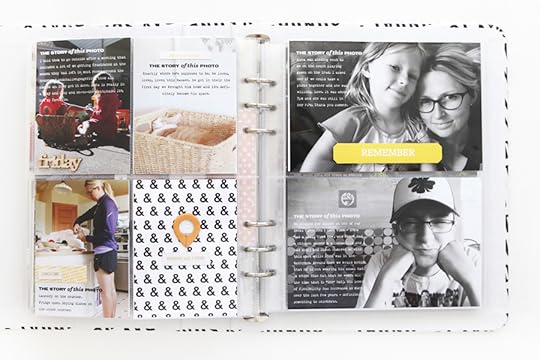
On Friday I had one less photo so I ended up filling that pocket with some of the ampersand pattern paper + chipboard geotag + perforated word strip + letter E inside the geo tag.
I decided to skip the 3x4 card insert for this spread since I added a pattern card to the other page.
I spent some time today looking back through older photos from 2009 and 2010 when Anna was a baby. Man I love photos. This project always, always, always results in photos that I will remember for years to come and I'm so happy to have a home for them in this album.
SUPPLIESWeek In The Life™ Album Kit (includes album, page protectors, stamp set, pattern papers, cards and embellishments) Avery 2-Inch Plastic Index Tabs Black Staz On Epson R2000 Printer (for anything larger than 4x6) Epson PictureMate Show Printer (for 4x6 and smaller) Tiny Attacher Faber-Castell PITT Artist Big Brush Pen Font is a free font called Remington Noiseless 6x8 Week In The Life™ Layered Templates No.2 Crop A Dile Silver Chipboard Mixed ShapesMORE INFORMATION
Other posts from the album creation portion of
Week In The Life™ 2015 so far can be found here:
First Steps In Creating An Album Monday In Album (with a video overview) Tuesday In Album Wednesday In AlbumThursday In Album


