
Tess Challis's Blog, page 9
August 15, 2011
Miso Healthy Dressing
 This tangy dressing is absolutely one of my favorite recipes (yes, I play favorites with my own recipes) from my newest book,
Radiance 4 Life
. Hope you love it as much as I do!
This tangy dressing is absolutely one of my favorite recipes (yes, I play favorites with my own recipes) from my newest book,
Radiance 4 Life
. Hope you love it as much as I do!This addictive dressing will jazz up any salad, veggie pasta toss, tempeh, or grain dish. Miso is incredibly immune-boosting and detoxifying, so you can feel great about indulging in this incredibly tasty dressing!
▪ ¼ cup each: raw cashews, balsamic vinegar, and sesame oil (raw, not toasted)
▪ ½ cup each: water and chopped onion
▪ 2 tablespoons dark miso (I use red miso)
▪ 1 tablespoon tamari
1. In a blender or food processor, blend the cashews, vinegar, and oil until smooth.
2. Add the remaining ingredients and blend until very smooth and no lumps
remain. This will keep, refrigerated in an airtight container, for several weeks.
Makes 1¾ cups dressing (14 servings)
GF/Green/HR (according to the guidelines in my books)
30 Minutes or Under!
♥ Superstars: cashews, sesame, onion, miso


August 7, 2011
Eating Well On The Road!
Hey friends! Today I leave for a two-week trip - which means all the way from Southwest Colorado to Michigan...and back. I get asked quite often how I stay healthy with all the traveling I do, and this is a great question. It basically boils down to one thing - planning and preparation! Yes, I know, that's two things, technically. But they both start with "P."
SO, what am I taking on this long road trip? I snapped a photo of what'll be going into my cooler today. What you *don't* see are a few items I have yet to pack: 2 bean burritos (one for me, one for the kiddo), fresh spring rolls, kombucha, snacks for the kiddo (nori, dried fruit, popcorn, etc.), water, sun tea, and the makings for pb&j's.
Now, I should also mention...please don't let what's in my cooler scare you! I don't always, always, always eat this healthy. There WILL be a stop for greasy vegan Indian food and a few decadent vegan goodies when I do my Raw Catalonian Kale demo at the Chicago Veggie Fest. But, I find that it's SO important to stay in balance - a few splurges like that don't really bother me, as long as I have a healthy foundation of fresh, organic, vitalizing foods going on! :-)
So enough small talk... Here's the deal:

So, I guess I have some explaining to do, yes? OK, from upper left, clockwise, we have...
1. 4 quarts of crazy vegetable smoothie stuff... I wouldn't recommend this one for the masses! Basically, I wanted to use up all the veggies in my fridge PLUS make sure I was getting enough veggies on the road. SO, I put the following in my Vitamix (in several batches): 6 carrots, 2 beets, 6 stalks of celery, 3 tomatoes, a whole cayenne pepper, some whole lemon, and a ginormous bunch of kale. It's not delicious, but I'll drink it. And don't worry, you won't see it in any of my books til I get it to taste better!! :-)
2. In the tahini jar is some dilly hummus I whipped up. I'll be making hummus-veggie wraps, one of my favorite travel staples. In fact, below that, you can see the tortillas I like to use - they're Alvarado Street sprouted grain tortillas. If you're gluten-free, I recommend the brown rice tortillas.
3. In the glass jar (an old coconut oil jar) to the right are some of my "Raw Cinnamon Rolls." They save me! I love them for travel and on-the-go snacking. I swear, walnuts are magic.
4. To the right of that, also in a glass jar, are some of my chocolate maca energy cookies. You can find the basic recipe in Radiance 4 Life or here on my blog.
5. Then, the meticulously prepared veggies are what you'll see next...carrot "pennies," cucumber slices, and julienne-cut beets. Oh, and some sliced organic dill pickles. These are the happy veggies I'll be putting in my hummus wraps. I'd normally add some sliced onion, but I'm out!
6. At the bottom are some dried apricots and raw rosemary sweet potato chips. Beta-carotene snacking at its finest!
7. In the containers with the blue lids, you'll see my solution to using up the last of the broccoli in the fridge! (I hate to waste good organic food, so before I leave on one of these trips, I'm basically putting a food puzzle together!) So, in those 2 containers is some steamed broccoli, mixed with wild rice, "Chicky Baby Seasoning" (a recipe from my books), and tamari. Super simple, but healthy and good.
8. In the glass container with the red lid is some really yummy raw spread I made. I will double check the recipe soon and post it. It's fantastic! Basically, just a mixture of carrots, celery, sunflower seeds, almonds, & seasonings. It's good road food as it's very portable, yummy, filling, nutrient-dense, and can be eaten with crackers or veggies.
9. Finally, the Quinoa Treasures Bowl is what you see in the plastic (yeah, I know) container. It's a yummy, filling food that's easy to eat with one hand! :-)
So, that's what I have for now...as I said, I'll be making a few stops for vegan goodies as well. Why lie to myself? ;-) But I do make a serious effort to stay as healthy as possible during these trips, so I try to limit the splurges. It's all about the balance! :-)
Thanks so much and stay tuned...I'll be posting more about my adventures in healthy food here and also on Facebook and Twitter. Much Love and Gratitude! xo
August 6, 2011
Photo by Michelle McCluggageBlackberry Peach GoodnessThi...

Photo by Michelle McCluggage
Blackberry Peach Goodness
This dessert is a recipe from my first book (containing about 250 yummy vegan recipes), Radiant Health, Inner Wealth . It's a perennial winner as it's both delicious and light—fancy that! I used to make this regularly for my weight loss clients and they just loved it. It seemed that not feeling deprived of desserts was a key element in making them want to stick with their healthy new diets. Of course, if you aren't concerned about calories, you can double the topping amount. Either way, it's delicious and fresh tasting!
Gooey Goodness Filling:
10 oz. fresh or frozen blackberries
4 cups chopped fresh, ripe peaches
3 tablespoons organic sugar
1 tablespoon arrowroot
2 tablespoons fresh lemon juice
Too Tasty Topping:
½ cup rolled oats*
⅓ cup whole wheat pastry flour*
3 tablespoons organic sugar
1 teaspoon ground cinnamon
½ teaspoon ground nutmeg
⅛ teaspoon salt
3 tablespoons melted coconut oil
1. Preheat the oven to 375° F. Lightly oil a round pie pan and set it aside.
2. Gently combine the filling ingredients in a large bowl. Place them evenly in the pie pan.
3. In a medium bowl, combine the dry topping ingredients (oats, flour, "white" sugar, cinnamon, nutmeg, and salt). Stir very well to combine.
4. Drizzle the oil into the dry topping mixture and stir well until thoroughly combined. Sprinkle evenly over the berry-peach mixture.
5. Bake for about 40 minutes, or until it resembles a gooey fruit nirvana with a golden brown topping. Cool slightly and serve immediately. This is no laughing matter.
Serves about 6; GF (with substitutions)/SF/Blue (According to the guidelines in my books )
*For a gluten-free version, substitute an all-purpose gluten-free flour for the whole wheat pastry flour. You may also substitute quinoa flakes or gluten-free oats for the rolled oats. See page 44 for more details.

August 4, 2011
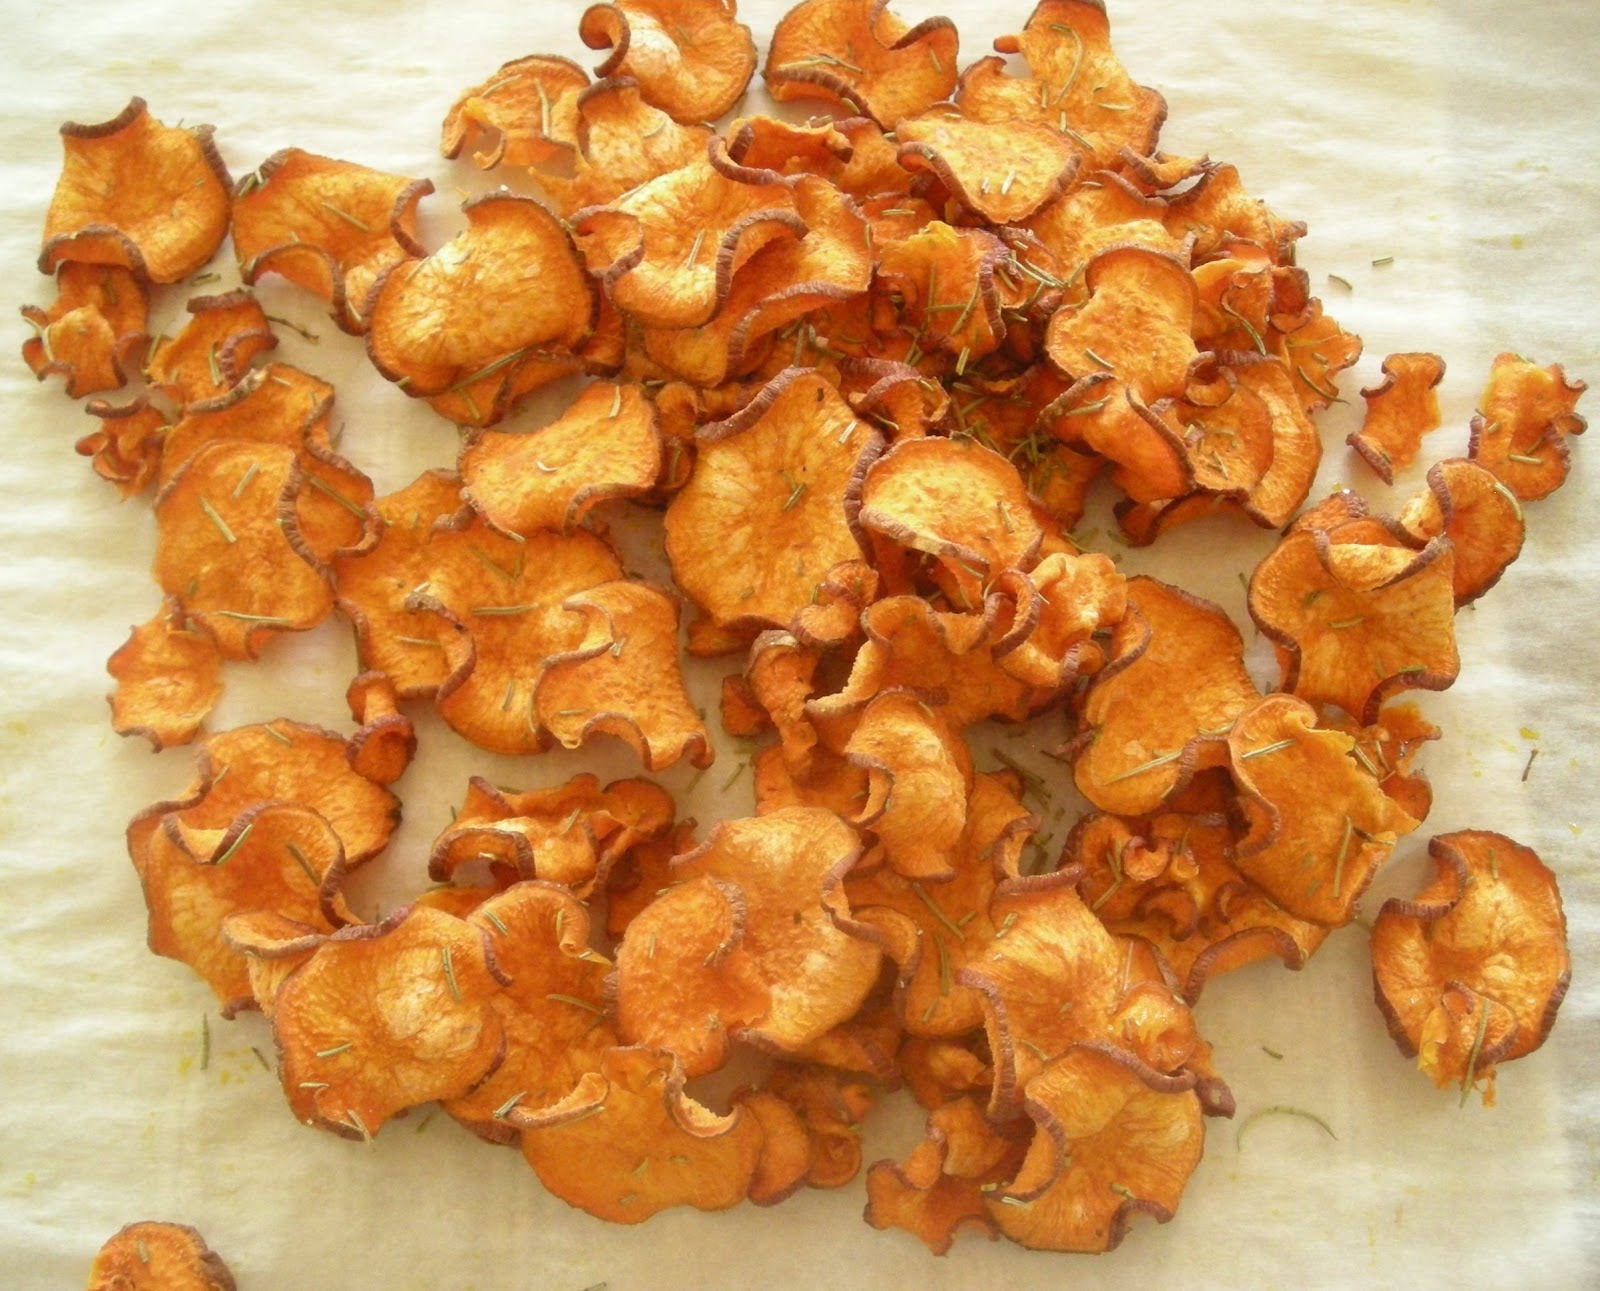
Raw Rosemary Sweet Potato Chips
 Greetings, friends! I hope your August is off to a healthy, happy start thus far! I'm doing more travels this month and wanted to get a head start on some healthy snacks this week, so I've been using my food dehydrator (the Excalibur 9-tray) to make zucchini chips, kale chips (Bold Lime Kale Crunchers from
Radiance 4 Life
), dried mango, and these! I love that these chips are raw, tasty, and chock-full of beta-carotene.
Greetings, friends! I hope your August is off to a healthy, happy start thus far! I'm doing more travels this month and wanted to get a head start on some healthy snacks this week, so I've been using my food dehydrator (the Excalibur 9-tray) to make zucchini chips, kale chips (Bold Lime Kale Crunchers from
Radiance 4 Life
), dried mango, and these! I love that these chips are raw, tasty, and chock-full of beta-carotene. I've been asked if you can cook them in the oven by a few people who don't have a food dehydrator. Truth is, I haven't tried. But I'm guessing you could do it if you used the lowest setting on your oven - I would guess they'd take about 15-20 minutes per side (flipping them once) to cook. If you try it, let me know how they come out!
Raw Rosemary Sweet Potato Chips
One large sweet potato, cut into thin slices (I use my mandolin to slice it - so easy & they come out in uniform slices, which helps them "cook" more evenly)
1 tablespoon dried rosemary
4 teaspoons olive oil (the more oil you use, the more crisp your chips will be - if you want crispier chips, use more oil than this - if you want lower fat chips, you can use less oil but the chips will be more chewy)
1/2 teaspoon sea salt
1. In a large bowl, combine all of the ingredients and stir well to coat.
2. Place them out flat on food dehydrator sheets...like so:
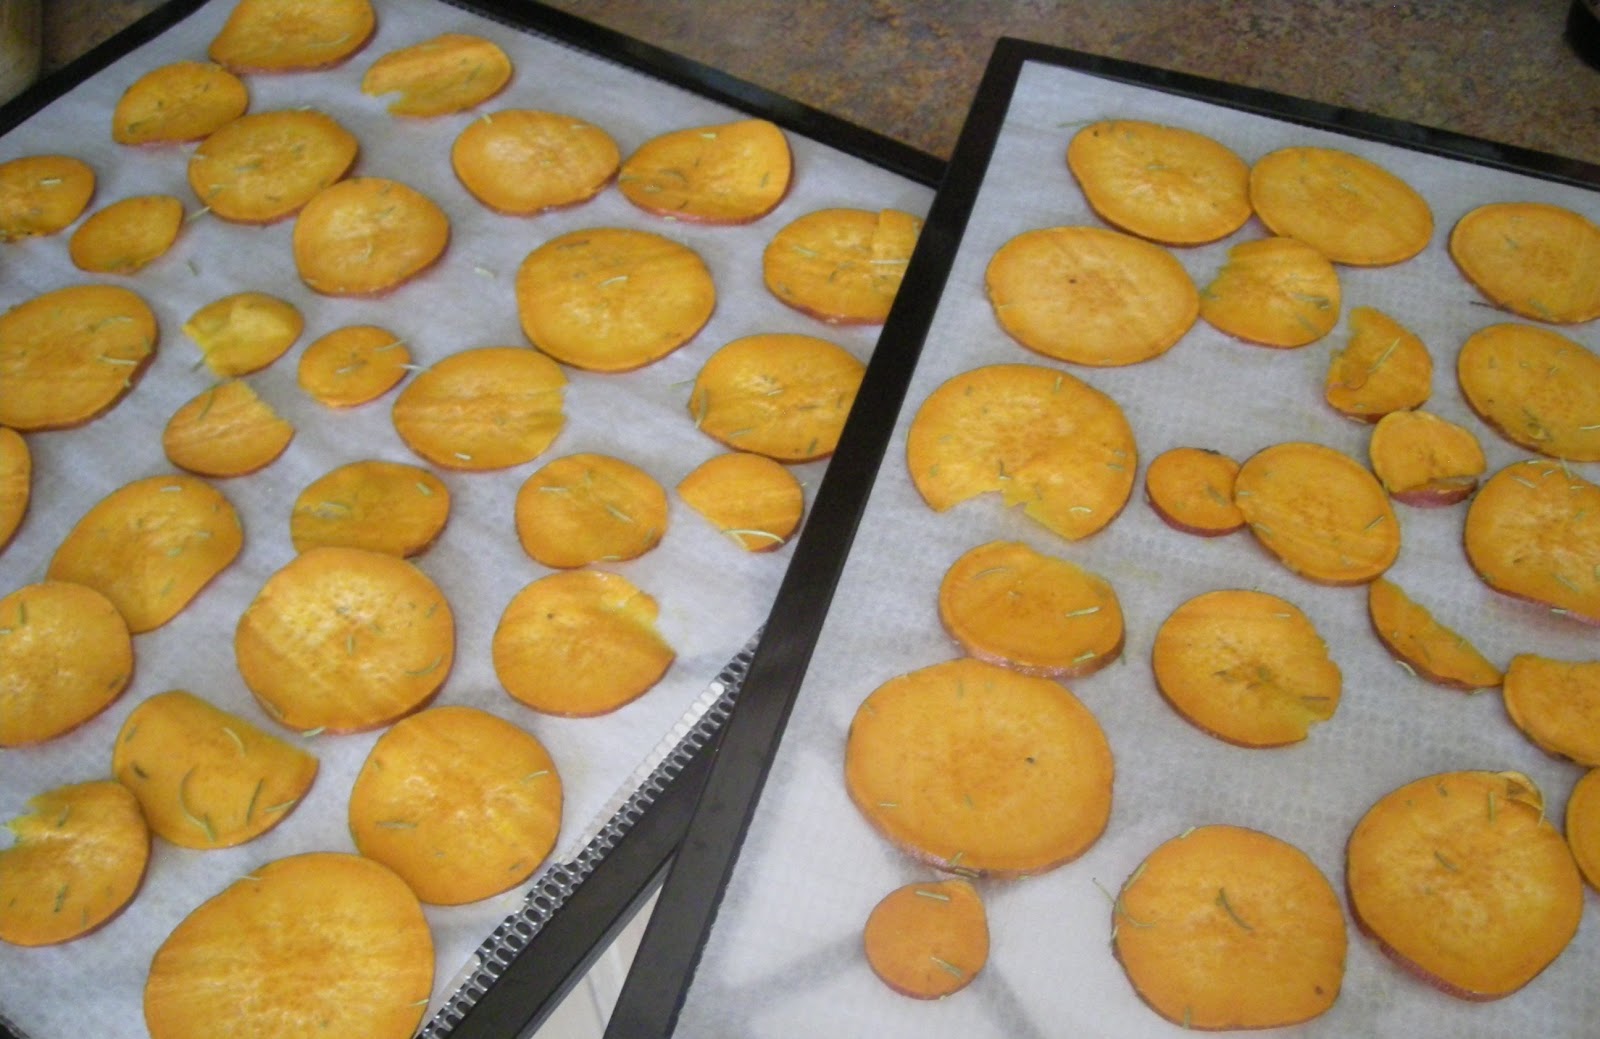 3. Dry at about 105 F (this is the temperature I use, but I believe you can dry at a maximum of 118 degrees and still maintain the live enzymes) for several hours. This usually takes me 7 hours at 105 degrees.
4. To check for absolute doneness, you can put them in an airtight container and make sure that no beads of moisture appear. If they appear, you will need to dry the chips longer. They will store in an airtight container at room temperature for...a while. I always eat them before they spoil - drying them preserves them so well that I've never had a problem eating them up fast enough!
Makes about 4 cups of chips
GF/SF/Raw/Green (according to the guidelines in my books)

July 31, 2011
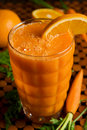
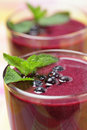
Beta-Carotene Smoothie
 So, I've been on a huge beta-carotene kick recently. Ever since I read an article about the amazing benefits of carotenoids, I'm all over it. This nutrient is a powerhouse that will give your skin a glow, boost your immune system, and fill your body with antioxidants. So, long story short...I've been putting carrots in everything lately! Try this easy, 3-ingredient smoothie and you'll be doing the carrot dance right along with me.
Beta-Carotene Smoothie
2 cups frozen mango chunks
large carrot, cut into chunks
1 1/2 cups orange juice, the fresher the better
In a Vitamix, Blendtec, or good blender, combine all of the ingredients until very smooth. Serve immediately and enjoy!
Makes 2 servings
GF/SF/Raw/Green (according to the guidelines in my books )

July 29, 2011
Hungarian Chickpeas!
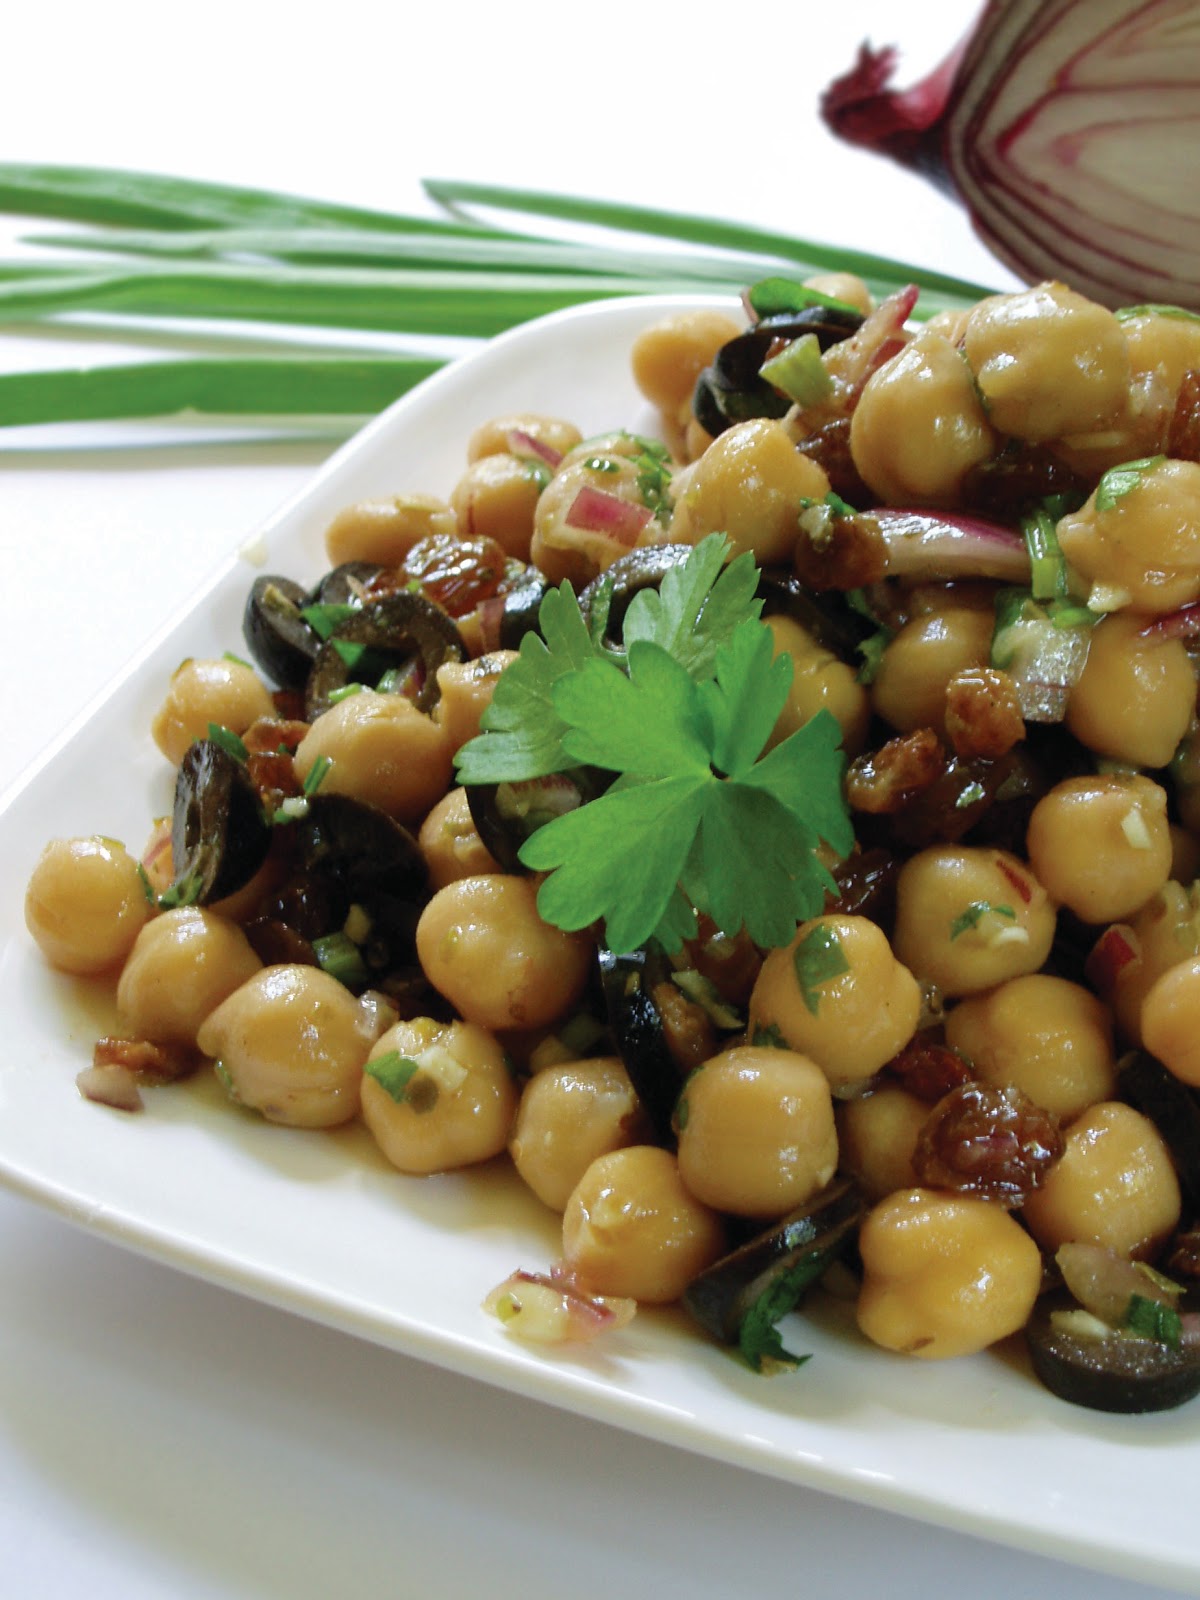 Holy bean love, people...these are insanely delicious! This recipe is one of my favorites from my newest book,
Radiance 4 Life
. It's very quick and easy to put together, but does require smoked paprika. You can usually find this divine elixir of spice in health food stores, many supermarkets, and most international food markets. It's worth the (relatively inexpensive) purchase though - smoked paprika will lend a rich, earthy, complex flavor like nothing else. It's also great sprinkled on babaganoush or hummus, or as a seasoning for a wide variety of dishes.
Holy bean love, people...these are insanely delicious! This recipe is one of my favorites from my newest book,
Radiance 4 Life
. It's very quick and easy to put together, but does require smoked paprika. You can usually find this divine elixir of spice in health food stores, many supermarkets, and most international food markets. It's worth the (relatively inexpensive) purchase though - smoked paprika will lend a rich, earthy, complex flavor like nothing else. It's also great sprinkled on babaganoush or hummus, or as a seasoning for a wide variety of dishes. Oh, and by the way...this lovely photo was taken by the fabulous Olga Vasiljeva. However, as she's in Latvia, she doesn't always have access to the same ingredients as I do. So, when you use smoked paprika, this dish will look significantly more red in color.
So, without further delay...
Hungarian Chickpeas!
Welcome to my new obsession.
▪ 15 oz. can chickpeas (garbanzo beans), rinsed and drained
▪ 2 tablespoons pitted and quartered kalamata olives (or other Greek olives)
▪ 2 tablespoons each: raisins, chopped cilantro, and minced yellow or white onion
▪ 1 tablespoon each: extra-virgin olive oil and raw agave nectar
▪ 2 teaspoons each: dijon mustard, fresh lime juice, and smoked paprika
▪ 1 teaspoon dried oregano
▪ 2 large cloves garlic, minced or pressed
▪ ½ teaspoon sea salt
Combine all of the ingredients and stir very well. Serve cold or at room temperature. This will keep, refrigerated in an airtight container, for up to a week.
Serves 2/GF/SF/Green (according to the health guidelines in my books)30 Minutes or Under!
♥ Superstars: beans, cilantro, onions, extra-virgin olive oil, lime, garlic

July 28, 2011
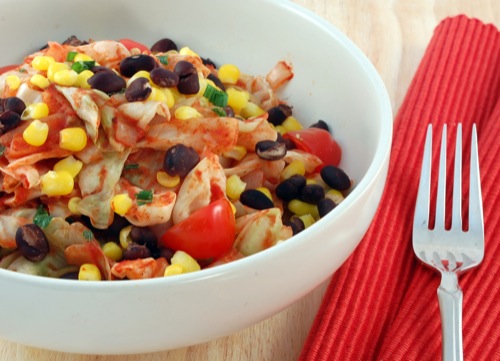
Guest Post Today! Vegan Mexican Cabbage by Happy Herbivore
 Greetings, friends! I hope you're all enjoying life on this fine and fancy Thursday! Today, my friend Lindsay (vegan diva of Happy Herbivore) and I are trading guest posts. She's featuring my fat-free and yummy quick cobbler on her blog and I'm sharing her recipe for Mexican Cabbage here with you.
 We both share a love of making healthy, plant-based foods taste fantastic - and as you can see (and taste) from these recipes, there's no excuse not to! Vitalizing, health-supporting foods really can taste as good (and, um, much better thank you) as ones that don't. Life is good and food is meant to taste great, be enjoyed, and keep us in a state of perfect health.
So, be sure to check out this recipe and let us know what you think! Cheers!
Mexican Cabbage
Ingredients:
½ whole cabbage 1 whole sweet onion, diced 2 whole garlic cloves, minced 8 ounces tomato sauce 4 ounces green chilis, diced 2 tbsp tomato paste 1 tsp cumin ½ tsp oregano or majarom ¼ tsp black pepper 1 cup corn, frozen 1 cup black beans, cooked ¼ cup baked corn chips Here are Lindsay's instructions:Chop cabbage into thin strips, set aside. Line a medium saucepan with water and saute onions and garlic over high heat until translucent. Add cabbage, tomato sauce, chilis, paste and spices. Reduce heat to medium and cook until cabbage is tender, about 10 minutes. Turn off heat and stir in frozen corn until evenly distributed. Taste test, adjusting spices as needed. Salt to taste if desired. Mix in black beans before serving. Break corn tortilla chips into small pieces in your hand and sprinkle over top before serving.
This recipe serves 2
According to the health guidelines in Tess's books, this recipe is GF/SF/Green

July 26, 2011
My Daily Green Smoothie
 Yes, I really do drink this just about every day! I just lerrrve the idea of getting lots of veggies in my system, first thing in the morning. Plus, antioxidant-rich, delish blueberries and grapes are so boldly flavored that they make this easy peesy to drink with a smile on your face!
1 1/2 cups frozen blueberries
1 very large carrot
2 cups raw kale
1 cup organic concord grape juice
Optional: 1 cup ice cubes or water
Blend all of the ingredients very well, using a Vitamix, Blendtec, or good blender. Drink immediately and feel fabuloso!
Serves 1-2 (personally, I drink the whole thing myself)
GF/SF/Raw/Green (according to the guidelines in my books )

July 24, 2011
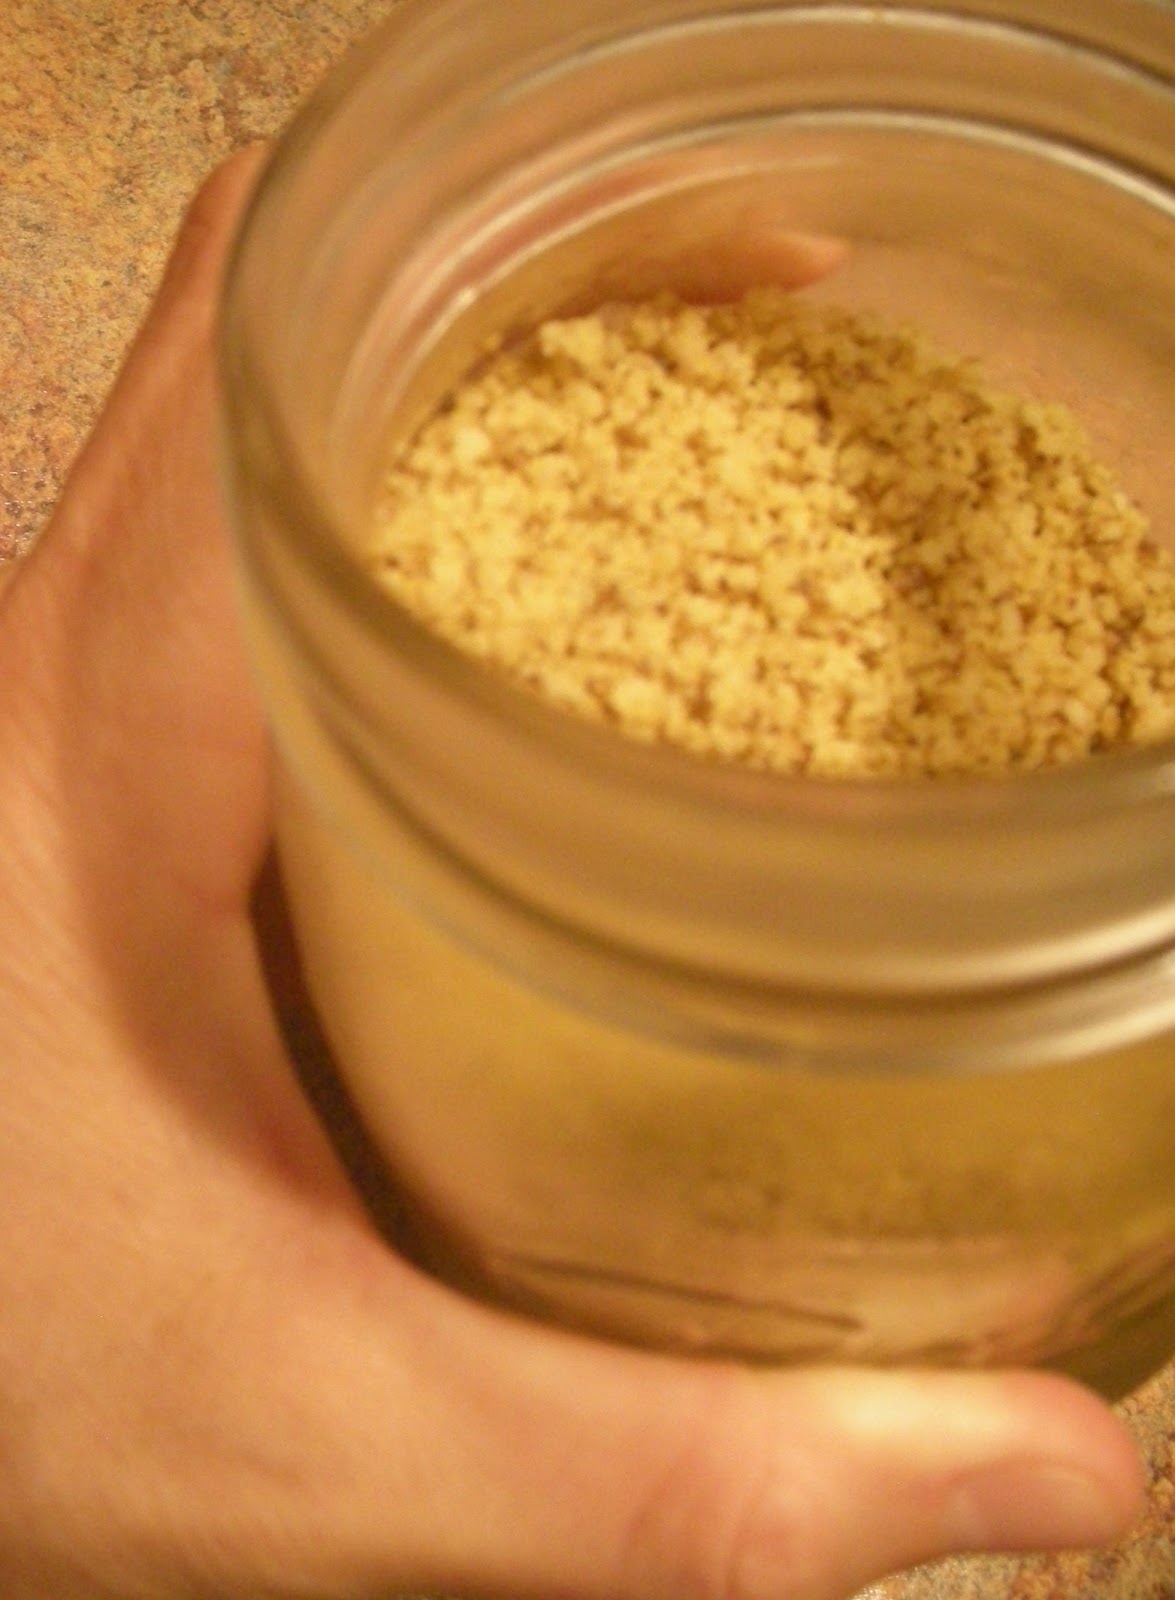
3-Ingredient Vegan Parmesan Sprinkle
 Healthy, easy, and yummy on *everything* ... Why would you even think of NOT making this??!
 And pu-leeze don't let the excessively glamorous, professional photograph intimidate you. I guarantee yours WILL come out just as sexy as mine...if not more so.
1 1/2 cups raw walnuts
1/4 cup nutritional yeast
3/4 teaspoon sea salt
Blend all of the ingredients in a food processer until the walnuts are very crumbly. This is really the only point during this whole process where you need to be on your toes. Too much blending will result in cheese paste. Too little blending will result in big walnut lumps. You're looking for middle ground here. Nice, small, cheesy crumbles.
Once you've achieved perfection, you can store this mixture, refrigerated in an airtight container, for several weeks or more.
Makes about 1 1/2 cups of sprinkle (20 servings)
GF/SF/Raw/Blue (according to the guidelines in my books)

July 23, 2011
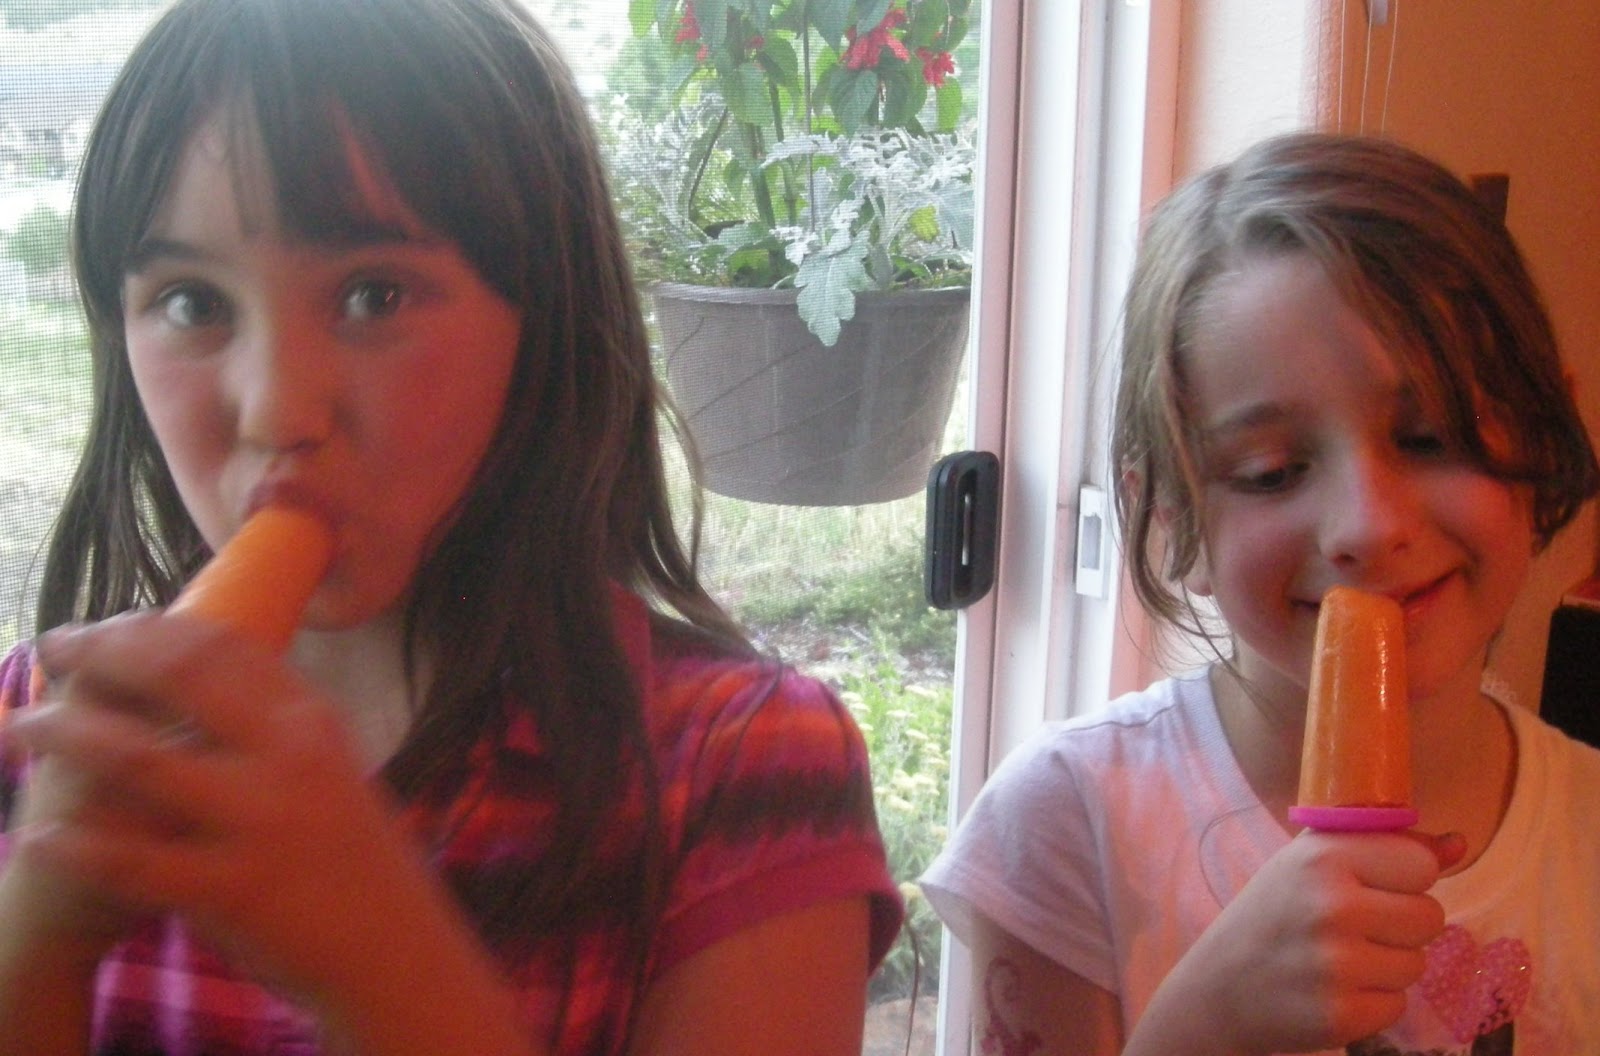
Carrot Mango Popsicles!

Wowza, do I ever love these! It's a foolproof way to get lots of beta-carotene rich carrots into the willing bodies of children (and adults!), because they taste like pure mango bliss! I've been tinkering in my kitchen with these all week, trying to get them just right before I shared them. Last night, the magic happened...so here we go!
Oh, and here's a picture of my daughter (on the right, looking at her popsicle like she wants to marry it) and her best buddy, enjoying this treat. When I asked them if they liked the popsicles, they both said "Mmm HMMMM!!" I'll take that as a success! :-)
2 cups mango chunks, fresh or frozen
1 cup banana chunks, fresh or frozen
1 cup chopped carrot (about 2 medium carrots)
3/4 cup orange juice
1/4 cup fresh lime juice
Blend all of the ingredients together until smooth. Personally, I use a Vitamix for this, but you can also try a regular blender, food processor, or Blendtec. When smooth, pour into popsicle molds and freeze. Alternatively, you can freeze it and eat it like sorbet (or do this with any leftovers you may have). If you're eating it like sorbet, you will need to thaw it just a bit after removing it from the freezer. Enjoy!
Makes about 6 popsicles
GF/SF/Raw/Green (according to the guidelines in my books)

Tess Challis's Blog

- Tess Challis's profile
- 7 followers
Tess Challis isn't a Goodreads Author
(yet),
but they
do have a blog,
so here are some recent posts imported from
their feed.

