
Gayle A. Pritchard's Blog, page 6
March 1, 2015
Sunprinting, Chapter 3
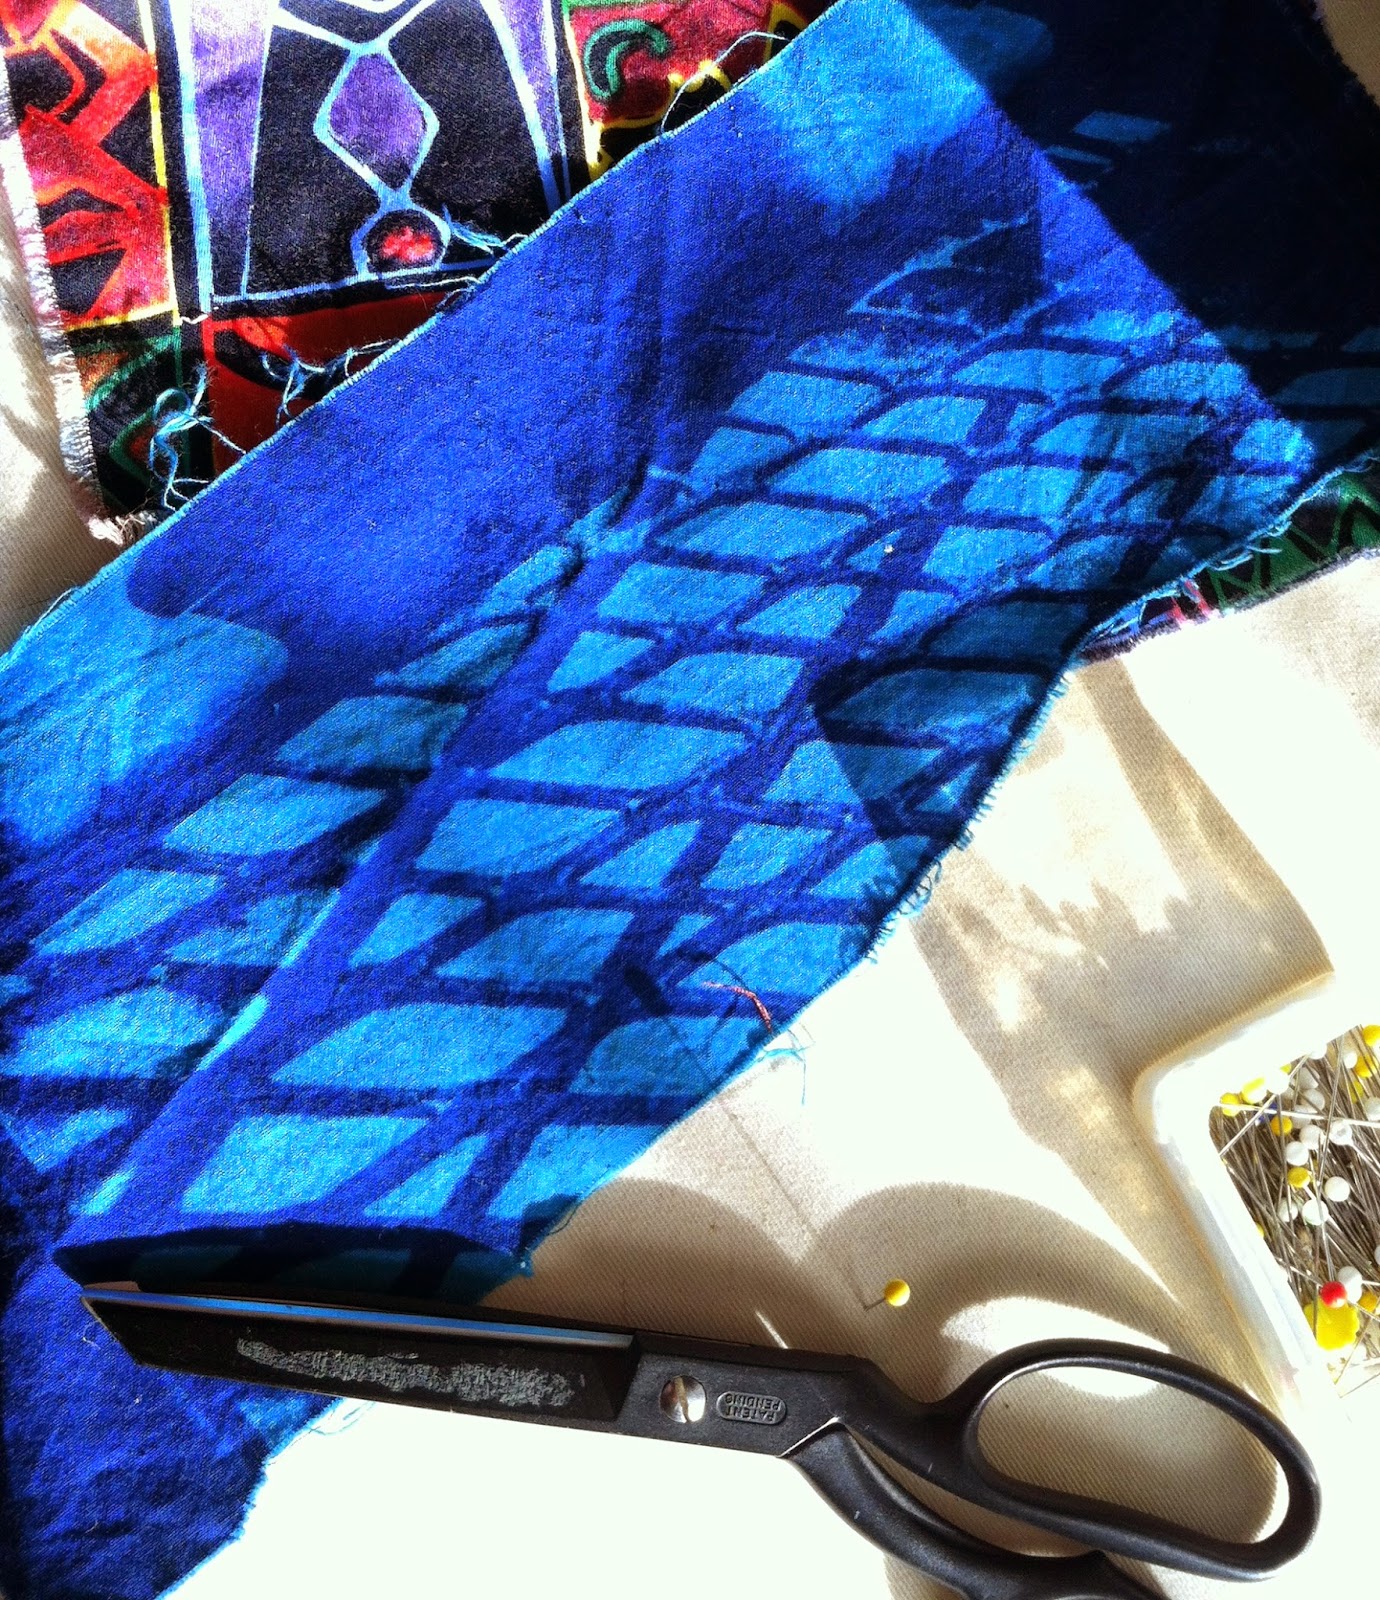 A sunprint made from a negative transparency
of platic fencing. I am using this print in my
new quilt, below, Turtle Spirit Despite the winter weather, I have dreams of summer and sunshine, and cyan printing helps me remember that warm weather is coming again.
My last post promised to show you how to turn a cyan toned sunprint into a sepia toned one. Why would you want to change it? Well, because you may need a different color for what you are doing. If you tone to sepia, the print will be lighter in tone, and you can also paint or otherwise add color to it, if you want to. Alternatively, you could use setacolor paints, which allow you to print in every color of the rainbow. In my case, I am printing several sizes of my grandmother using various techniques, then sewing them onto a quilt she made that I recently repaired and recreated.
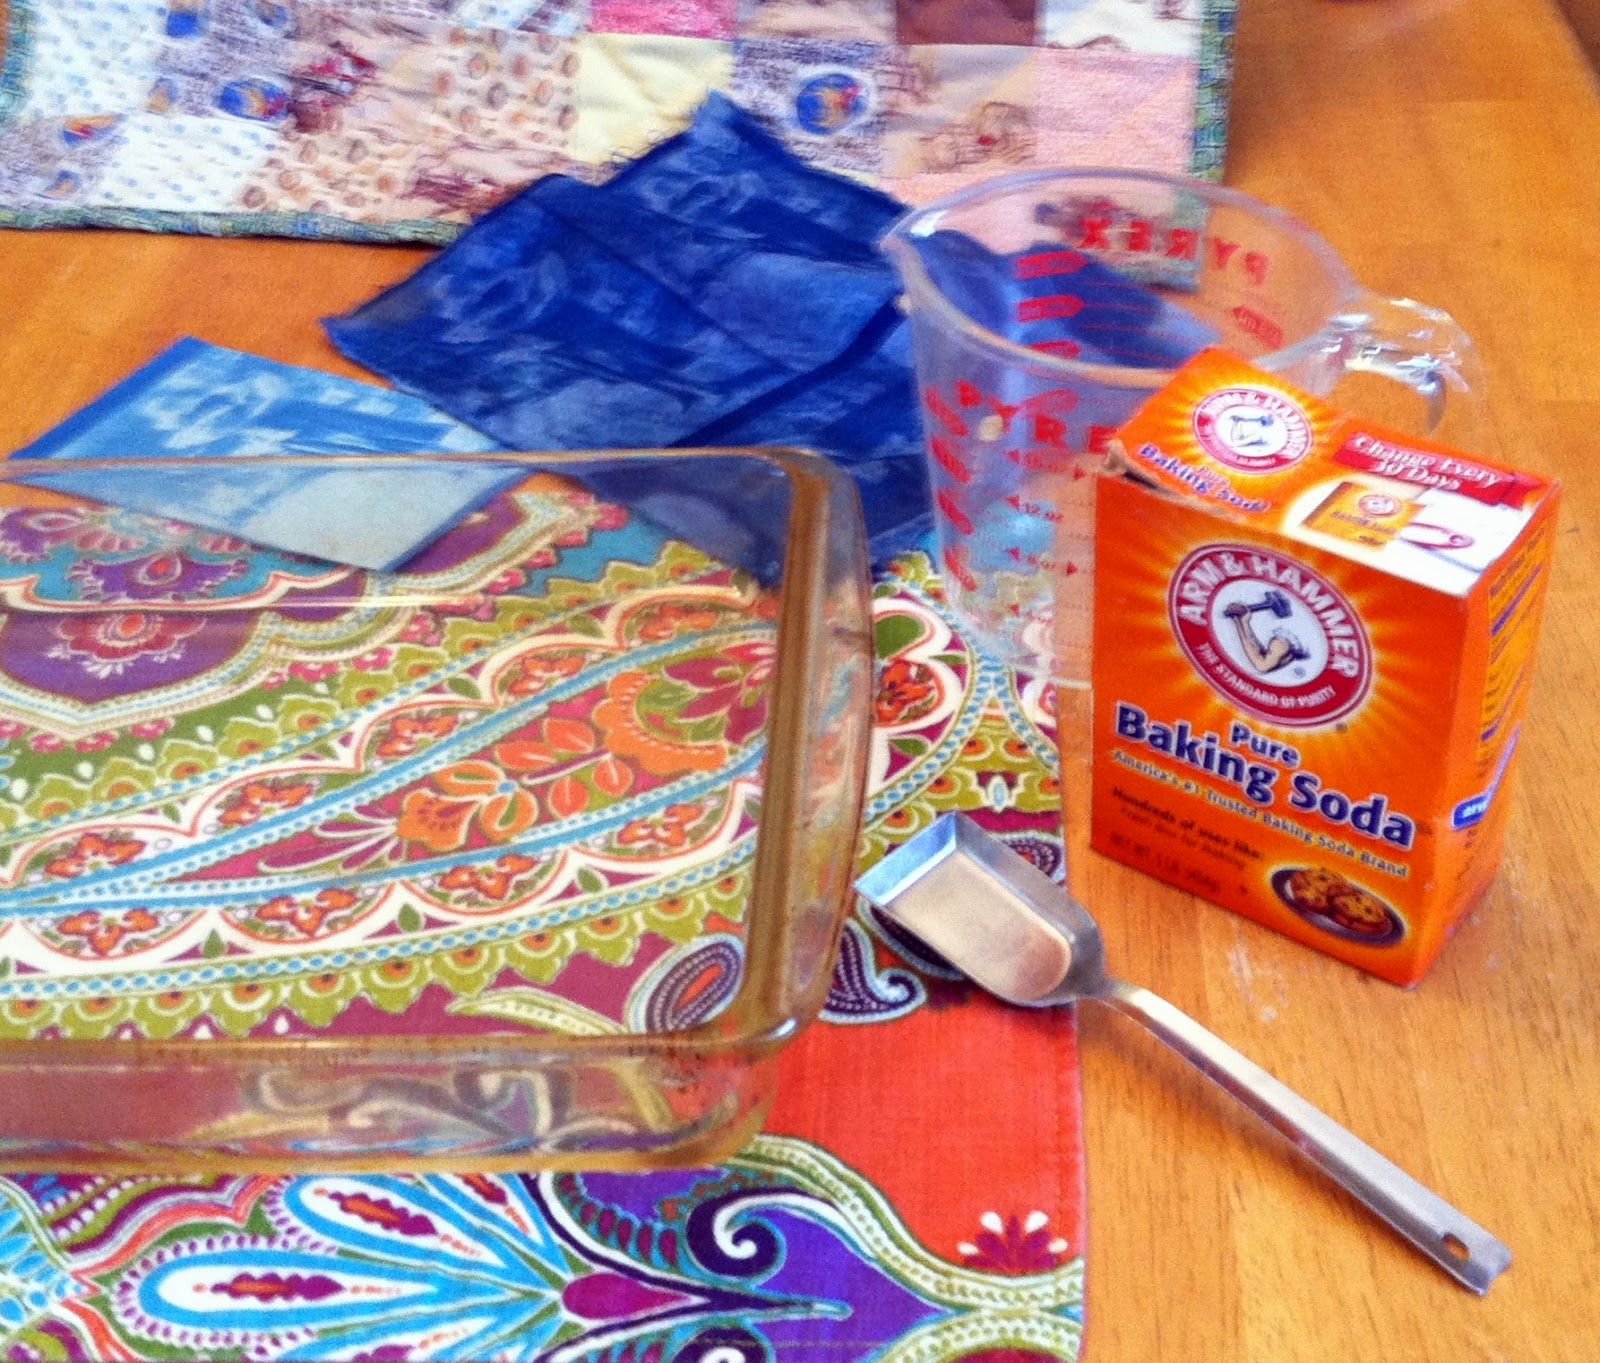 For sepia toning, everything you need is in your kitchen.While there are other ways, this is how I turn a cyan print into a sepia toned print:
You will need 1 - 2 T. of baking soda
2 C. hot (but not boiling) water
Glass or plastic pan to fit your image (size matters only if you're working with watercolor paper; fabric can be scrunched)
8 - 10 teabags (black tea, orange pekoe, Lipton's)
Wooden spoon
What to do:
Dissolve 1 T. of baking soda in hot water in a glass or plastic pan. Let the water cool slightly, then agitate your sunprint in the mixture until the color begins to fade. Quickly remove and rinse in clear water. This happens very quickly. You now have a yellow print, the interim stage. You might want to try a test print before you do more. Let dry. Iron flat, unless you are working with a paper print.
Note: You may need up to 2 T. of baking soda, depending on how many prints you are working with, and how large the pieces are. Multiple prints will begin to exhaust the baking soda chemical reaction, and you will need to add fresh water and baking soda.
 Yellow print, the interim stage: it looks like
nothing is there, especially before it dries.Make a tea dye bath:
While your print is drying, bring the tea kettle to a boil, and steep 8 - 10 teabags in 2 C. of water for 10 minutes. You can adjust the color by adding more or less water, more or fewer teabags. After 10 minutes, remove the teabags and discard.
Pour the tea dye bath into your tray or pan, and submerge your yellow print. Leave it there at least 10 minutes or until it is the color you want. Play around with determining the color tone you want in your test print. Also, if there is any sediment in your tea dye bath, or if you are scrunching a large piece of fabric, the color may be uneven. Stirring while the yellow print is submerged will help keep the color more even if you are concerned about that.
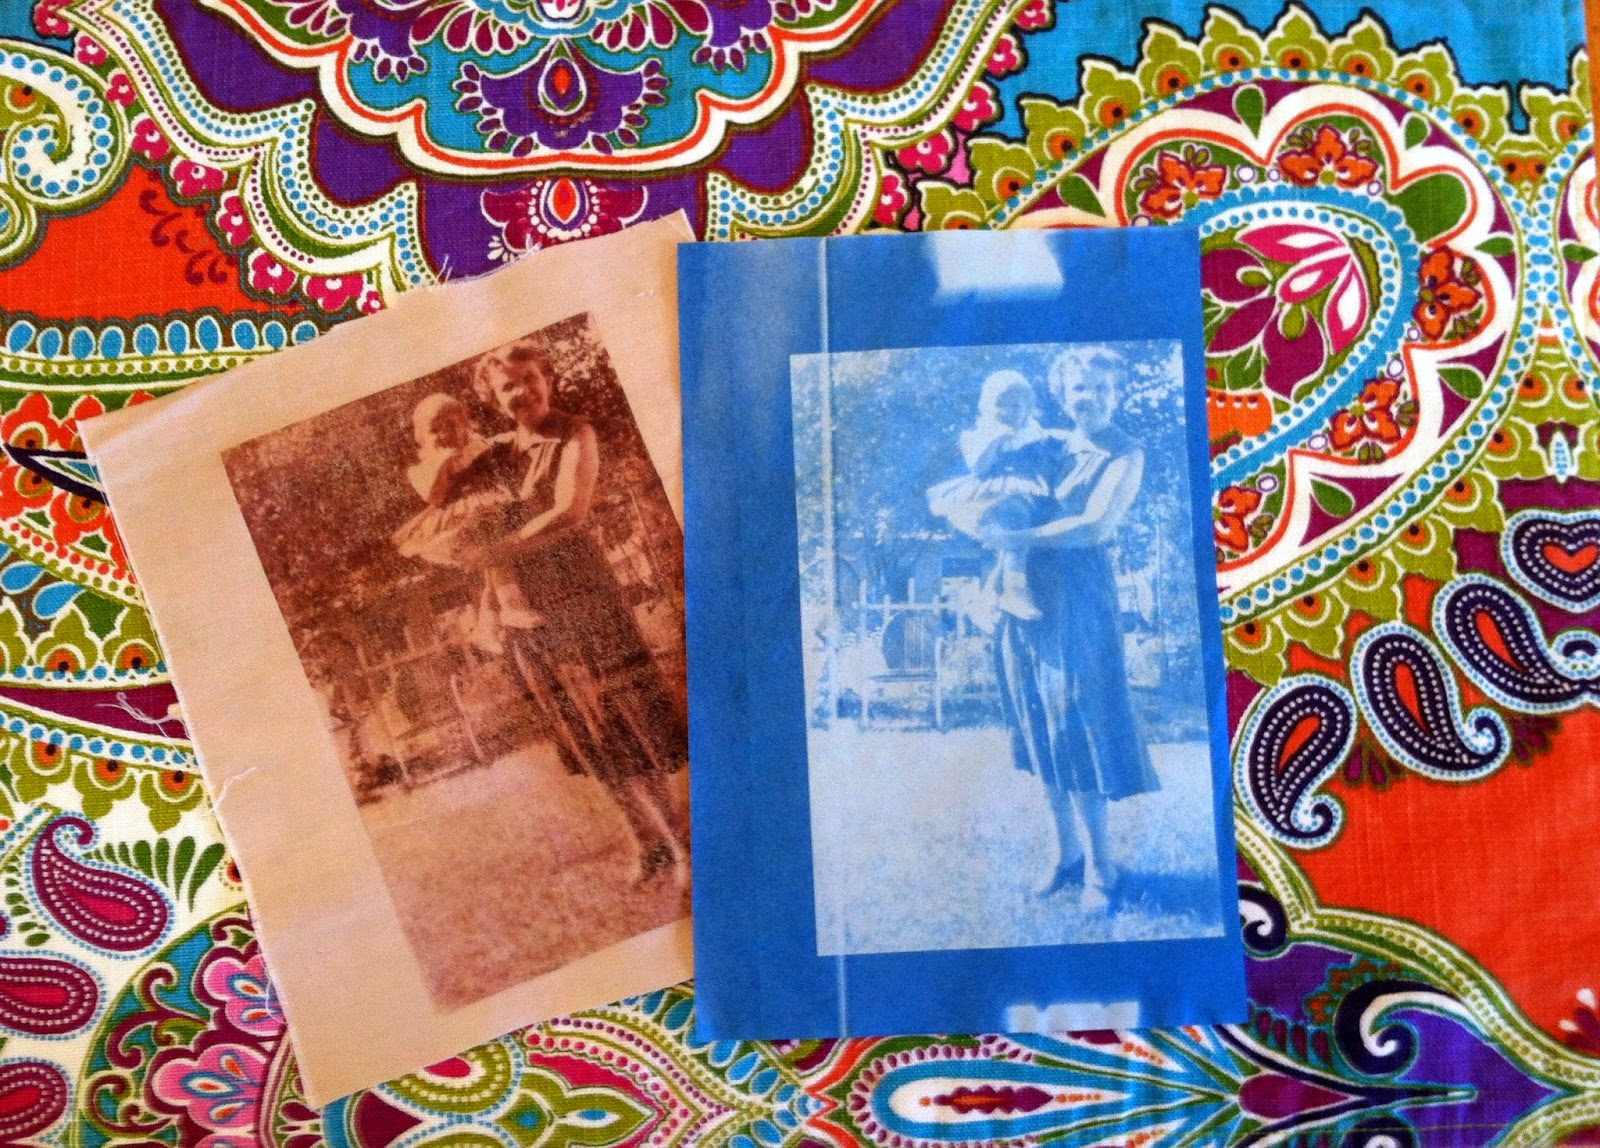 Sepia-grandma and cyan-grandma. Now I have more color options.I will make a series of these prints in various sizes to create a collage composition for my piece. More to come! In the meantime, I am finishing the composition on Turtle Spirit, which also incorporates sunprints.
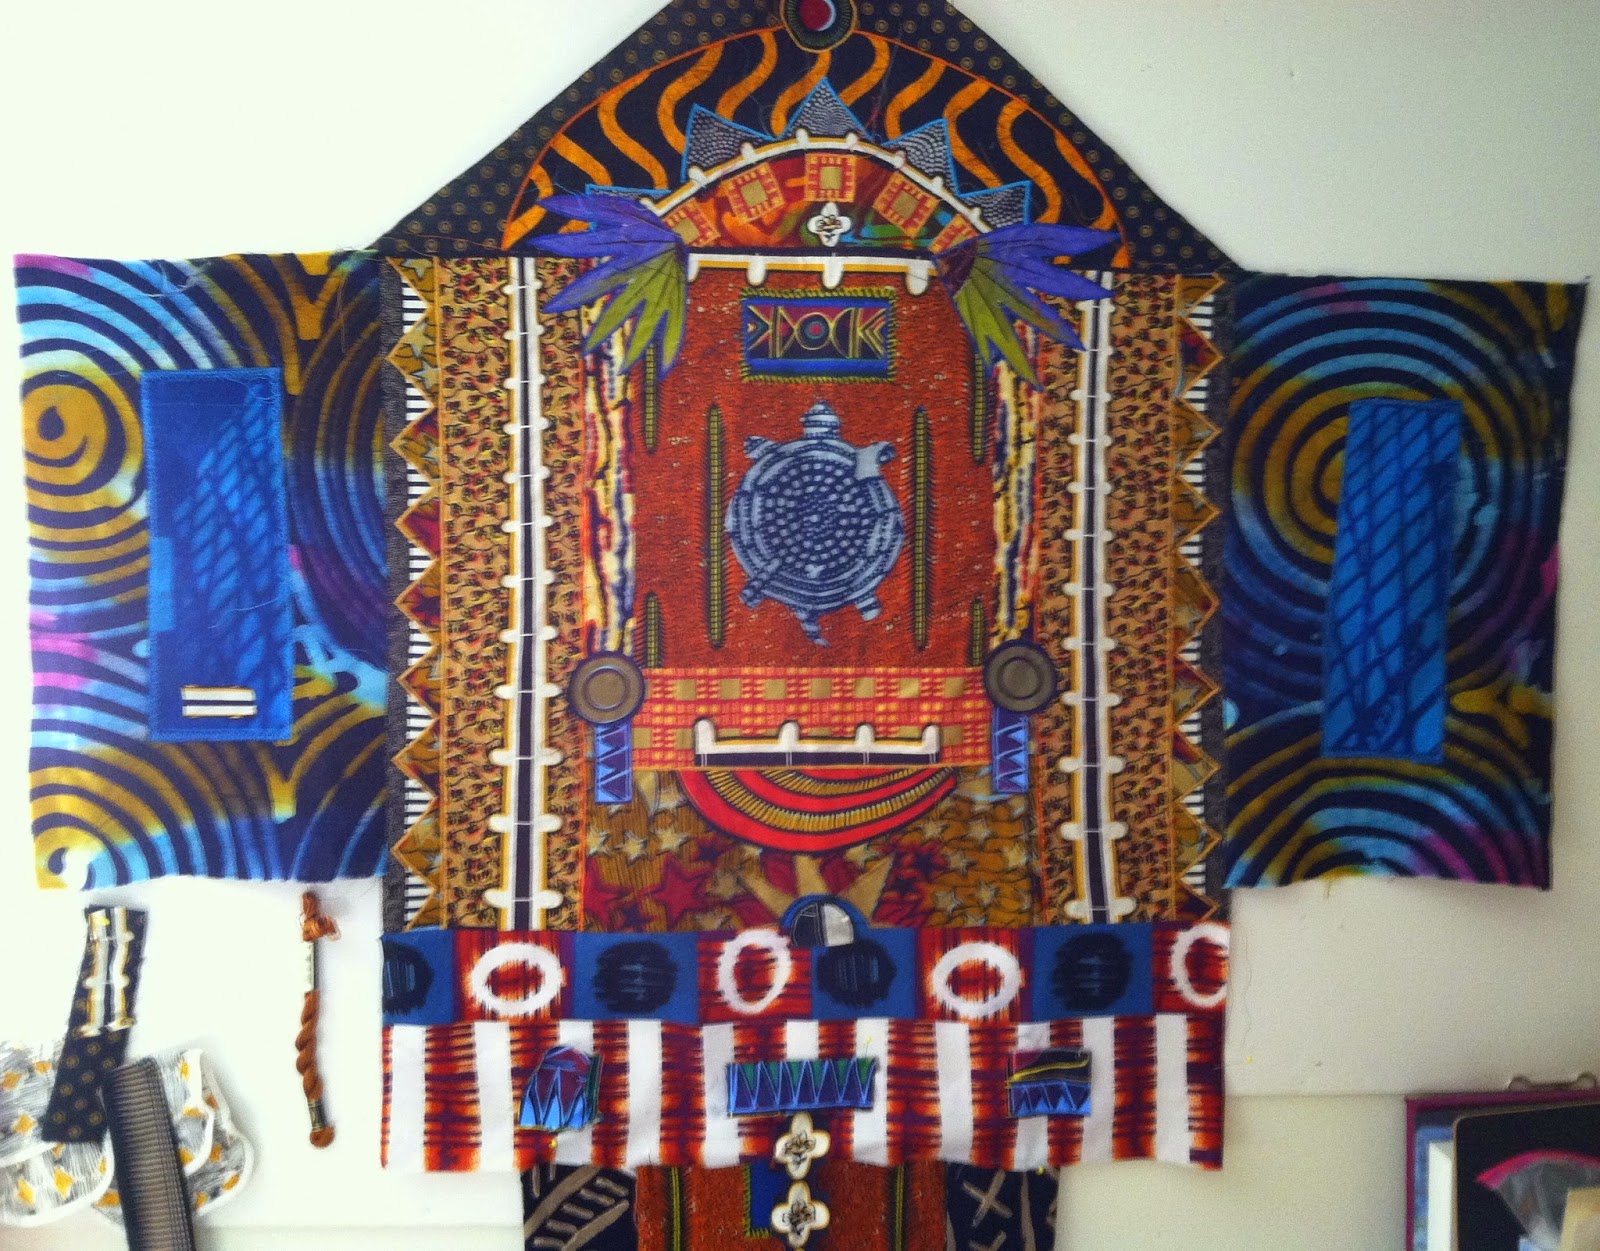 This is a detail shot of my design wall showing my newest piece,
Turtle Spirit, in progress. The side panels both have sunprints
appliqued in place. The turtle, though blue, is an indigo dye, and
not a sunprint.


February 22, 2015
Sunprinting, Chapter 2
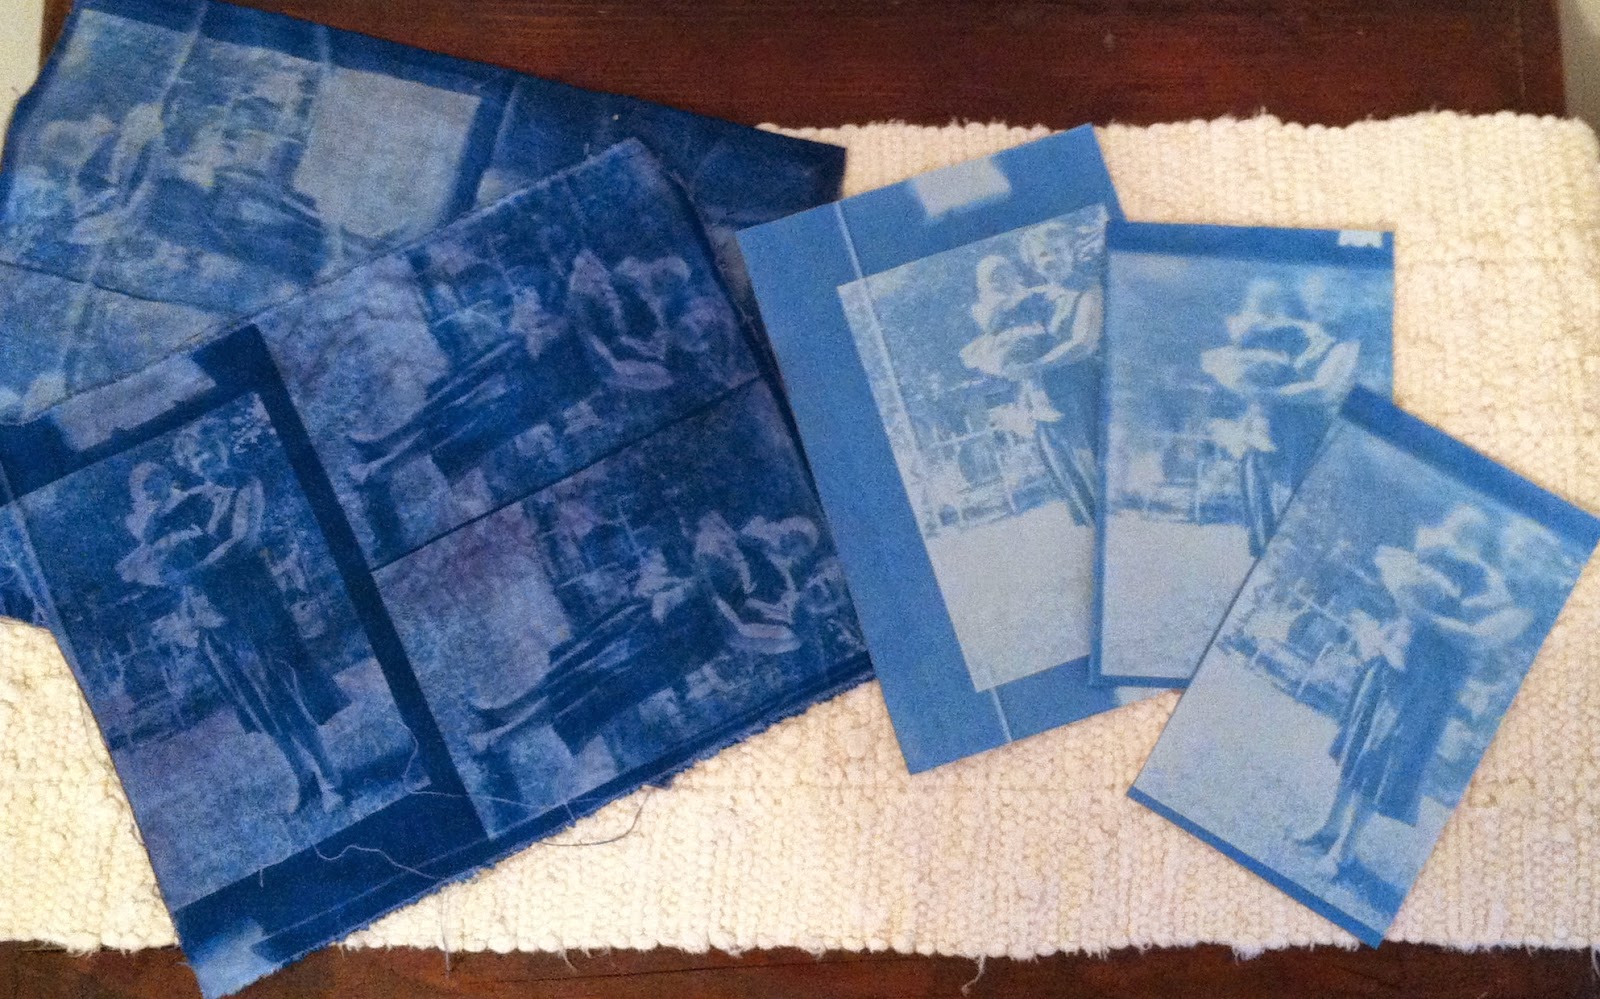 On the left, two sunprinted fabrics; on the right, the same
image on paper.If you read my last post, you'll see how I used the sun to print the images of my grandmother you see here. Since you can only really see the quality of the printed image after it has completely dried, I waited. It's winter, and my drying rack is next to my furnace, so I didn't have to wait very long! I ironed the fabric and had a look.
 The same image printed twice. On the left, no clamped glass was used.As you can see in the picture, above, I ended up making two prints on fabric. Why? Because I forgot a crucial step in obtaining a crisp print, especially when using transparencies, and especially in the winter: I forgot to cover my fabric with a piece of clear glass clamped in place. The resulting blurry print on the left is blurry, in part, because I failed to clamp the glass on top, making a secure contact print. (It's also blurry because I did not iron the fabric flat enough before printing it.) After it dried, I realized my omission, and immediately reprinted the image, as you see on the right. The result? Even though my fabric is old, when printed correctly, it still gave me a decent print. That has been my experience over the 25 years I have used this process, and is also why I never hesitate to buy yardage when purchasing pre-treated fabrics.
 The same image on treated paper.While I was at it, I grabbed an old but unopened package of treated sunprinting paper I picked up at a recent library sale. These are the Super Sunprint Kits often found in museum stores. I clamped the glass on top of the paper as described in my last post, opened my sliding back door, and let it sit on the threshold dangling over the snow to catch the sun. It was later in the day, and it was dangling, so you can see that there was still some blurring that occurred as a result of the position of the sun and the minor movement of the substrate the paper was clamped onto. I got one very clear print on paper, and the two blurry ones are interesting, and will still be used. You may notice that the print on this text-weight paper is not as dark as on fabric.
 The print on the left is on fabric. On the right, is a print
on high quality watercolor paper.Each surface gives a slightly different effect. Notice how the contrast is increased on the watercolor paper print here. When rinsed, the background reverts to white, and since the image I used had a lot of negative space, it produced a crisp print.
 Mother Shrine uses a sunprint.In Mother Shrine, the cyanotype print on fabric of my mother is also in high contrast. The difference between this one and the watercolor paper print is that the image of my mother is printed on fuschia fabric instead of white or aqua, therefore the contrast is lessened, though the image is still clear.
You may be wondering where the variety of pre-treated fabrics and paper come from. Although you can purchase cyan printing chemicals and treat your papers and fabrics yourself, I have always ordered mine from Blueprint Printables. They have been around longer than anyone else, have consistently high quality products, and great customer service. You can even send them yardage of your own fabrics to treat. Tune in next time to see some examples of that, and about how to turn a cyan print to sepia.
 Cyan print on the left; on the right, a cyan print on watercolor
paper turned sepia. It's really easy!
February 15, 2015
Sunprinting, Chapter 1
 The transparency of my grandma and me.I woke up this morning, a cold winter day in Cleveland, and the sun was shining brightly. I got excited, but not for the reasons you might think. I have been waiting for a day to do some sunprinting, and, even in the winter, today was the day.
I got up and quickly pulled a few items together. I have been working on a piece about my grandmother. Usually, I run to Kinko's or Office Max to get a negative transparency made, usually two of the same image to be sure the sunlight is thoroughly blocked in the dark areas. This time, I wanted to try printing it out on my very old inkjet printer, and happened to have a compatible transparency to use. It came out pretty well.
Although I want to try the newly reformulated Liquid Light, i.e. Jacquard Solar Fast, I already have some, albeit very old, pre-treated sunprinting fabric. I cut a piece to size in the dark, quickly ironed it in the dark, then pinned it to a board with the negative transparency on top. To take it all outside, I placed a piece of plain paper on top to keep the fabric from being exposed too much while I moved it.
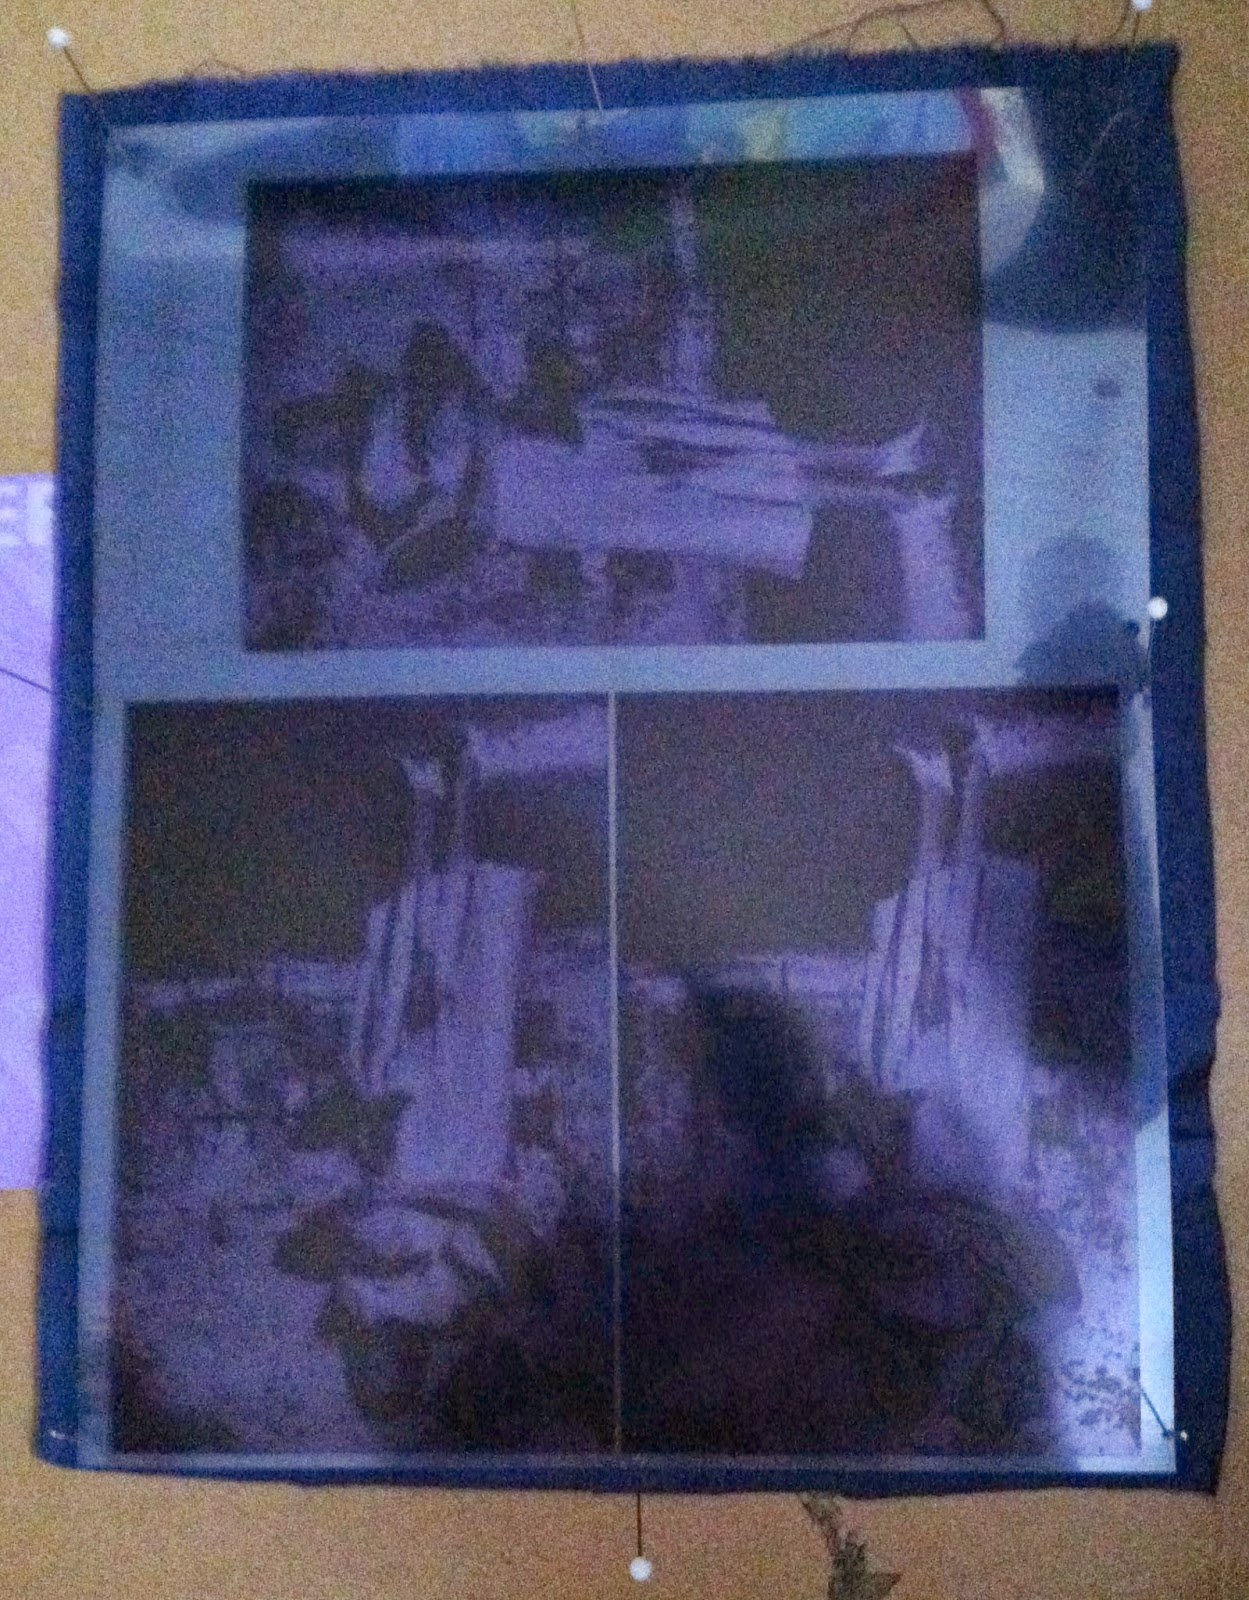 The transparency pinned to the
sunprinting fabric
 Everything covered with plain paper
I checked the timer feature on my phone, then ran out into the garage, where the sun was shining right into the doorway. In this part of the country in the winter, the sun is low and not as bright, so sunprinting can take a bit longer. On a hot summer day, 3 minutes of exposure is plenty. Today, I allowed 4 minutes, and checked it before allowing another half a minute. The only variable here is that my fabric is very, very old, so the print may not come out as desired. I also did not use a double transparency sandwich, so I may get a lighter print. No matter. I am seizing the moment! The print is drying now, so stay tuned to see how it turned out.
 Yes, sunprinting in snow weather!
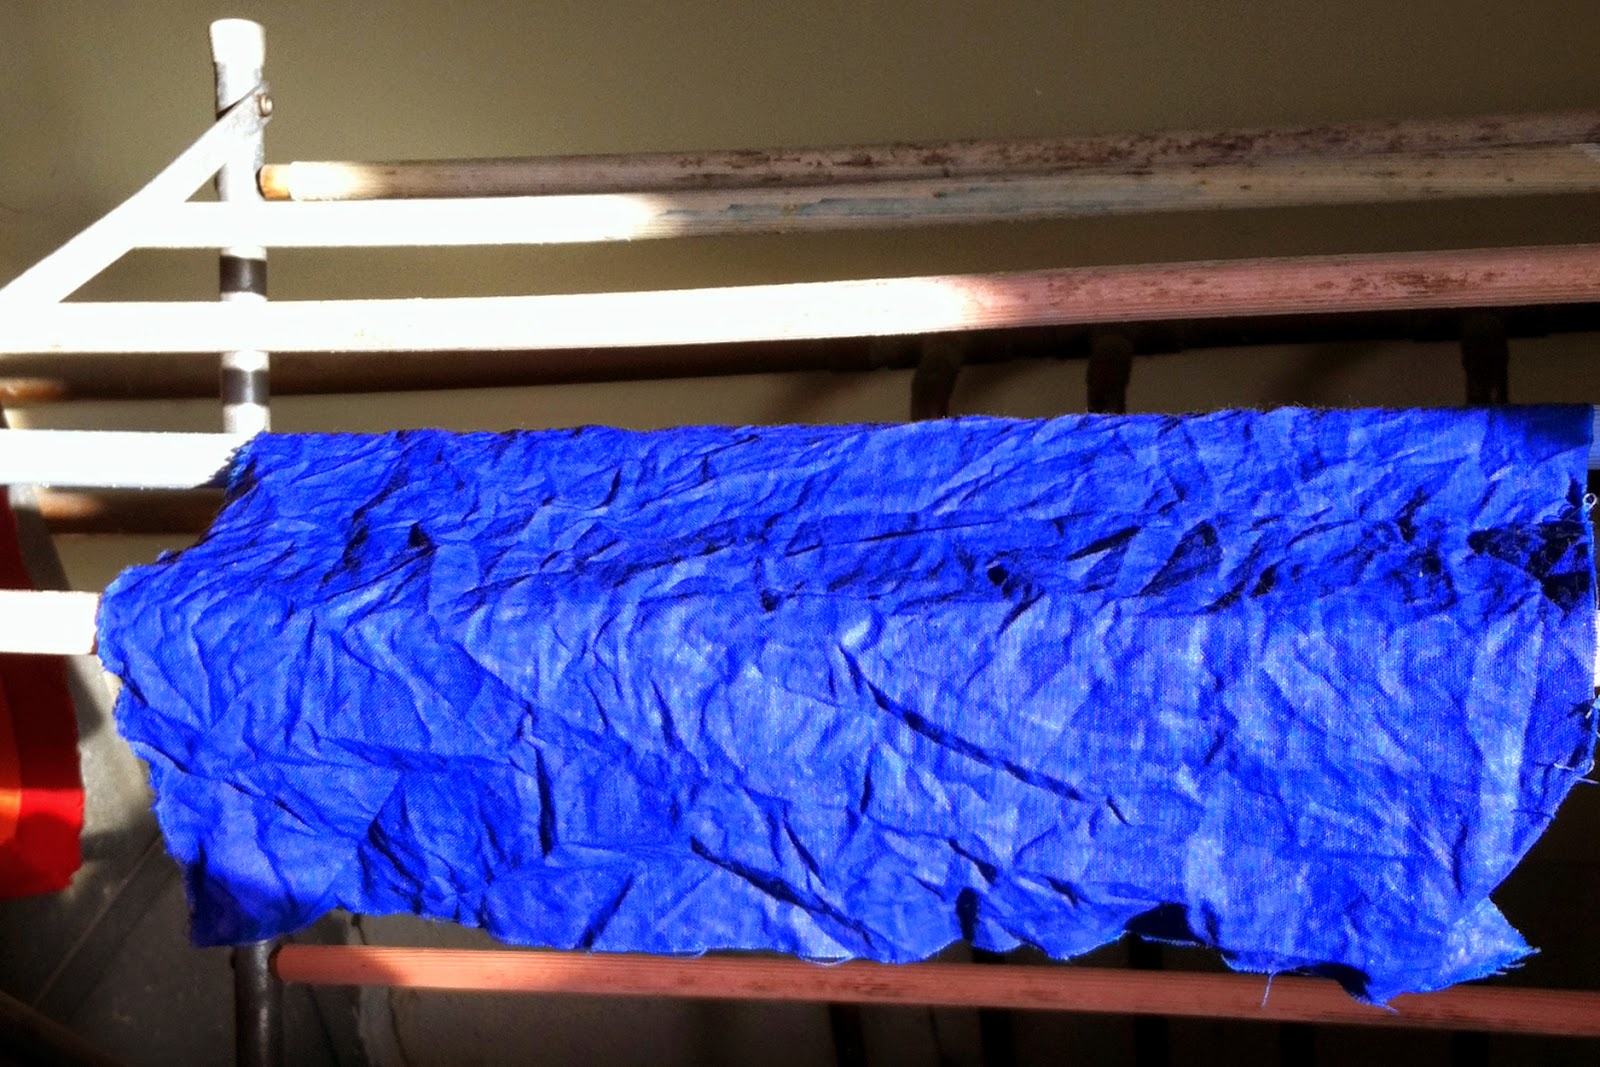 After exposure, the print is "set" by rinsing it in
lukewarm water until the water runs clear. Here
is the fabric on the drying rack. One it is rinsed,
it is "set". You can't wash out what was there. At
the drying stage, it may look like nothing happened.
February 1, 2015
New Year New Schedule
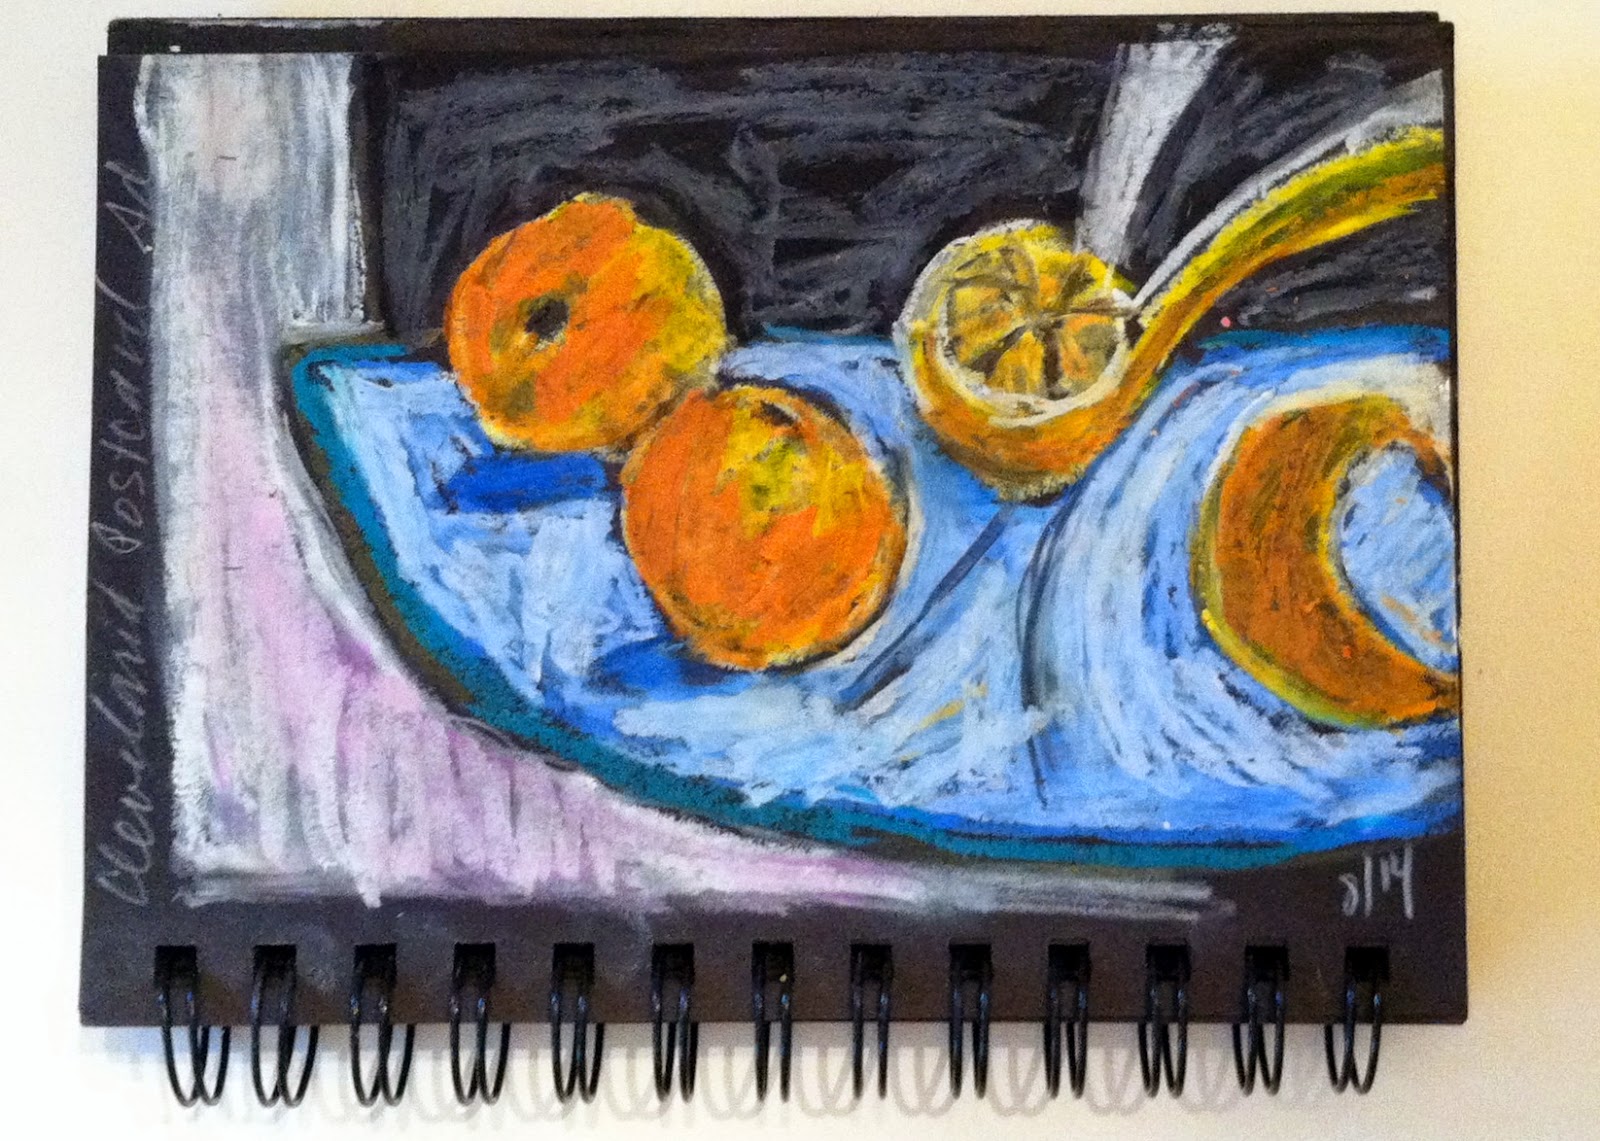 My sketch of oranges, inspired by a postcard Jill brought
to art night.I have been having a lot of fun with my new schedule this year. With the support of my art group friends Jill Milenski and Gail Crum, I spent the first few weeks of this year reorganizing my schedule. Last year I did quite a bit more sketching, thanks to Jill's influence. She is such an amazing painter, that seeing her work on a regular basis inspires me.
Gail and I co-taught several classes together at Small Studio, and since we meet nearly every Monday night, we are constantly interacting and supporting each other's goals. Gail excels at her assemblage work, and it is fascinating to work together with her each week, since our approaches are quite different. All in all, meeting together regularly has helped all of us be more productive.
Among other things, my new schedule includes taking at least 10 minutes to write in my journal, and 10 minutes to make a sketch. What fun!
April 21, 2014
Twice the Fun with Transfers
onto hand painted fabricI have been having fun with transferred images since I was a little girl playing with Silly Putty and the Sunday comics borrowed from the newspaper my daddy was reading. I learned early on how lighter fluid squirted on the back of a magazine picture would transfer it to another surface. (You might cringe at thinking about lighter fluid, but I grew up in the 1960s when many people smoked, including my parents, and they always had a container of lighter fluid to refill their lighters.)
I will be teaching an introductory Image Transfer workshop at Small Studio in May. I hope you can join me to learn these fun techniques!
April 3, 2014
Making Shrines at Small Studio
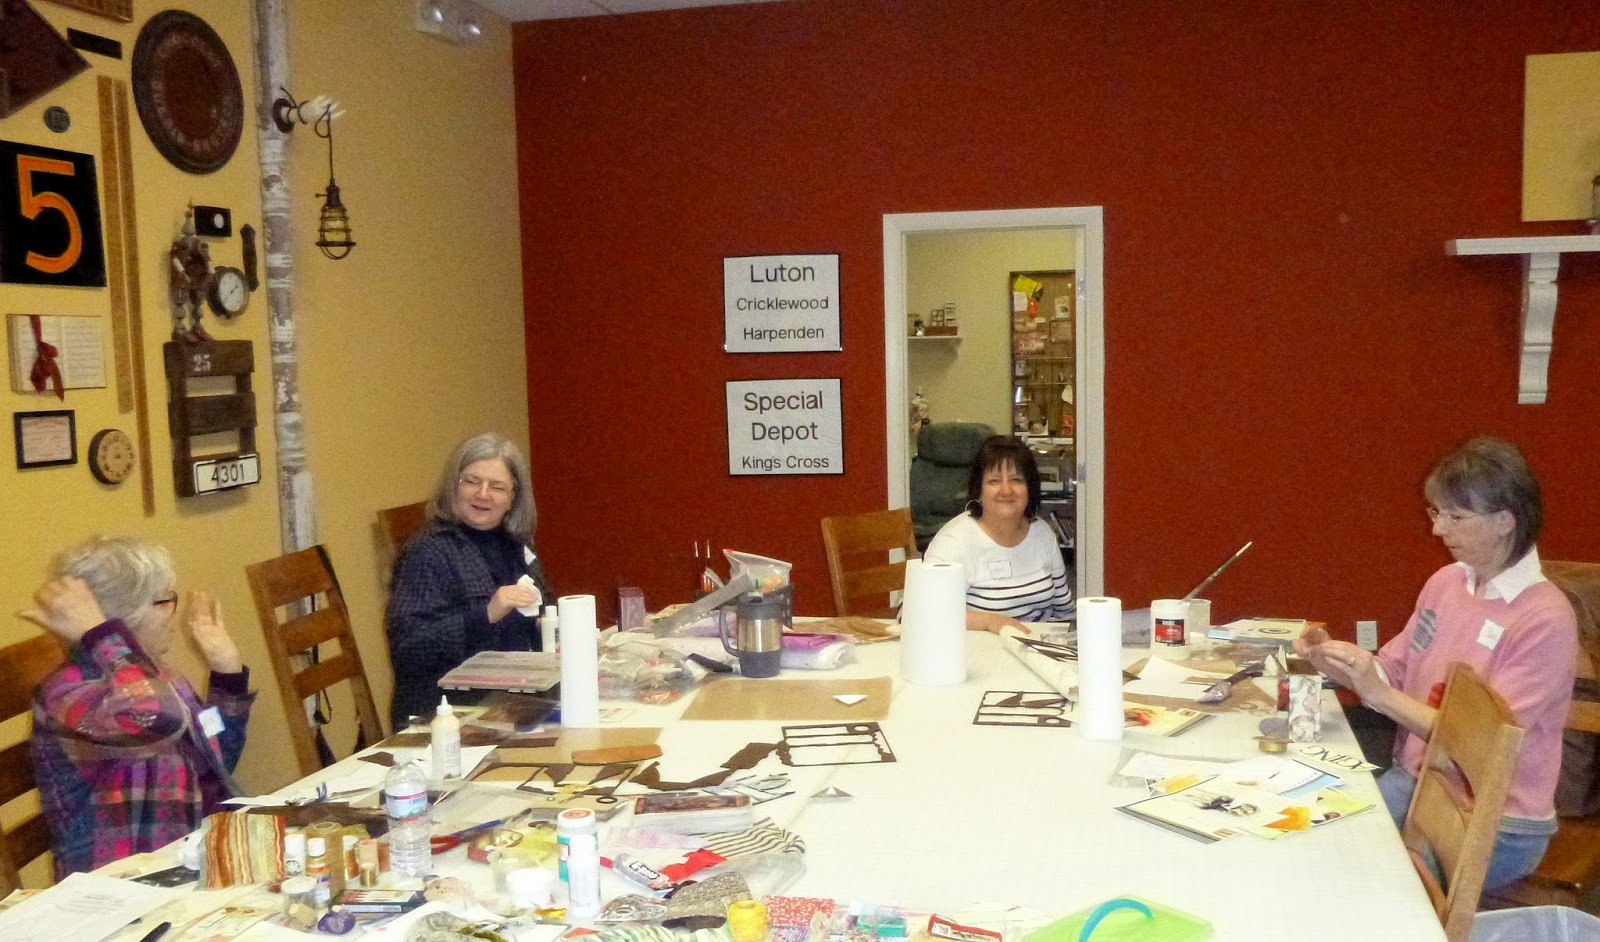
 Friends and fellow artists joined Gayle for the Enshrined class.
As promised, the Enshrined workshop at Small Studio Productions was loads of fun. Gail Crum joined me to co-teach the class, and Ginny at Small Studio has affectionately dubbed us The Gales, and now in her new blog post, Gale Force. That about sums it up! Gail was in the very first Shrines class that I taught some twenty years ago. She says the class changed her life. All I know is that she has been creating shrines, assemblages and collages ever since, and is an amazing artist. It was fun to teach a class together.
There were several long-time friends in the class: Phyllis, Karen and Clare from the "Dye Group", a cadre of women artists who have played together for decades and still keep a journal about what they are doing. Clare just retired from the art department at Malone College, but is teaching her amazing encaustic techniques and other workshops around northeast Ohio and in Columbus at QSDS.
 Phyllis, Karen and Clare are "Dye Group" buddies. Gail Crum
co-taught Enshrined with me.Former studio mate and amazing painter Pam Dills came with two of her friends, neither of whom had done artwork before, but both of whom made amazing pieces. In addition, Zelda, Kim and Denette joined us, and made absolutely stunning shrines with their selected objects and stories.
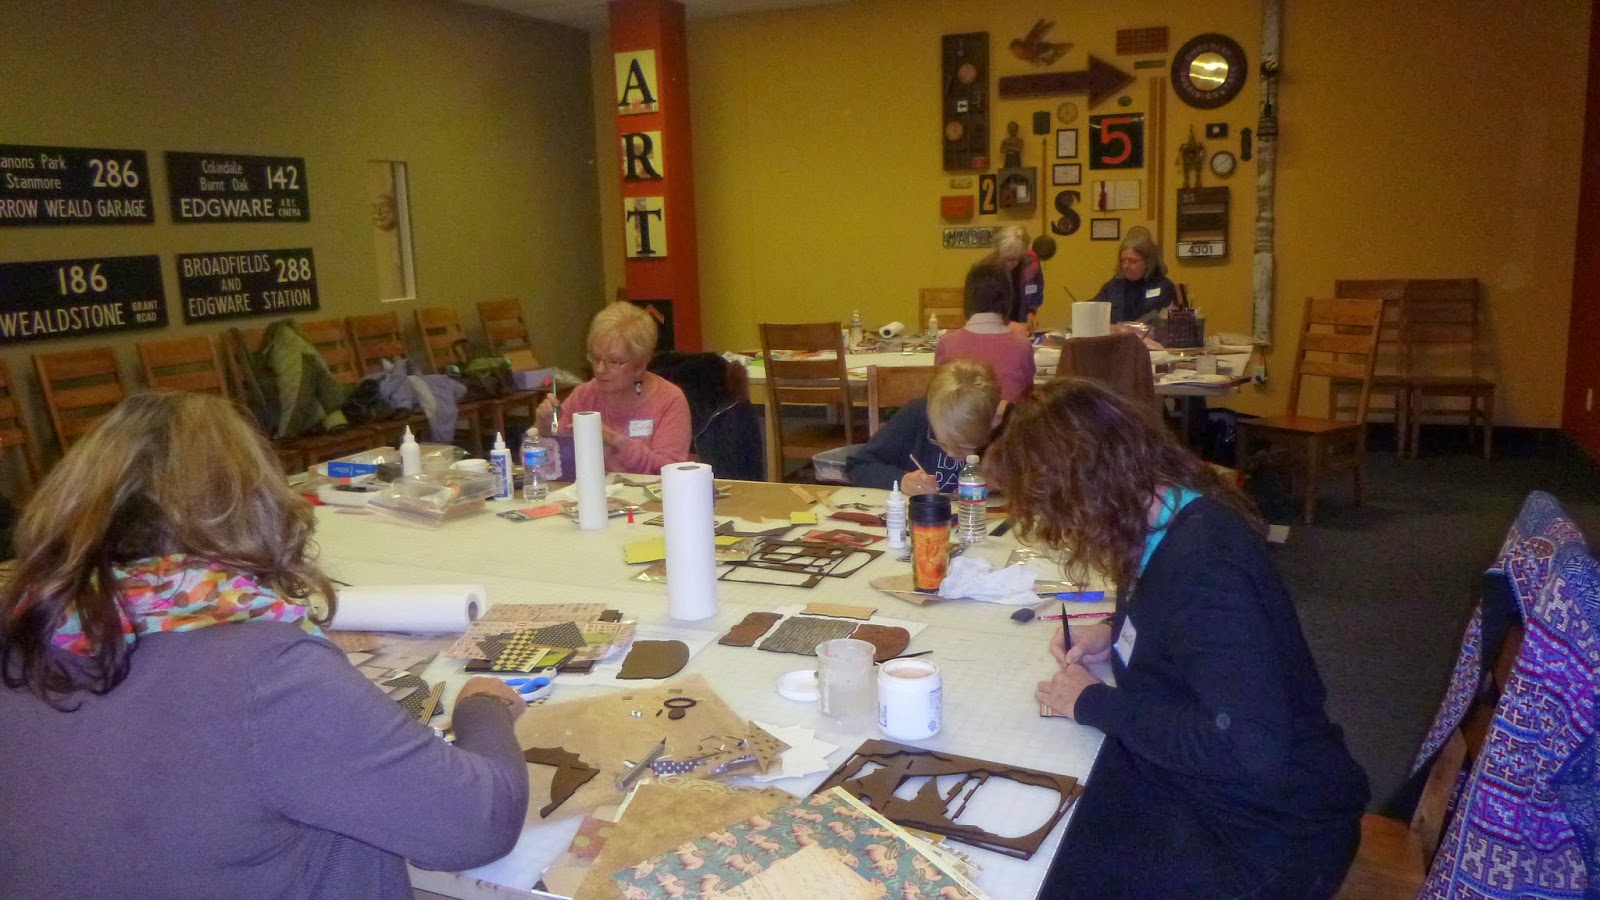 Enshrined class students working away.
 Kim's shrine about her garden-loving grandmother, in progressMore workshops to come, the next on May 17th. Hope to see you there!
February 28, 2014
Enshrined
 Detail, Gayle Pritchard's
 Pharmacy ShrineI am so happy to be teaching a new workshop, Enshrined, at the end of March. I hope you will join me and my teaching partner, Gail Crum, for this fun workshop! Your choice of two shrines (styles shown below) is included in the workshop fee. Gail and I will show you how to develop your theme, make it meaningful and personal, all while building your shrine in class. Can't wait!
When: Saturday, March 29th, 12 - 4 p.m.Where: Small Studio Productions, 26113 Detroit Rd., Westlake, OHPhone (call to sign up): 440-808-8599$50 includes the half day workshop with two amazing teachersand your choice of the shrine styles, shown below.
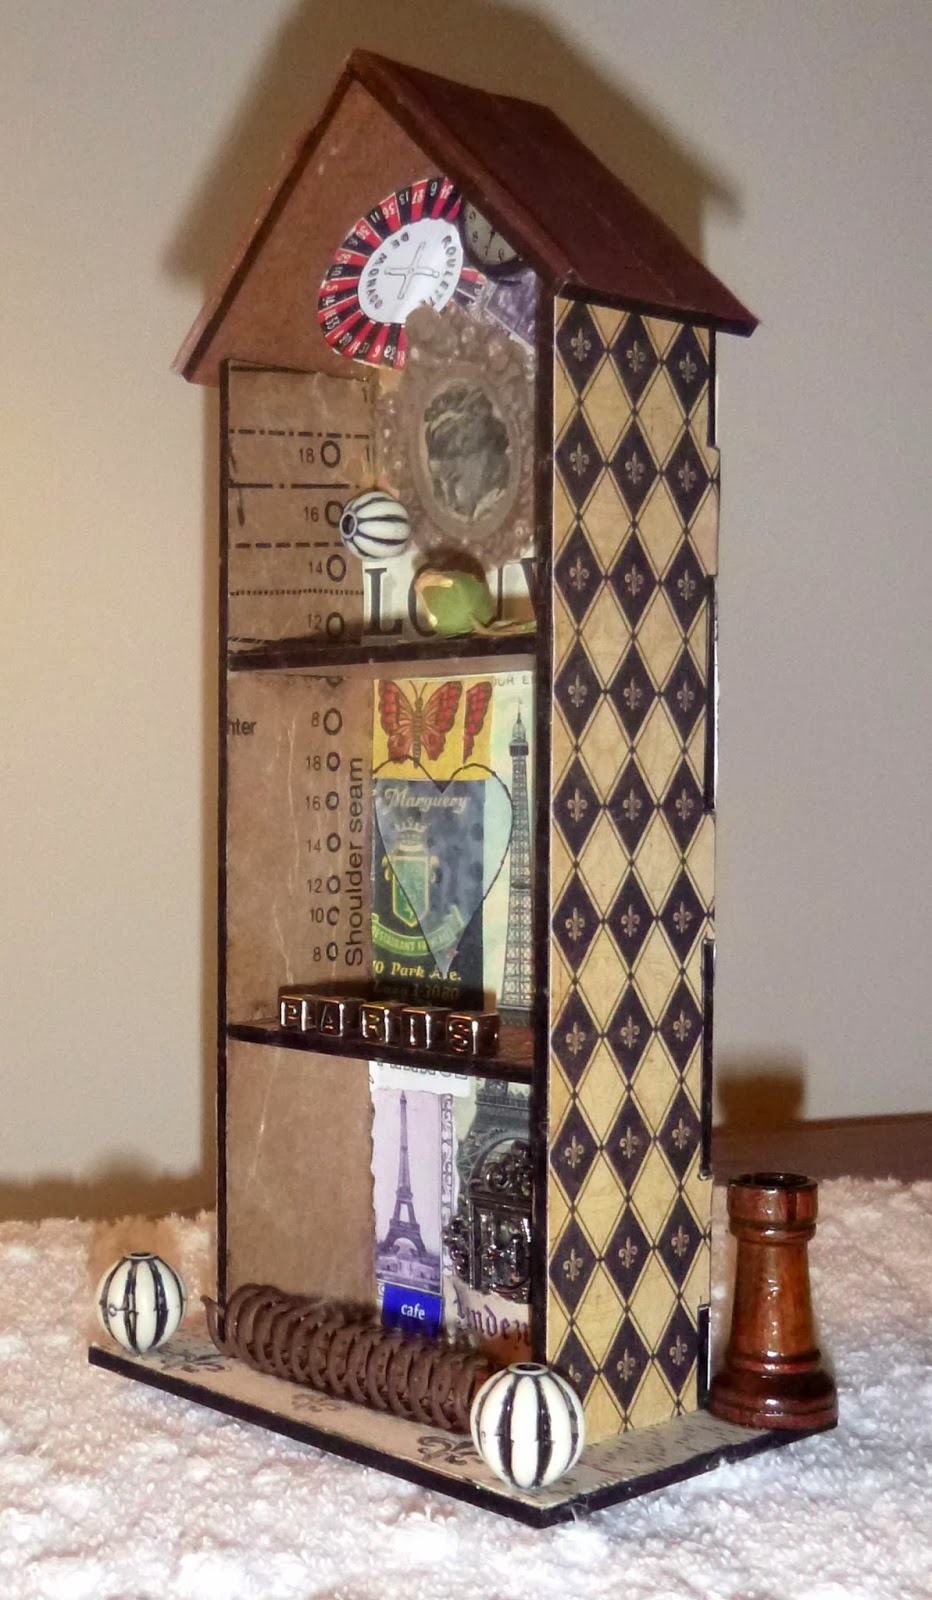 Gail's Paris shrine
 Front view, Gayle's Pharmacy shrine. It has many
movable parts. Check it out at the shop!
January 30, 2014
Back at Last
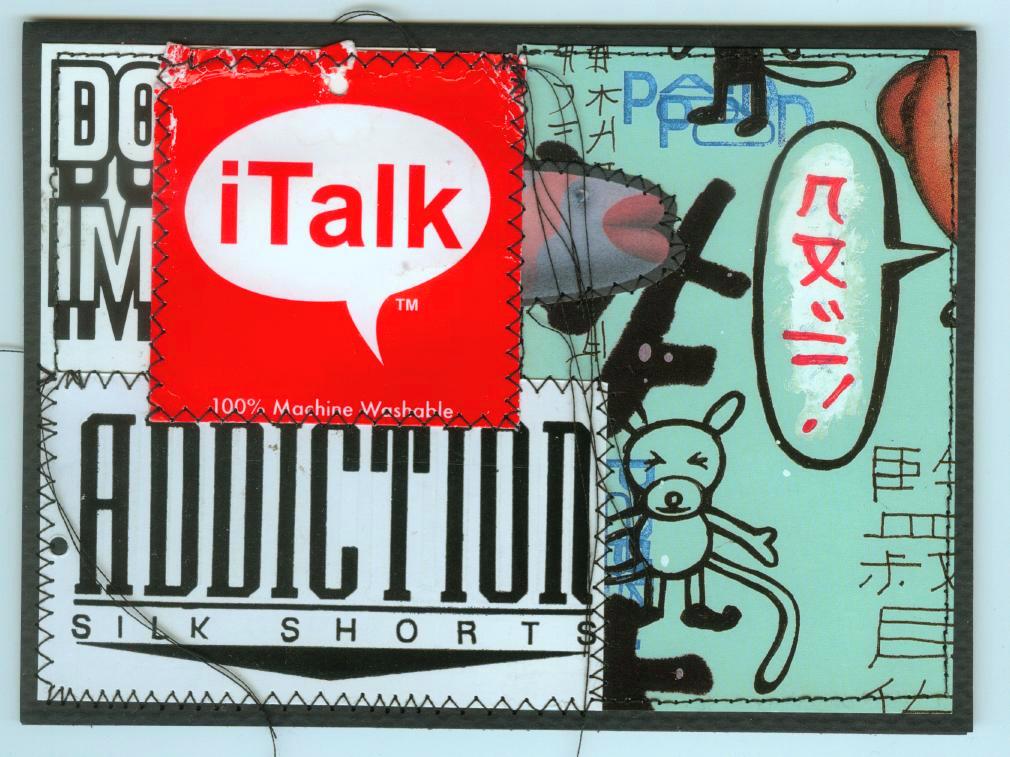
 Gayle's TagTalk card, one of many created over the decades from
upcycled materials. See more at NoMoonNight
Back at last ... yes! I cannot begin to express to you how happy I am to have access to my blogs again! Special thank yous to Haley at Blue Mountain Reiki and my husband, Chris, whose efforts thwarted google's universal log-in quagmire and set me free! Hurrah!
So yes, nothing earth-shattering to report today. I am suffering from some sort of wintertime malaise that involves nausea and a muddled head in the midst of sub-zero temperatures, unusual in degree and duration even for northern Ohio.
Undeterred, however, I am so very happy to be back and to have THIS frustration resolved. Can't wait to "talk" some more.
 Gayle's TagTalk card, one of many created over the decades from
 upcycled materials. See more at NoMoonNight
Back at last ... yes! I cannot begin to express to you how happy I am to have access to my blogs again! Special thank yous to Haley at Blue Mountain Reiki and my husband, Chris, whose efforts thwarted google's universal log-in quagmire and set me free! Hurrah!
So yes, nothing earth-shattering to report today. I am suffering from some sort of wintertime malaise that involves nausea and a muddled head in the midst of sub-zero temperatures, unusual in degree and duration even for northern Ohio.
Undeterred, however, I am so very happy to be back and to have THIS frustration resolved. Can't wait to "talk" some more.
September 12, 2013
At a Loss
 Rest in peace, Cheri.
 You will be missed.
March 23, 2013
Playing is Crucial for Artists
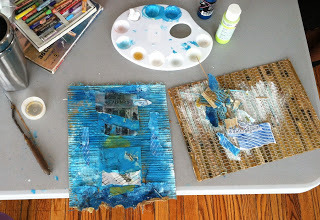 Goof off, and don't worry about the end resultAside from creating artwork, I cannot think of anything much more important for an artist than PLAYING. Yes, you heard me...playtime. We have playdates for kids, and recreational time for grown-ups. We need set play days for artists!
Serendipity and maybe fate brought me back together recently which a group of artists I met when teaching my class Spirit Boxes, Sacred Vessels and Shrines for the very first time many, many years ago. These amazing women are now all accomplished artists, and I remain honored to know them. When one of the group was recently diagnosed with cancer, she requested that we re-form the artist group we had back in the day. These are the pictures from our first play day get together, where we played around with collage papers and paint. We were joined by another artist's sister, the fabulous Linda Lenart McNulty, and had us a time!
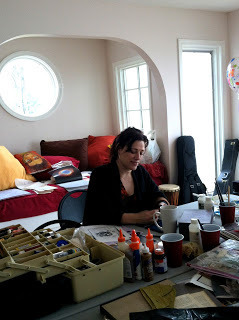
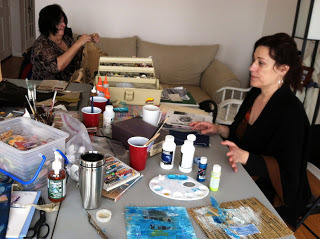 Fellow artists Gail Crum and Cheri Lenart Cann at play.
 Jill Milenski finishes up her collage while Gail Crum searches her stash.
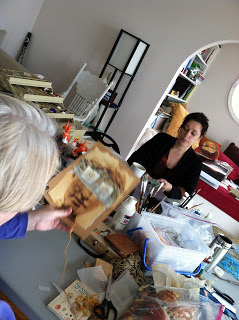 Old friends Jill and Cheri
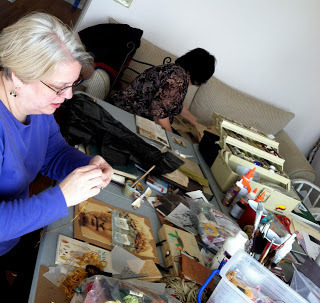
 No, Gail's not reading the newspaper. She is working with her collage papers!
 Thanks for hosting, Cheri. Sending you love and light!
 Goof off, and don't worry about the end resultAside from creating artwork, I cannot think of anything much more important for an artist than PLAYING. Yes, you heard me...playtime. We have playdates for kids, and recreational time for grown-ups. We need set play days for artists!
Serendipity and maybe fate brought me back together recently which a group of artists I met when teaching my class Spirit Boxes, Sacred Vessels and Shrines for the very first time many, many years ago. These amazing women are now all accomplished artists, and I remain honored to know them. When one of the group was recently diagnosed with cancer, she requested that we re-form the artist group we had back in the day. These are the pictures from our first play day get together, where we played around with collage papers and paint. We were joined by another artist's sister, the fabulous Linda Lenart McNulty, and had us a time!
 Fellow artists Gail Crum and Cheri Lenart Cann at play.
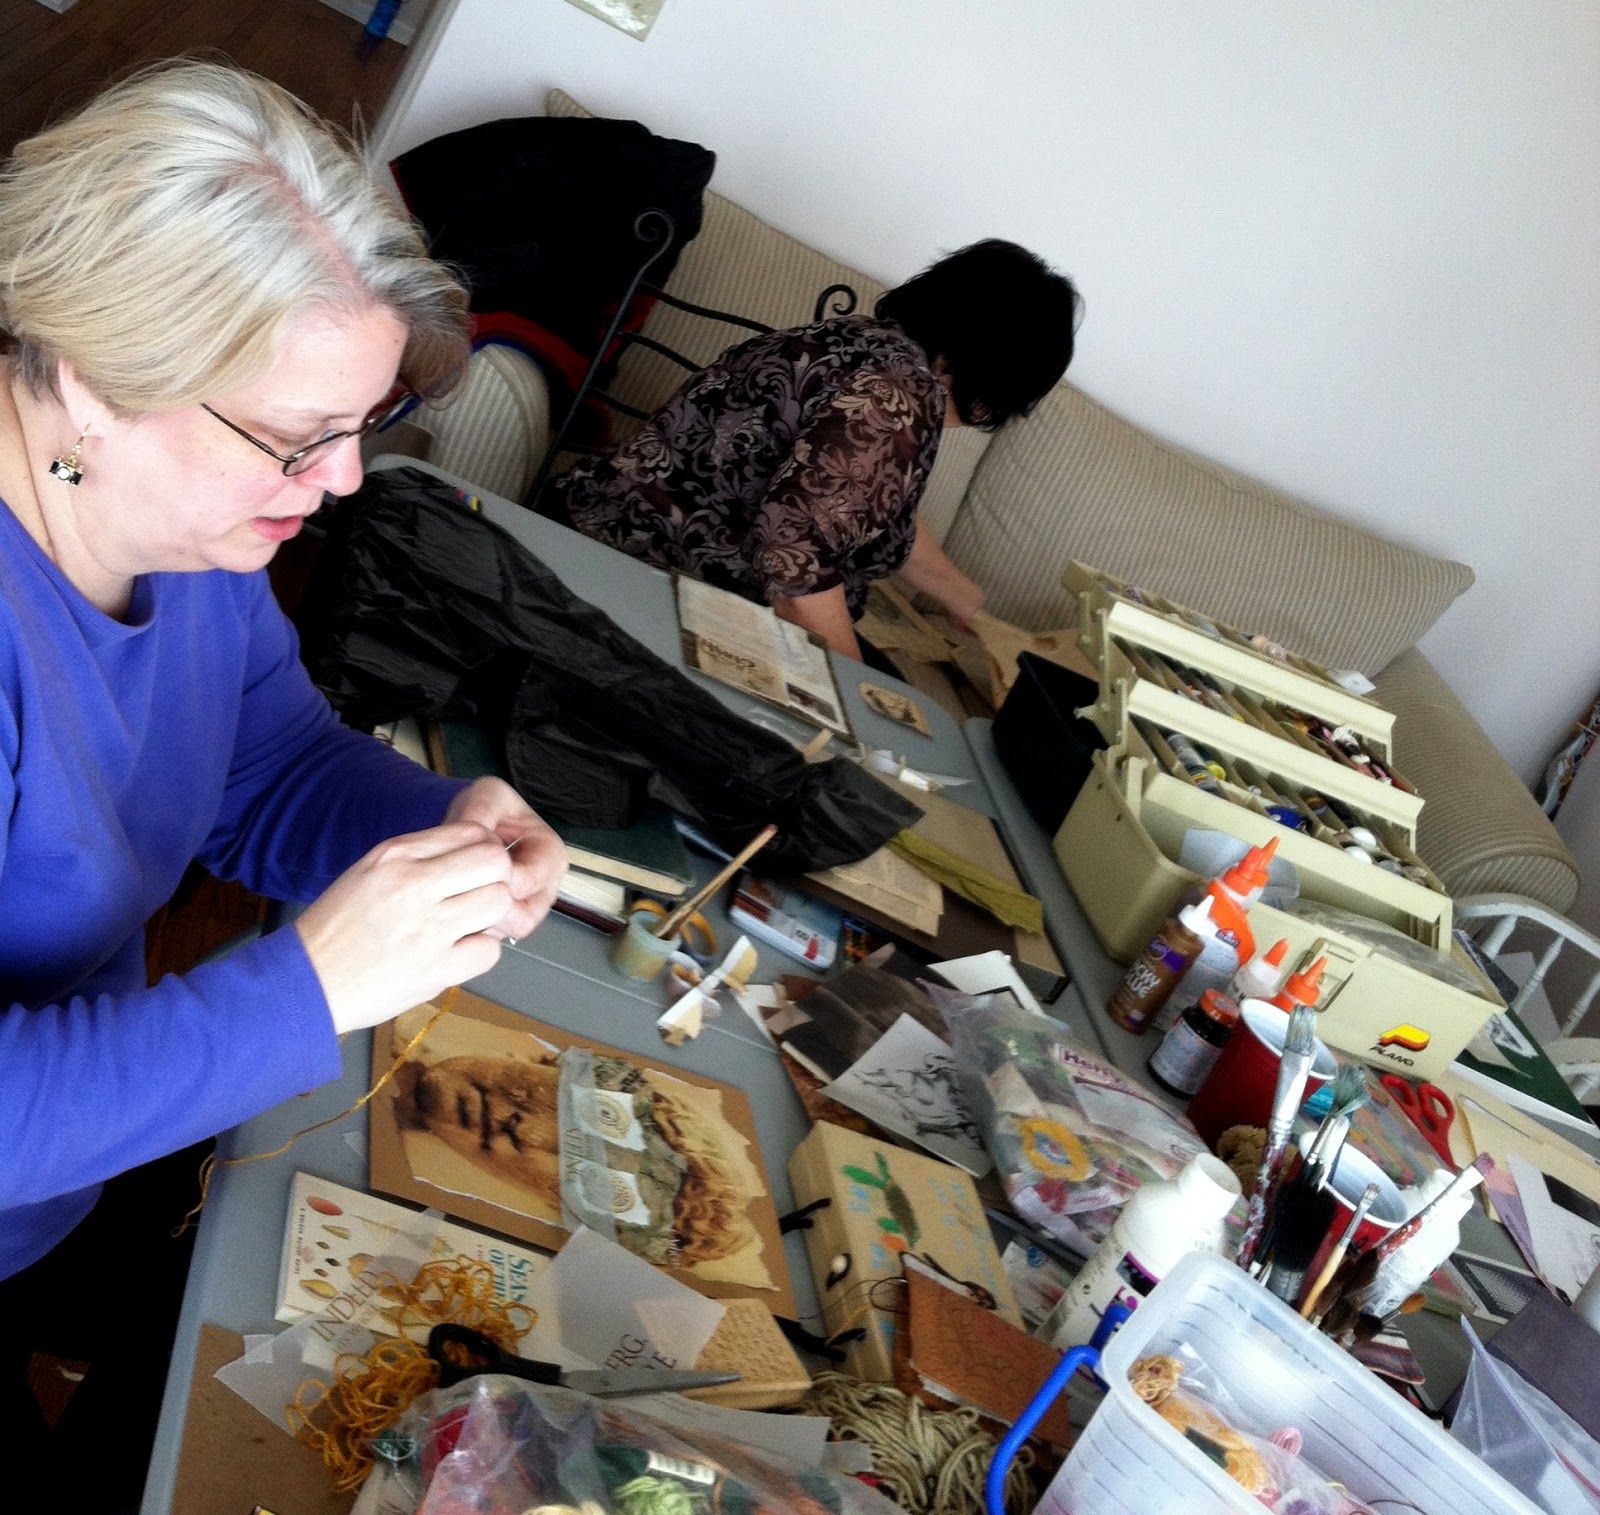 Jill Milenski finishes up her collage while Gail Crum searches her stash.
 Old friends Jill and Cheri
 No, Gail's not reading the newspaper. She is working with her collage papers!
 Thanks for hosting, Cheri. Sending you love and light!


