
Beth Cato's Blog, page 59
January 8, 2018
Goals for 2018
Huzzah, it is 2018! The apocalypse hadn’t happened (yet) and the electricity has stayed on, so let’s keep on writing! I did pretty well with my 2017 goals, though it was awfully stressful through the last quarter of the year. I’m determined for 2018 to be better.
On that note, we went out on January 3rd and adopted three new cats. Only two are home right now, as one had dental surgery scheduled at the shelter, but we look forward to having the full gang soon. Luke (see picture below) and Kylo have already latched onto me and decided my office desk is the Place to Be. It feels good to have companionship as I work again. It was really hard to write with Porom gone.

2018 Goals
1) Write a new novel.
2) Complete all three edit stages for Roar of Sky (edits, copy-edits, and first pass pages).
3) Prepare comprehensive marketing plan for release of Roar of Sky in October. This includes regular updates on my personal blog, scheduling interviews and blog posts for other blogs and sites, and seizing other viable opportunities.
a) Don’t have a mental breakdown.
4) Release Roar of Sky in October.
a) Don’t have a mental breakdown.
5) Write a new story (fiction or nonfiction) every month, if balanced with novel obligations.
6) Participate in the Poem a Day Challenge in April and November, and keep at least 10 poems on submission at all times.
7) Read at least 100 books during 2018 and post reviews for each.
8) Attend several conventions and book festivals throughout the year (see current list on right side of page).
9) Be honest with myself about my stress and personal limits. Don’t hold it all inside. Reach out to writer friends. Let my agent know what is going on. Take time out for my husband, son, cats, and family. Read. Bake. Go thrift store shopping.
10) Don’t give up. I’ve come a long way in the past year and there’s plenty of mountain left to climb. If tired of climbing, use dynamite.


January 7, 2018
Sunday Quote says Here’s Hoping for a Year Without an Apocalypse
“After many years, to start a story still scares me to death.”
~ John Steinbeck
January 3, 2018
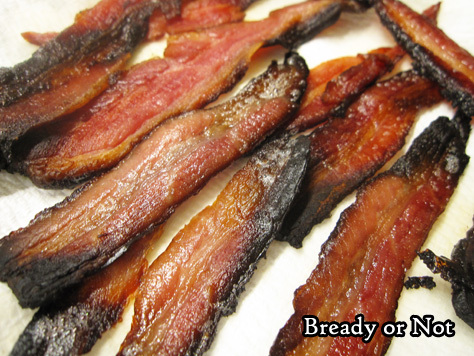
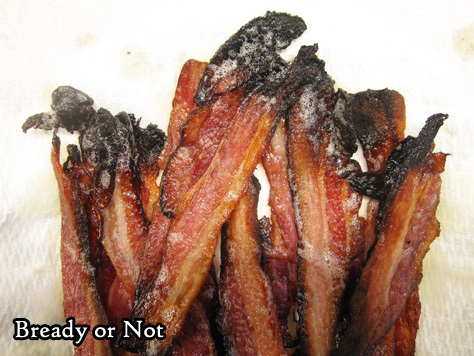
Bready or Not: Cato Home-Cured Bacon
We’re kicking off a breakfast theme for a month with a recipe that will step-by-step teach you how to cure your own bacon.
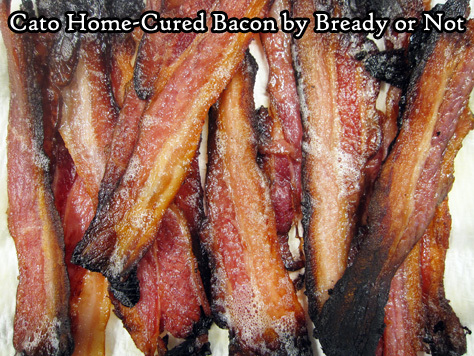
I guarantee this will be among the best, if not THE best, bacon you will have in your life. Fresh really makes the difference.

This recipe is not difficult. In all honesty, the greatest challenge is that the curing bacon takes up a lot of fridge space for about 10 days.
I completely modified this from a Michael Symon recipe featured in Food Network Magazine, March 2014. The only way that I can buy pork belly locally is from Costco (for about $2.69 a lb!), so this is a Costco-sized recipe.
If you can buy a smaller pork belly slab, then just halve the ingredients. Otherwise, buy the big belly and follow all of the steps I provide… which means you’ll have another slab of frozen bacon already seasoned and prepped to cure in a few weeks or months.
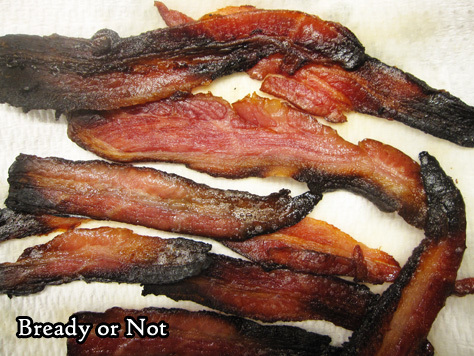
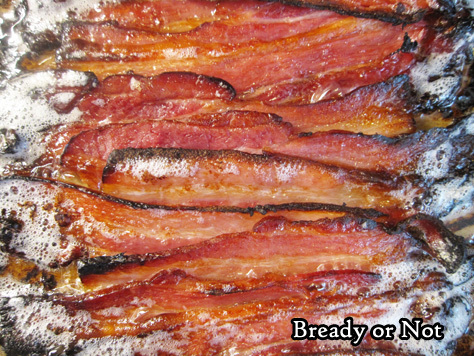
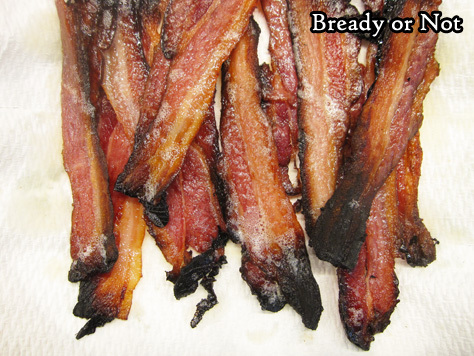
After the meat is smoked, slice it up and use it however you want. I find that home-cured bacon cooks much faster than the store stuff, though it can be much thicker, and the bits that look burned aren’t usually burned.
The smoked meat also freezes and keeps for weeks or months. Just thaw it in the fridge when you’re ready, and use it however you wish.
You’ll wish to eat every last morsel. Trust me.
This recipe does require some supplies that you likely don’t have in the cupboard, and might be hard to find locally. Amazon, of course, has everything. I recommend them for buying 2-gallon zipper bags as well as pink curing salt (plus, you get enough salt to last through the apocalypse). Note that pink curing salt is essential here because it has salt and sodium nitrate, which keeps the meat pink and kills bacteria. Normal salts don’t pack that wallop.
OM NOM NOM!\n","cookTime":"P","prepTime":"P","totalTime":"P"}
Bready or Not: Cato Home-Cured Bacon
Save
This recipe uses a 9-10 lb pork belly slab like those found at Costco, and cutting that in half to cure part now and the other part later. If you have a smaller pork belly, halve these ingredient amounts and go from there.
Note that you need 2-gallon re-sealable plastic bags to hold the meat, and pink curing salt; neither is likely found in local grocery stores, but they are on Amazon. You cannot substitute other salts for the pink curing salt! The pink type is necessary for the curing process.
Full preparation time on this includes about 9-10 days in the fridge: about 7 days to cure, and 2 days for it to dry, followed by the day of smoking.
9 to 10 lb pork belly
1/2 cup kosher salt
4 teaspoons pink curing salt
2 teaspoons cumin
1/2 cup brown sugar, packed
1/2 cup honey
1/4 cup red pepper flakes
1/4 cup paprika (sweet or smoky)
Cut the pork belly slab in half and rinse and pat dry both pieces. Place them in separate re-sealable 2-gallon plastic bags.
Mix together the spice rub. It'll form a thick paste. Roughly divide it into quarters, and use a quarter on each side of a pork piece. The rub will be very lumpy. Don't worry about a perfect, even coating; the pork will release juices and the flavors will seep in during the curing process.
Close both bags, pressing out as much air as possible. Freeze one bag for later; as a precaution against holes getting torn in the bag, wrap it well in plastic wrap, too. When ready to start the curing process for this half, add another day or two to the curing time in the fridge to account for thawing time.
As for the ready piece of pork belly, set that bag in the fridge for the next 7 to 10 days, until it feels firm. Flip the meat once a day.
Remove the pork belly from the bag. Rinse it well and pat it dry. Set it on a rack on a small cookie sheet in the fridge and let it dry for another two days. No need to flip it at this point.
Set up your smoker at 200-degrees. Applewood chips are a great choice, but maple and hickory are fantastic as well. Smoke the pork belly for about 3 hours, until the bacon reaches an internal temperature of about 150-degrees.
From this point, slice and cook the meat as you would regular bacon, but note that this fresher, homemade variety will cook much faster. Use plastic wrap or plastic bags to store the sliced meat in the fridge for upwards of a week, or freeze for up to 2 months.
OM NOM NOM!
December 31, 2017
Sunday Quote looks to TR for advice for 2018
“It is hard to fail, but it is worse never to have tried to succeed.”
~ Theodore Roosevelt
December 27, 2017
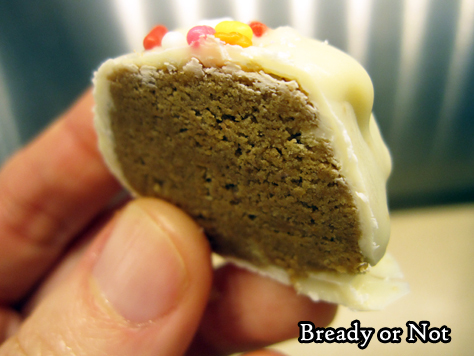
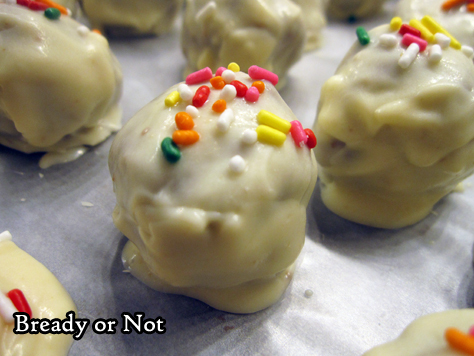
Bready or Not: No-Bake Cookie Butter Truffles
We’ll finish off the year with a sinfully sweet treat that acts in stark contrast to those diet ads already clogging the TV: No-Bake Cookie Butter Truffles.

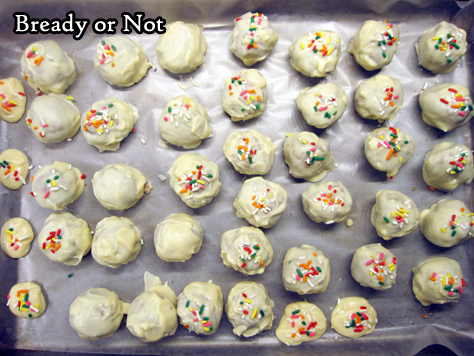
I’ll be honest. I hate making truffles. No matter how many times I do it, or what equipment or chocolate I use, they never end up “pretty” like on other food blogs.
But heck, I’m posting pics and this recipe anyway, because these things are DELICIOUS.
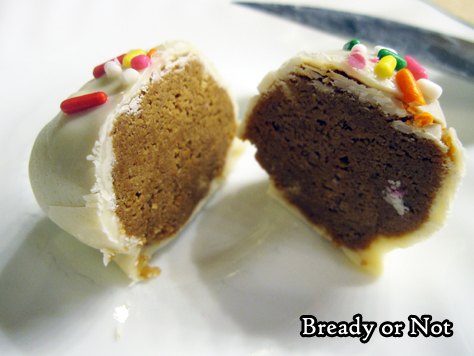
White chocolate (with a touch of oil) is used to coat balls made of crushed graham crackers and cookie butter. Those are the ingredients. It’s that easy.
It’s also that good. You see those ingredients, you know exactly how this will taste.
Cookie butter has gone mainstream at this point. Speculoos and Biscoff are the traditional options, but Walmart is even carrying their own brand now! If you haven’t tried cookie butter yet… I’m sorry/not sorry about the joy I am introducing to your life.
Modified from No-Bake Speculoos Truffle Cookies in Foot Network Magazine, December 2015.
OM NOM NOM!\n","cookTime":"P","prepTime":"P","totalTime":"P"}
Bready or Not: No-Bake Cookie Butter Truffles
Save
This straightforward no-bake dessert combines graham crackers and cookie butter, and coats them with white chocolate. Makes about 35 teaspoon-sized balls.
1 sleeve graham crackers (about 9 crackers/8 ounces)
1 1/3 cup creamy cookie butter spread
1 11-ounce bag white chocolate chips
1 Tablespoon coconut oil or vegetable shortening
nonpareils or sprinkles for decoration
Line a baking sheet with wax paper. Pulse the graham crackers in a food processor until finely ground but not powdery. Add the cookie butter and pulse the two together, scraping down the sides as needed. If the mix isn't cohesive, add a touch more cookie butter.
Use a teaspoon scoop or spoon to form 1-inch balls. Arrange them on the cookie sheet and cover with plastic wrap. Let them set in fridge at least one hour or overnight.
Melt the white chocolate chips and coconut oil by your preferred method, on stove top, a stand-alone melter, or microwave; note that white chocolate burns quickly, so take care!
One at a time, drop cookie butter balls into the chocolate and flip to coat. Allow excess chocolate to drip off before returning the truffle to the wax paper sheet. Continue to coat truffles, warming chocolate as necessary. Decorate truffles with nonpareils or sprinkles.
Let set in fridge at least 30 minutes, then transfer to a lidded container. Store in fridge. Truffles will keep at least a week.
Recipe makes about 35 teaspoon-sized balls.
OM NOM NOM!
December 24, 2017
Sunday Quote is monitoring NORAD today
“Make it a rule never to give a child a book you would not read yourself.”
~ George Bernard Shaw
December 20, 2017
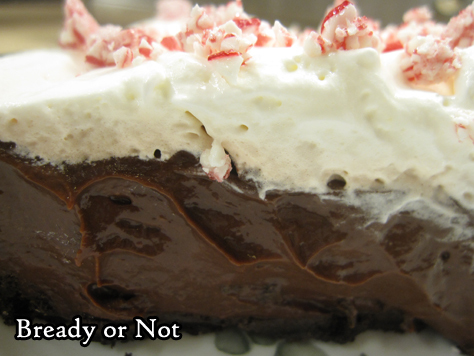
Bready or Not Original: No Bake Chocolate Peppermint Pudding Pie
If you need a dessert that is no bake and no fuss, here’s a pie recipe to come to the rescue: No Bake Chocolate Peppermint Pudding Pie!
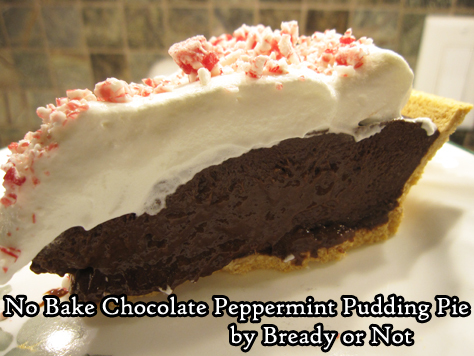
This is chocolatey. Minty. Smooth. All the things.
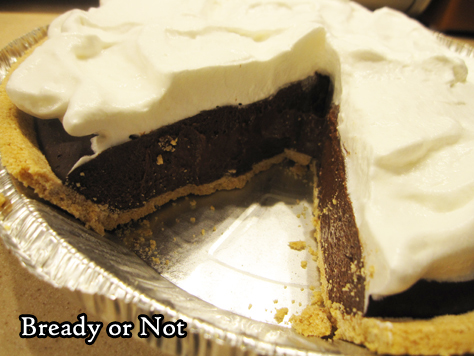
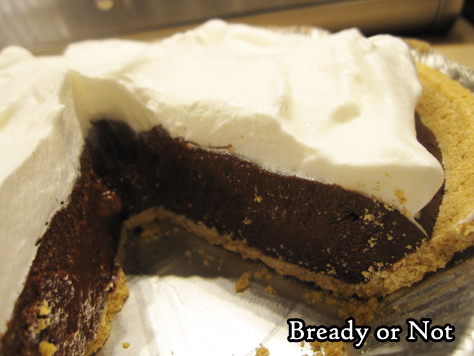
The filling works with either graham cracker or Oreo crusts. You can’t go wrong with either, honestly.
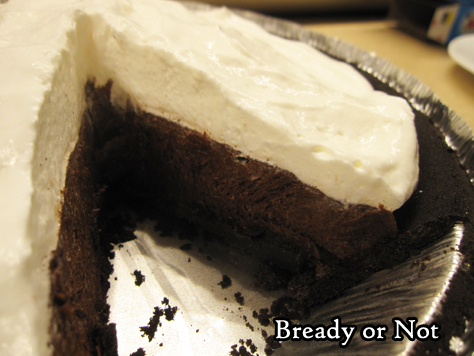
There is something liberating about a good no-bake pie at this time of year. Oven space is at a premium–as is time. This pie comes together in about 15 minutes or so, depending on the speed of your burners.
OM NOM NOM!\n","cookTime":"P","prepTime":"P","totalTime":"P"}
Bready or Not Original: No Bake Chocolate Peppermint Pudding Pie
Save
This easy no-bake pie requires short cooking time on the stove to create a delicious dessert. A Bready or Not Original.
1 graham cracker or Oreo pie crust
2 (1.3-ounce) boxes chocolate fudge or other chocolate pudding (NOT instant)
3 Tb cocoa powder, sifted
1 teaspoon white sugar
2 1/2 cups milk
1 Tb vanilla extract
2 teaspoons peppermint extract
1 Tb butter
4 ounces Cool Whip (about half small container)
crushed peppermint, optional
Set out the crust so that it's ready.
In a large saucepan at low heat, whisk together the two packs of chocolate pudding along with the cocoa powder, sugar, milk, and both extracts. Stir until it becomes smooth and thick, about 5 to 10 minutes.
Turn off the heat and add the pat of butter, whisking until the pudding is silky. Pour everything into the pie crust.
Allow to cool for a few minutes, then place it in fridge to set overnight (or place in freezer for a few hours, then set in fridge to thaw a few hours more).
Cover the top with Cool Whip. Adorn individual pieces with peppermint bits, if desired.
OM NOM NOM!
December 17, 2017
Sunday Quote has known her husband for 19 years!
“A children’s story that can only be enjoyed by children is not a good children’s story in the slightest.”
~ C.S. Lewis
December 13, 2017
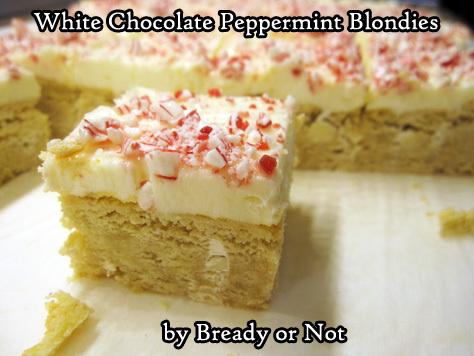
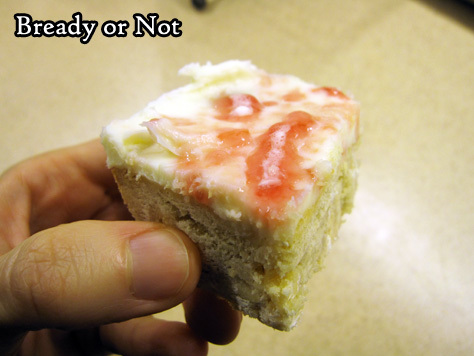
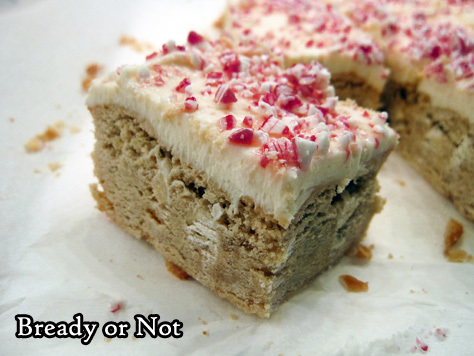
Bready or Not: White Chocolate Peppermint Blondies
If you want a treat that is decadent, gorgeous, and loaded with peppermint, bake this up.
But once you put the peppermint bits on, eat them within a few hours. That’s right, this recipe has the same issue as the Peppermint Chocolate Chip Cookie Sticks a few weeks ago.
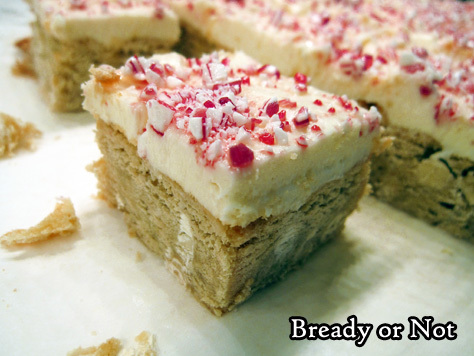
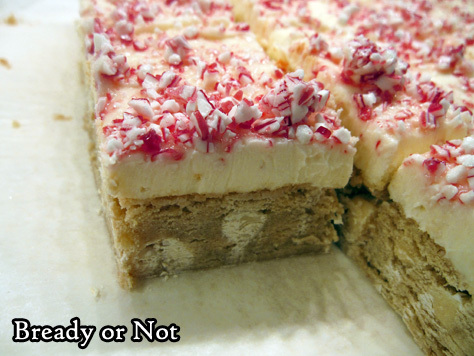
See that picture above? That’s what the peppermint does, melting to look like stained glass. It’s a purely cosmetic issue; the bars still taste fine and the peppermint even retains a slight crunch.
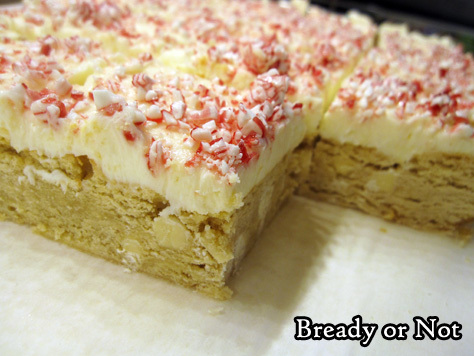
The solution to this is pretty easy, though. Add the peppermint bits right before serving, or just omit them. Or be prepared to eat them with oozy peppermint on top, as they’ll still taste fine!
With that disclaimer done, I can say these things taste absolutely delicious. I mean, hello, blondies topped with cream cheese frosting! These are practically a cake.
Modified from County Living, December 2015.
OM NOM NOM!\n","cookTime":"P","prepTime":"P","totalTime":"P"}
Bready or Not: White Chocolate Peppermint Blondies
Save
These blondies deliver sheer holiday decadence! Peppermint, white chocolate, and cream cheese frosting work together in a glorious way. Do note that the crushed peppermint bits will melt after a few hours, regardless of the temperature at which the bars are kept. They’ll still taste fine, but they don’t look as pretty!
blondies
3/4 cup (1 1/2 sticks) unsalted butter, softened
3/4 cup white sugar
2/3 cup brown sugar, packed
3 large eggs, room temperature
2 teaspoons vanilla extract, divided
3/4 teaspoon pure peppermint extract
2 2/3 cups all-purpose flour
3/4 teaspoon baking powder
1/4 teaspoon kosher salt
1 3/4 cup (1 bag) white chocolate chips
frosting
16 ounces (2 boxes) cream cheese
1 cup confectioners' sugar
1/2 cup crushed peppermints
Preheat oven to 325-degrees. Apply nonstick spray or butter to an aluminum foil-lined 9x13 baking pan.
Beat together butter, both sugars, eggs, 1 teaspoon vanilla, and peppermint extract. In a separate bowl, whisk together the flour, baking powder, and salt.
Stir the dry mix into the butter mix. Add the chocolate chips. Spread the batter evenly in the prepared pan.
Bake until golden brown and the middle passes the toothpick test, about 30 to 35 minutes. Cool in pan on rack until room temperature, or place in fridge to chill.
When the blondie base is no longer hot, beat together the cream cheese and confectioners' sugar until they are light and fluffy, about 1 to 2 minutes. Beat in the remaining 1 teaspoon vanilla.
Spread frosting over blondies. Freeze for 30 minutes or chill in fridge for several hours to set.
Add crushed peppermints just before serving. NOTE: after a few hours, the peppermints will melt, regardless of the temperature of the bars. It looks weird, but tastes the same, even retaining a slight crunch. Other than that, the bars keep fine in the fridge for at least 5 days.
OM NOM NOM!
December 11, 2017
New Publications for December 2017
Life hasn’t been kind the past while, and I’ve fallen behind on posting my latest publications. My Bibliography page is now up to date; these are the new additions:
Story:
“Powers of Observation,” Nature
Poetry:
“Wayfaring King,” Star*line 40.4
Podcasts:
Toasted Cake 155: So You Have Been Claimed by a Magical Cat by Beth Cato (original story)
Storypunks Podcast #4: Interview with Beth Cato
Archivos Brainstorm with Guest Host Beth Cato
Archivos Insights Podcast: Interview with Beth Cato
#SFWAPro


