Martha A. Cheves's Blog, page 24
March 2, 2016
Pie Crust Tips
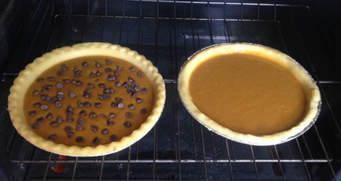
We've all been there: watching a pie through the oven window hoping the filling is as warm as the quickly browning top and sides. Cover the pie loosely with aluminum foil to help the center even out without burning the edges.
(Tip from Better Homes and Gardens)


February 25, 2016
Brownie Help

Ah, the brownie. A favorite of many. And how you bake brownies says a lot about you. Are you a fudgy-center, no-frosting brownie maker? Or a cakelike-with-rich-chocolate-frosting brownie baker? It's all good -- just don't overbake them. Follow the recipe's timing guidelines for doneness. Unlike cakes, brownies are overcooked if a toothpick inserted in the center comes out clean.
(Tip from Better Homes and Gardens)
February 23, 2016
Butter or Margarine?
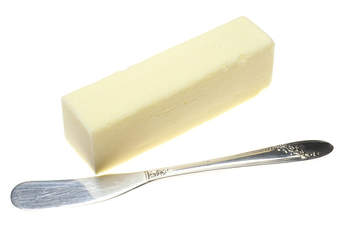
Rich, delicious baked goods get that yummy-in-your-tummy flavor from -- you guessed it -- butter! Use it. Generously. You can also find success when baking with margarine, but don't use that low-fat stuff. You're making cookies, not a salad -- let's do it up right! Check the label: Margarine needs to have at least 100 calories per tablespoon, or your cookies and bars will be flat and difficult to get out of the pan.
(Tip from Better Homes and Gardens)
February 18, 2016
Quick Chill

You already know it's easier to work with chilled dough when making cookies. But did you know that 20 minutes of chilling in the freezer is equal to one hour in the fridge?
(Tip from Better Homes and Gardens)
February 16, 2016
Cooking with Liquid Sweeteners
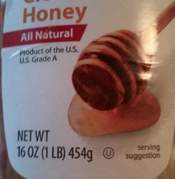
Baking with liquid sweeteners, such as honey or corn syrup, makes for ooey-gooey deliciousness. The problem? That sticky goodness gets stuck to the measuring cup, and then not all of it goes into the mix. Spray the measuring cup with nonstick spray first.
(Tip from Better Homes and Gardens)
February 14, 2016
Better Baking Tip
The easiest thing you can do to make any recipe better is to set out all of your ingredients, and then wait 30 minutes. That 30 minutes allows the butter to get to room temperature, so it's perfectly softened and will smooth into anything. Eggs at room temperature will also result in baked goods with more volume.
(This tip is from Better Homes and Gardens)
February 7, 2016
History and Growth of the Onion
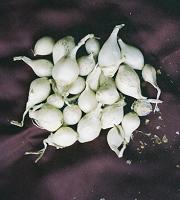
A friend sent this article to me regarding the history and growing of the onion. It came from D. Landreth Seed Co. which is the oldest seed house in America. I enjoyed this bit of history so much I decided to share.
The origin of onions like the origin of garlic is buried in antiquity. It is known that onions were grown in Ancient Egypt and that eventually they arrived in Rome. It was in Rome that they were given the name unio, which means large pearl. Unio became unyon in Middle English when the Romans introduced the onion into the British Isles. The status of the onion rose substantially after French Onion Soup was made popular by Stanislaus I, the former King of Poland.
The Bermuda onion was first listed by Peter Henderson & Co. in 1888 as the White Bermuda. Not to be outdone, D. Landreth & Co., in their 1890 catalogue said that although shipped as White Bermuda it really “had quite a yellowish character” and, although known as a product of Bermuda, is of Italian origin.
Sweet onions originated in Texas after Bermuda onion seed from the Canary Islands was introduced into South Texas in 1898. In 1899, onions that grew from the seeds planted in 1898 were shipped to Milwaukee, Wisconsin where they were so enthusiastically received that the following year the small garden plot, which had been the source of the first onions was expanded to 500 acres.
In 1952, the Granex, later to be claimed as Vidalia, was introduced in Texas. That same year Granex tranplants from Dixondale Farms (Carrizo Springs, Texas) were shipped to Georgia to a man named Mose Coleman. Coleman discovered that these onions were not hot like other onions planted in Georgia, instead they were remarkably sweet. Coleman was able to sell these sweet onions for $3.50 per 50 pound bag, a fortune in the post-Depression years. Soon almost every farmer in Georgia was growing Vidalia onions.
Onions come in three distinct colors: white, yellow and red. The varieties can be classed into three important groupings: short day, intermediate day and long day varieties. These groupings refer to the number of hours of sunlight required to get the onion to bulb. Short Day onions require 10-12 hours of sunlight and are used in the South for winter production. Because Short Day onions have a higher concentration of water as opposed to solid fiber content, they do not store well and should be eaten fresh. Intermediate Day onions require 12-14 hours of sunlight and are ideal for almost all growing areas in the United States. Long Day onions require 14-16 hours of sunlight and grow better in northern states where there are extended hours of daylight during the summer months. Long Day varieties typically have more pungent flavor and store better than other varieties.
Onions may be planted in the fall or the spring similar to garlic. Fall plantings will mature earlier. Onion plants are hardy and can withstand temperatures as low as 20 degrees fahrenheit so spring plantings may be made as soon as the soil can be worked.
Like garlic bulbs, onions planted in the fall go through a short, approximately 2-week dormant period, and then roots emerge and leaves sprout. With the onset of winter, the leaves die back and the roots cease to grow. This process is called vernalization. Proper bulbing is a function of adequate growth, vernalization and subsequent growth under longer days. Bulbs planted in the spring must experience some minimal cold treatment in order to insure proper bulbing.
Onions can be grown in many different types of soil, but the plants prefer a rich moist sandy soil. Turn the soil and add some lime before planting. Plant the bulbs, root end down, two inches deep, making certain that the growing point is exposed above the surface of the ground. Leave 3 inches between bulbs in rows 18-24 inches apart. Mulch immediately. In the spring, apply a nitrogen and phosphorus rich fertilizer (10-20-10) and water like any garden green. Onions are shallow rooted and benefit from frequent weeding. Onion roots cannot tolerate competition from weeds.
Onions will be ready to harvest in approximately 100 days when the leaf tops have fallen over and dried. On sunny, breezy days, onions can be allowed to cure in the field for a day or two before being taken to a curing area. Curing must take place for the onions to be stored for any length of time. Cure onions by placing them in a warm, well-ventilated area until the necks are thoroughly dry. With warm temperatures, good air circulation and low humidity, curing should be completed within two weeks after harvest. Onions are best stored in a cool, moderately dry area in ventilated containers. Humidity in the 60%-70% is preferable. With good air flow and low humidity, onions should store for at least 6 months.
January 26, 2016
Baked Bacon

I hate to fry bacon! And the microwave type never seems to cook evenly. I end up with some of the bacon being burned, some crispy and some limp... all 3 in just 1 piece of bacon! The other day I found that I had a package of bacon that needed to be cooked but I wasn't ready to eat it just yet. Soooo I preheated the oven to 400, lined a cookie sheet with sides with foil, put my bacon down trying to keep it from touching and stuck it in the oven. I couldn't get the full package to fit the one pan but that was ok too.
The 1st pieces of bacon were ready in about 8 minutes after being turned once about half way through. About half of the bacon was done after the 8 minutes and these were around the outer edges. I removed them and added the rest of the bacon. After about 4 minutes I was able to remove the rest of the 1st batch and turn the 2nd batch, removing them in about 4 more minutes.
When I fry bacon it pops and makes a mess of my stove. To get it to cook evenly and not curl I usually have to cut it in half and use a bacon press. Not with this method! It didn't curl, it stayed flat without the press and it didn't seem to shrink very much. My cooked bacon came out with the crispy texture I wanted and perfect for just about any use.
Now... I still didn't need a whole package of bacon so I put it in a plastic bag and put it in the refrigerator. To use it I simply put it in the microwave for about 20 seconds (700 watt) and it comes out warm and perfect with no burning.
This may sound like it takes longer but it really doesn't and it's so much better than frying or microwaving.
January 24, 2016
Citrus Fruit Salad
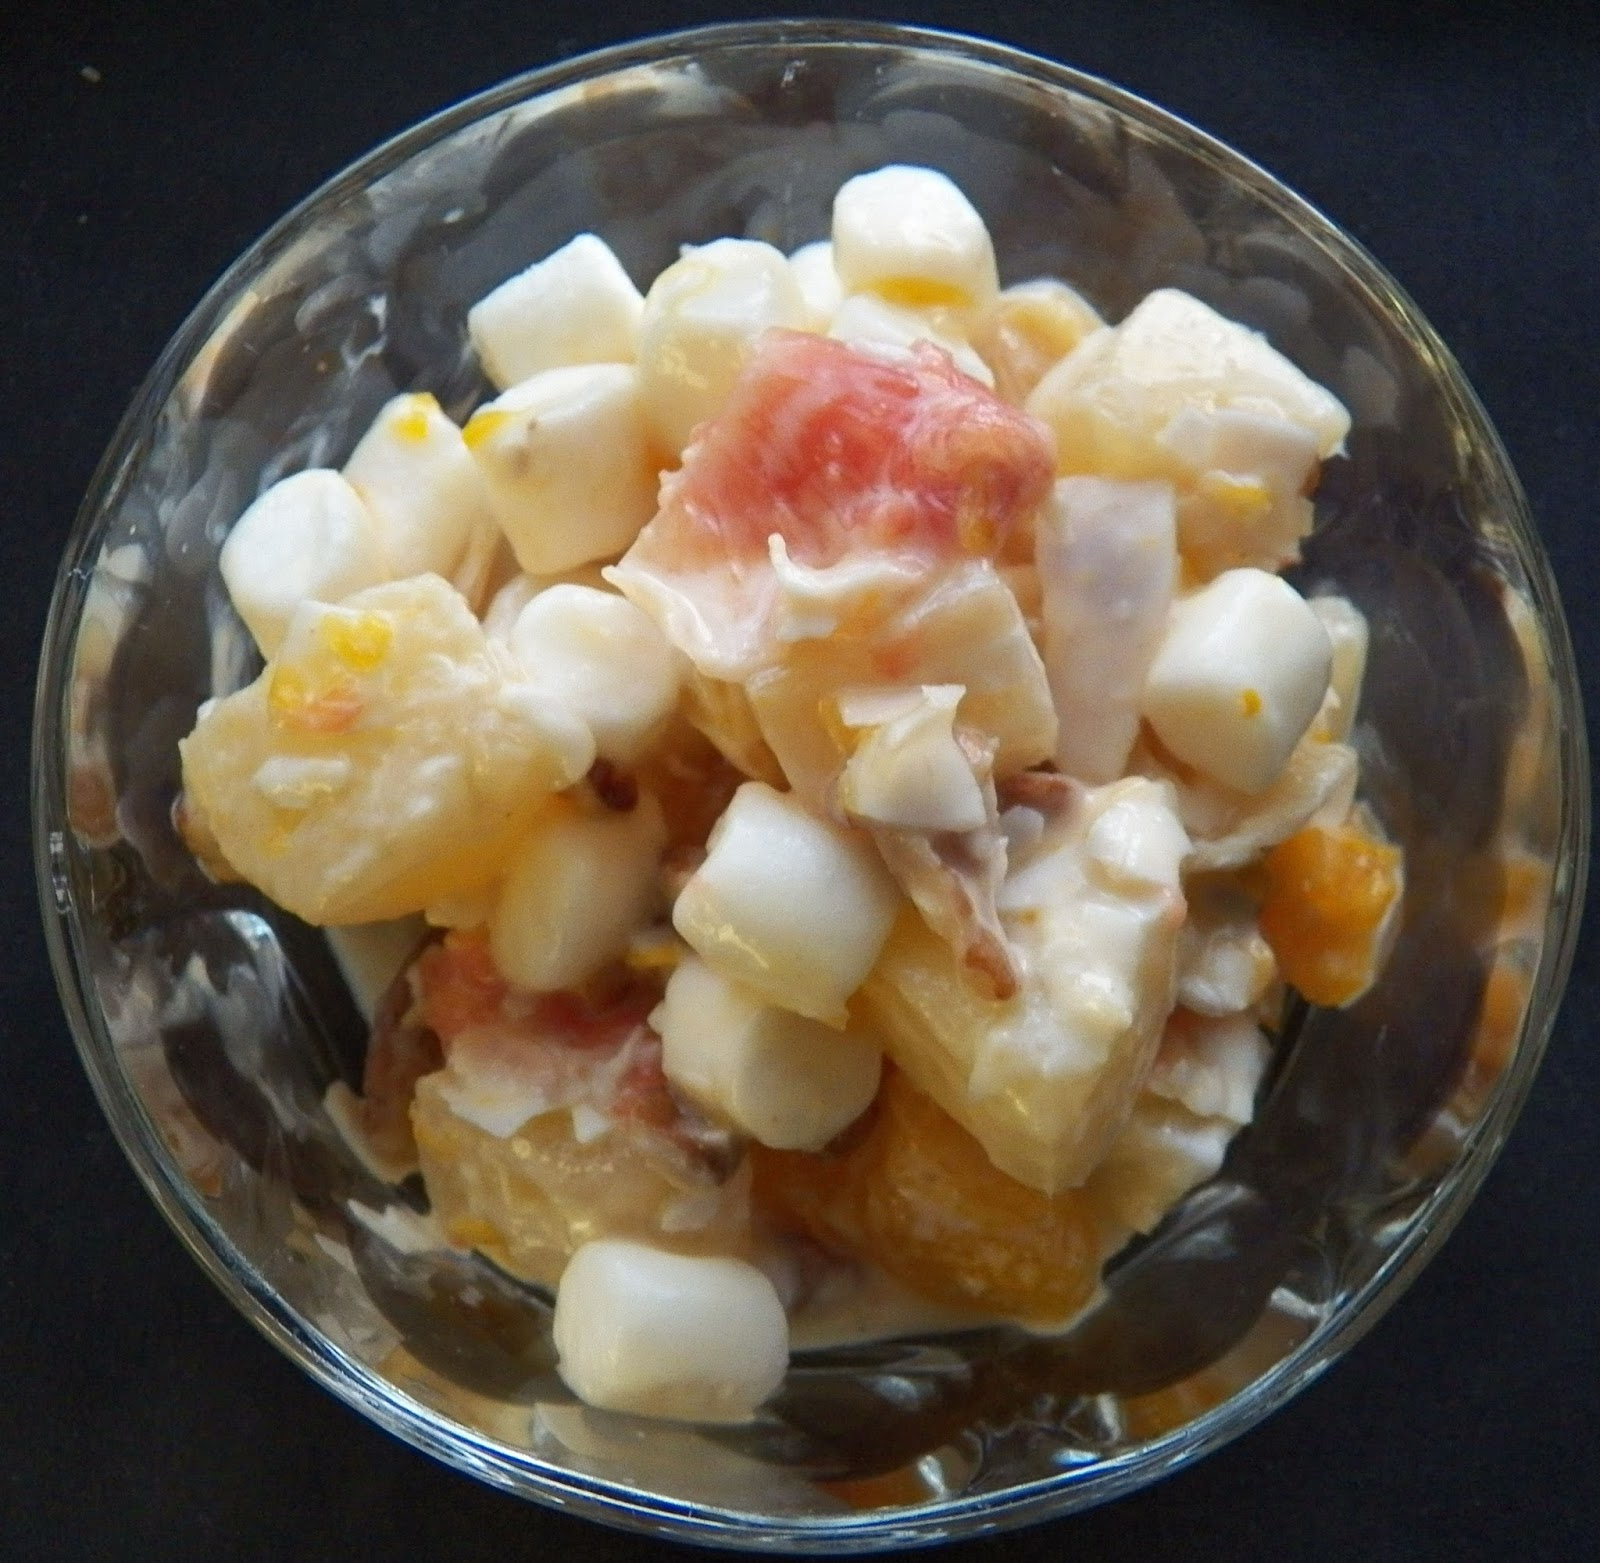
I love most fruit salads and normally make the one I grew up with which had oranges, nuts, marshmallows and cherries. A few days ago I decided to make my usual and found that I had no oranges but I did have a can of 'Citrus Salad' mix. This is a combination of a little orange but mostly grapefruit - red and white. When I spotted this I decided to give it a try. So here is what I used.
1 can of DelMonte Citrus Salad (15 oz.), drained
Shaved, unsweetened coconut
Pecans (or nuts of your choice)
1 bag mini marshmallows
1 can Pineapple chunks (15 oz.), drained
Mix it all together and let sit in the refrigerator covered for about 1 hr. Stir and serve. The grapefruit in this mixture gives the whole dish a deliciously, 'clean' taste that I simply love. I've made this 3 times now and can't get enough of it. I eat it at night as my dessert and whenever I find myself wanting something sweet. You got to try this one!
January 23, 2016
How to Clean Your Home Using Only 2 Ingredients - Part 4 (End)

Info from Today.com
Sneaker deodorizer Sprinkle baking soda in sneakers. Allow to sit overnight. Shake out baking soda before wearing shoes.
Towels Smelly towels are often caused by detergent build-up. To freshen smelly towels, wash in hot water and one cup vinegar, then again in hot water and ½ cup baking soda. Reichert recommends not using laundry detergent during this process. Detergent stays in the towels, even after rinsing, and can hold the smells.
What not to clean with baking soda and/or vinegar: Do not use vinegar on anything shiny as it is an acid, and, over time, can remove the shine.Do not use vinegar on sealed countertops such as granite or marble. It won't hurt the stone but it will slowly remove the shine.Don't use baking soda as an abrasive scrub on surfaces that scratch easily.When in doubt, first test products on a small, inconspicuous part of the item to be cleaned.