Tutorial: Facebook Documents
I have to admit, when I first joined groups in Facebook, I had no idea what a Facebook document was, how to use it, or how to add my information to it. In fact, I still sort of dislike them (although I couldn’t tell you why) even though they are extremely useful.
 Groups use Facebook documents to share information – like the Twitter handles, web sites, blogs, genres, and other kinds of data about their members. Some writers/reviewers groups use them to list books to be read or reviewed, and available reviewers and what genres they prefer.
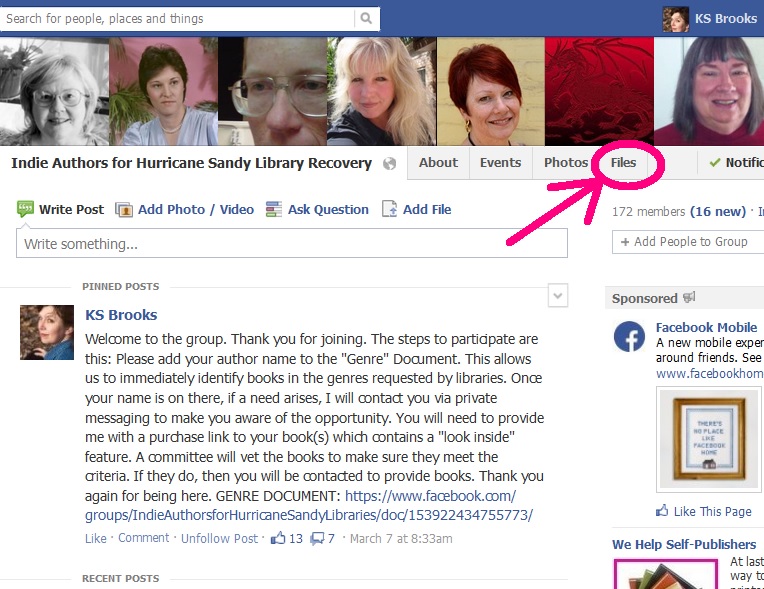
One thing that may be confusing to some is that Facebook changed the nomenclature from “Documents” to “Files.” If you want to find the ones in your group, scroll up to the top of the page, to the right, and click “Files.” (see above, left)
 That will bring up a page listing all the documents and files in a group. Now, if you click on the little drop down arrow next to “all” – you’ll get a choice of viewing either just documents or files. The difference between the two is that you can edit a document right in the group. A file needs to be downloaded in order to edit it. Now, if someone in the group asks you to add information to a document, just find the document title that you need and click on it. That will bring up the document so you can view it.
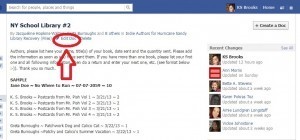
At the top of the page, you will see the title of the document, along with who created it and who else edited it. You will also see a little pencil next to the hyperlink “Edit Doc.” Click that. This will bring you to a new screen – the “guts” of the document.
 Just add your information to the bottom of the document. To find where to do that, use the scroll bar. Then, once you’ve added your information, click SAVE.
Bada bing, bada boom, and you’re done.
It really is JUST that easy!
Don’t forget to tune in to IU tomorrow at 5 a.m. Pacific time when we have our monthly Facebook like-fest! Get lots of new likes for your FB pages.