
How to Make a Giant Magical Paper Flower Poppy Garden
A Giant Magical Paper Poppy Garden? I know–what a strange Tangled Nest post. But somehow I volunteered to make the poppies for the set of Claire’s school production of The Magical Land of Oz. Remember the poppies in service to the Wicked Witch (played by my daughter!) that lulled Dorothy and friends into a preternatural sleep?
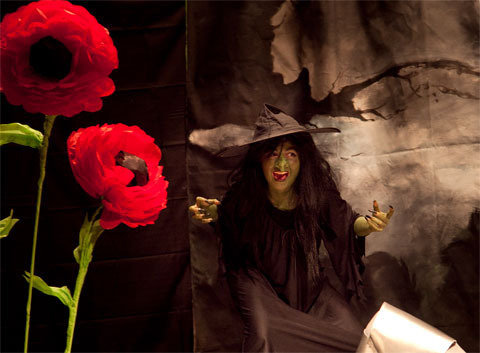
Claire as the Wicked Witch of the West, with magical poppies.
What I didn’t expect was that so many people would be enchanted by the poppies. I can’t count how many people who saw the play begged to take them home, offered shocking sums for their purchase, or wanted to commission me to make some! Alas, I greedily took the poppies home to brighten my own dining room (we are just coming out of a rather dark and rainy “June-uary” as we call it in Seattle–a garden full of poppies in the house feels warming and whimsical), and I am not going into the poppy making business (though someone should consider it!). So instead, I thought I’d share the technique here.
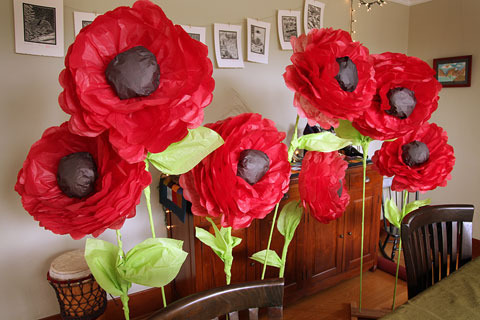
Post-production poppies brighten up the dining room.
When I was trying to figure out how to construct the poppies, I remembered making little tissue paper flowers in Girl Scouts that we bundled into bouquets and delivered to retirement homes. Would the technique scale up? Yes indeed, and what a wonderful project to inaugurate my beloved new craft room!
The materials are inexpensive:
Tissue in red, black, and green (I think layers of color–orange, purple, pink would be pretty, but I needed to do red for Oz)
A roll of crepe paper streamers in green
Thin dowels, 1 for each stem (I used 5/16″), or sticks from the garden
Wire
Scotch tape and packing tape
Take 8 sheets of red tissue, and stack them neatly. Accordion fold them the long way about six times. Cut a little notch on each side of the center, and wrap with thin wire, leaving about 8″of wire tail. Cut nice arches on each end:

Now gently separate the layers, and curl them upward. Alternate sides and overlap the edges to keep from making a flower with two halves:

To make the centers, put some crumpled scrap tissue in the middle of a black piece of tissue, and gather the edges to form a ball:

Secure with scotch tape, and cut off the excess:
Attach with a couple doubled-over pieces of packing tape to the flower center:

The stems are made with dowels at the bottom (though sticks from a garden tree or bamboo poles would work fine), and wire at the top so they will be sturdy, but the flower heads will still move and bend naturally. Take a foot or so of sturdy wire (double or triple it for width), and wind the flower head onto it. Secure with a wrap of packing tape. Wrap the stem onto the dowel and secure with more packing tape.
Add leaves of green tissue if you like, then wrap the entire thing, starting from the bottom, in crepe paper. It doesn’t have to be perfect–a few lumps look more natural. Wind several times around the back of the flower, and secure with scotch tape.

Voila!
Tom made stands out of scraps of wood, but you could also just lean them in a corner…

Enjoy! But be careful. You might start feeling droooowsy…


