
Animations & Interactions in Design: How to Build a Carousel

I know, I know, I saw the “should I use a carousel” site. While I agree with the sentiment, there are forms of carousels that can work very well. Especially the one with a clear navigation pattern.
How about learning how to build it? It’s super easy. Let me walk you through the process.
Log in to your UXPin account (or start a free trial) and let’s get started.
1. First, we have to create the very top of the carousel together with the menu. Start with a simple box for the background. You can use search (cmd+f on Macs, ctrl+f on PCs), or just drag & drop it from the library). Next add the text, as well as all the necessary details.

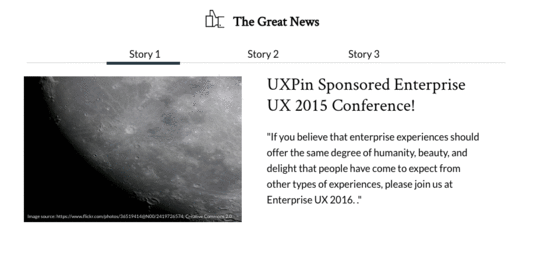
2. Time for the content. Add a box, text and drop in some images. Yes, it’s that easy.

3. Now, select all the elements of the content part and turn it into a multistate element.
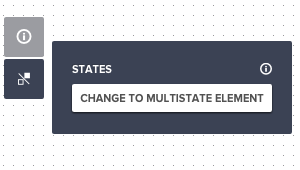
4. Multistate elements allow you to switch content within one element. That’s the foundation of your carousel. The only thing that you need now is a bunch of states. Click on your multistate element and pick “states” from the property menu. You need three states, one for each story.

5. Time to add some content to your new states. Click “edit state” in the property menu and choose “Story 2” to edit it. You can change image, text and anything that you need to make it great. Repeat this step for “Story 3” as well.

6. Now we’re going to make your carousel interactive. Start with the “Story 2” in the navigation. On click you’ll want to change the state of your multistate element, as well as move the thick line to indicate active state of the navigation. Start with the first task.
Select “set state” of your multistate elements to “Story 2” and do it with a “slide right” animation (ease in, sine).

7. Now it’s time to move the line that indicates the active state of our menu. Create another on-click animation. This time use “move to” action and set the horizontal distance to the new location. For a better effect, you might want to set the delay to 100ms.

And we’re done. Open the preview and be proud of yourself. You just built an interactive prototype of a carousel.
Hope you enjoyed this little tutorial. Now play with UXPin on your own. The possibilities are endless.


UXpin's Blog

- UXpin's profile
- 68 followers

