Compost Piles in Your Garden Rotation
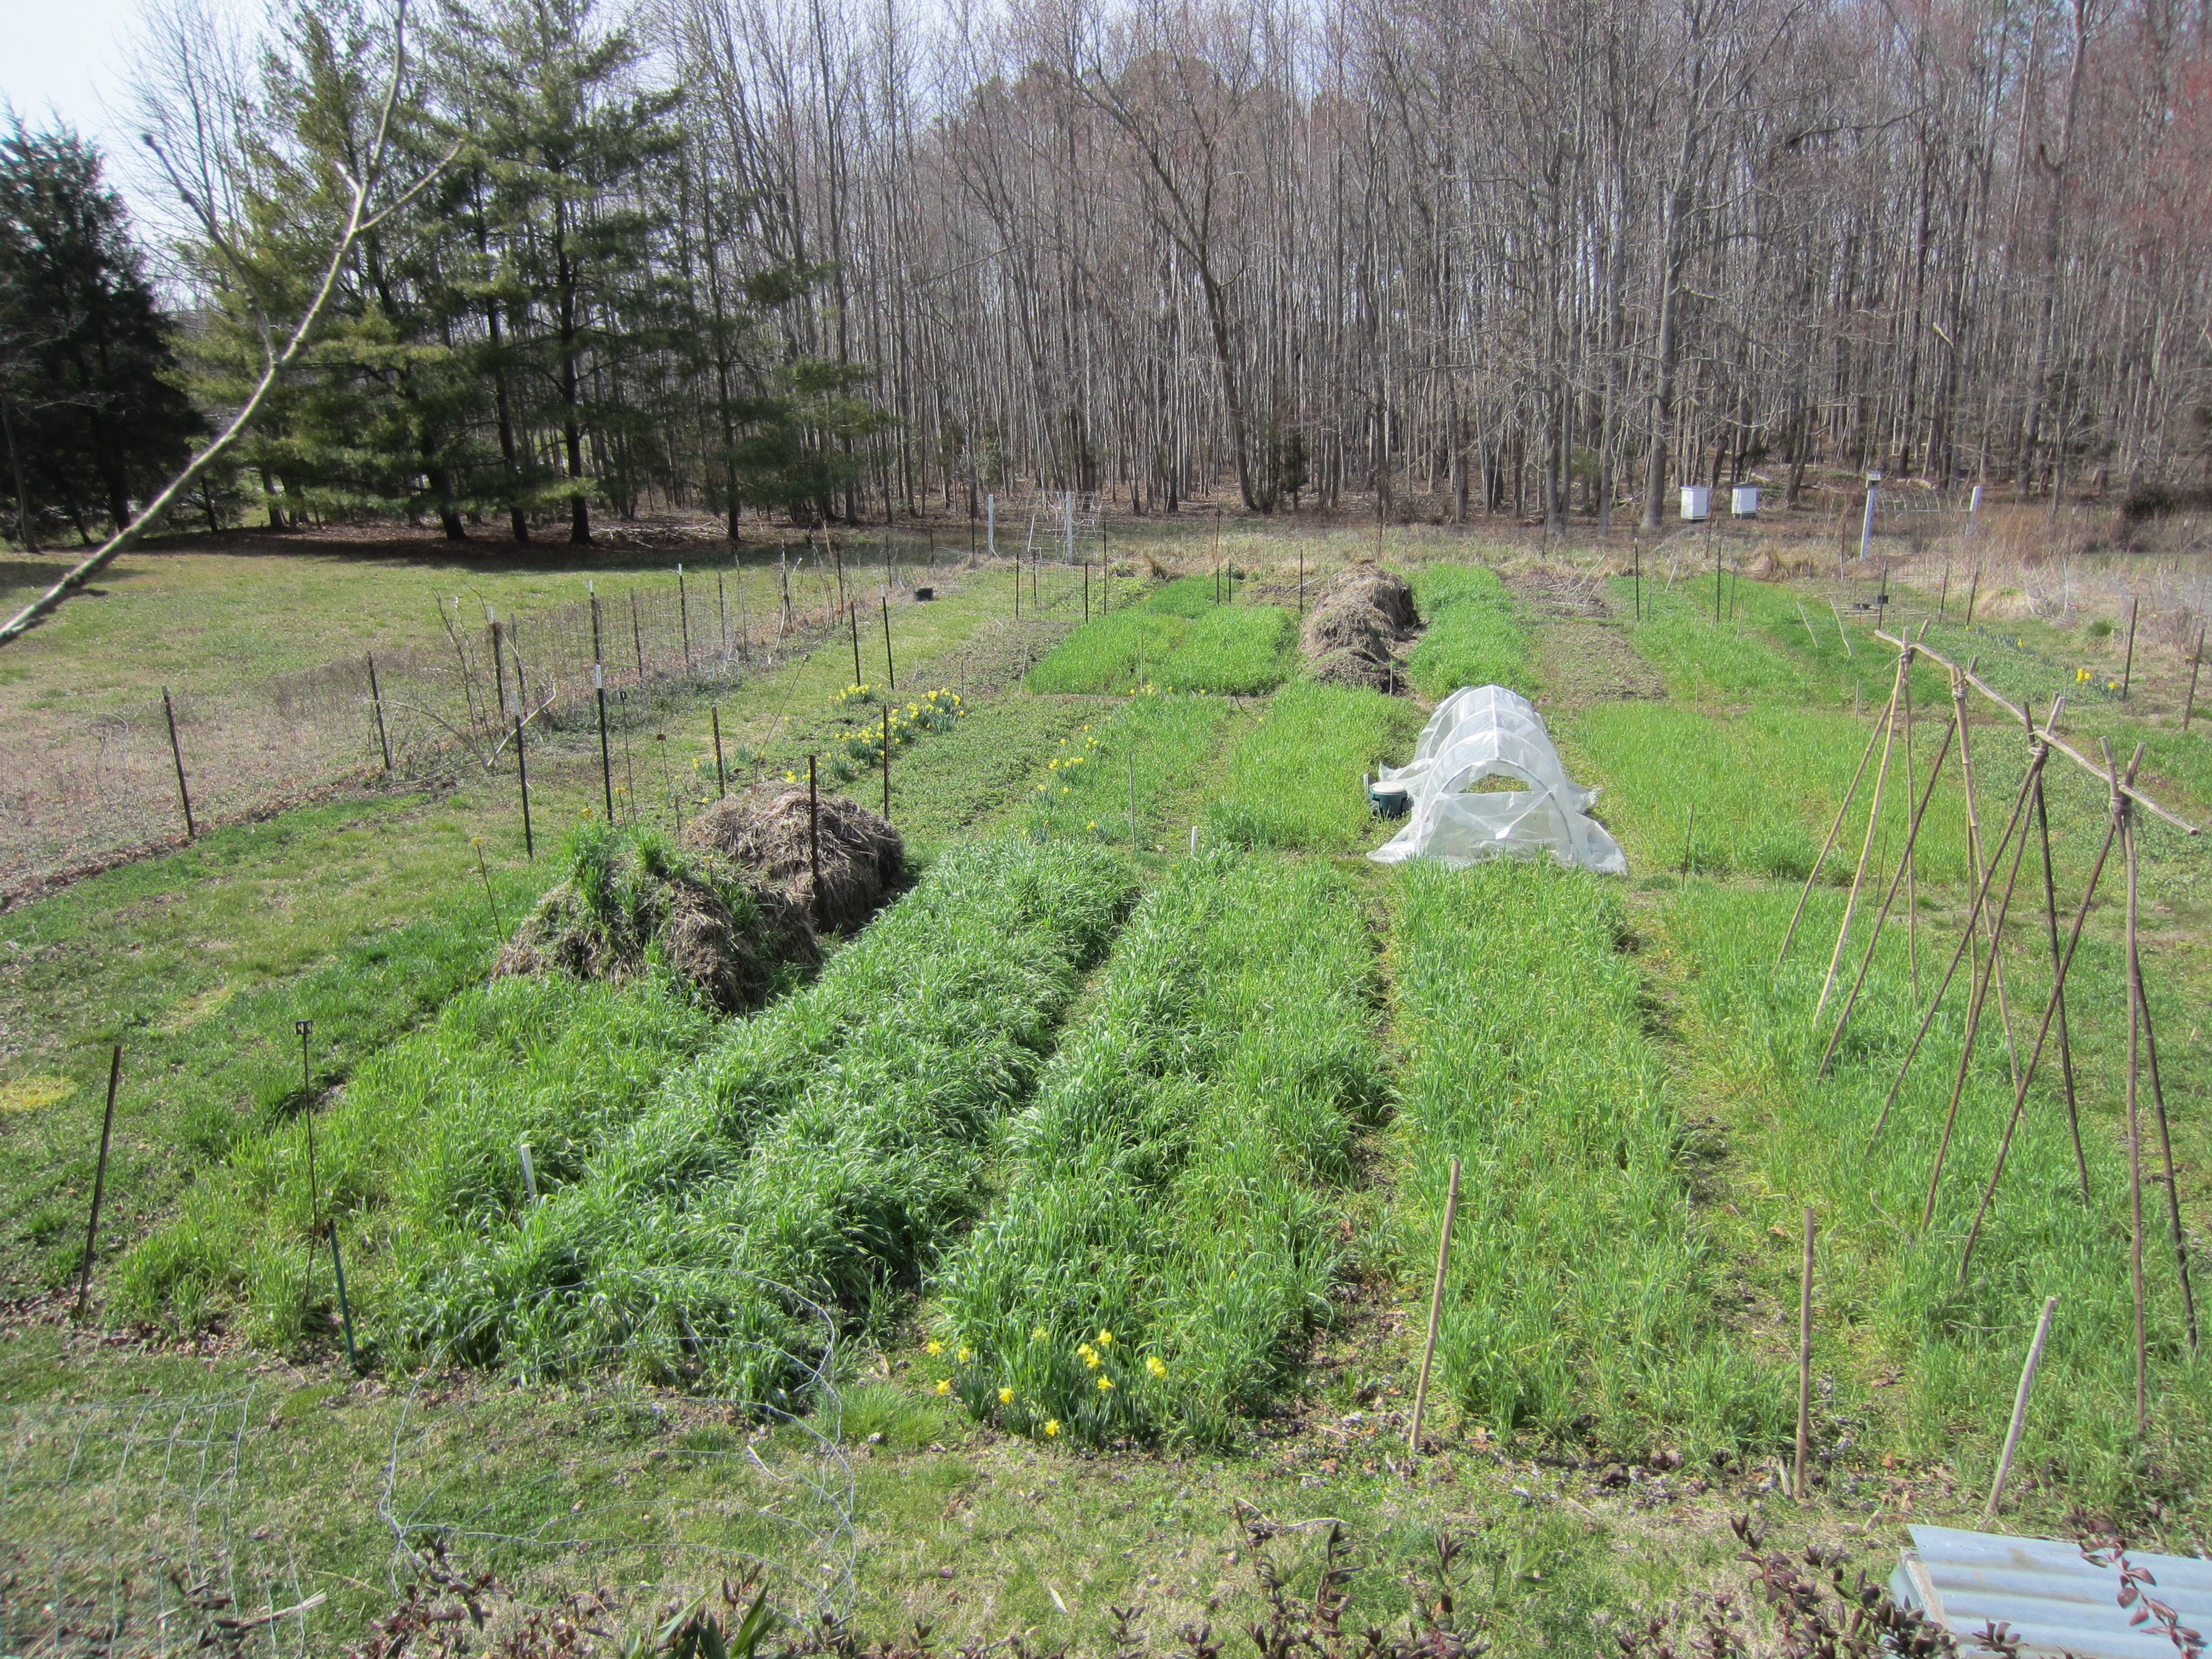
Garden in late winter with compost piles as part of the rotation.
For many years I had compost bins lined up on the edge of my garden. Discussion about compost generally included what kind of bins I used and where I sourced the materials to put in them. My bins were made from pallets I acquired for free. Each of three sides was made by pounding two t-posts into the ground and sliding a pallet over them. If one side needed to be replaced, that could be easily done, since the sides weren���t tied or nailed together. The fourth side was made by using bungee cords to hold it in place. To remove the compost, I released that side by removing the bungee cords.
The ingredients of those piles were usually animal bedding (from our animals or some I brought in from other places), leaves (from here or elsewhere), food scraps from our table, and maybe grass clippings. The compost bin was a handy place to toss garden residue���weeds and spent plants. Gradually I stopped including outside materials in my compost as I studied GROW BIONTENSIVE (GB) methods and produced more of my own compost biomass in my garden. The bulk of the material I used to bring in was for the carbon. With GB I grew more grains and corn, using the straw and stalks for carbon. Eventually, all the compost materials were coming from my own garden.

Butternut squash growing around and over the compost pile.
Rethinking the materials is only part of rethinking compost piles. If you are into tidy, and think compost requires a bin, you may have a hard time thinking outside that, but I urge you to try. Besides keeping them tidy, bins serve to keep animals out of your piles. If you include food scraps in your piles and have a dog, or neighborhood dogs frequent your place, you may want a bin. However, if your compost pile is within your fenced garden, you have already fenced out the critters. Once I put a fence around the garden I did away with the bins, but the piles were still on the edge of the garden space. It was when butternut squash grew wild around and over my pile one year that I began to think about the nutrients that were leaching into the ground each year beneath the piles and not being used.
Having to walk back and forth to the edge of the garden to put compost materials there that had grown in the garden, or to retrieve compost for the beds, also served to nudge me into planning to have my compost piles as part of my garden rotation. By the way, I did away with the notion that compost needed to be turned regularly long ago. Left to what they do best and the microbes turn all that organic matter into finished compost all by themselves. I do water occasionally to keep them hydrated.
Now I devote a garden bed, actually more than one, to compost. On my garden map, compost is shown, just as all the crops for the year are. The two biggest times for starting a new pile for me are in June when the grains are harvested and in October when the cornstalks, sweet potato, and peanuts are harvested. It is in October when the new compost bed is put to use. Whatever bed is designated to store compost for the coming year is where I start the new pile in October. The pile I created in the summer that needs more time to cure will be moved to this new compost bed. That is the only time it gets turned. If the new compost bed is part of the garden rotation it will be located next to the old compost bed, making the transition an easy one. You do not want to do any long distance hauling���just fork it from one bed to the next.

numbered compost piles
The rest of the compost in that bed, including the one started the previous October, should be ready to spread, which I do in September and October before I plant cover crops. Throughout the year there will be other materials added to the piles as weeding and harvesting is done. There will also be finished compost available to add to beds each time a new crop goes in. By following GB guidelines and having at least 60% of the garden devoted to compost crops for the year, it is easy to have an abundance of compost. To keep track of the order the piles were made, so I know which will be ready to use next and which needs to set longer, I use old smooth metal fence posts (the kind used for electric fence) with blocks of wood on top with a number painted on them. Some people have little signs for their piles that say such things as ���use me���, ���feed me���, or ���working.��� The pile that I make in the fall will not be ready to use until the next fall. Wanting to make the best use of all my resources, including space and available nutrients, I plant butternut squash around the base of that pile and let the plants grow over it. Besides soaking up nutrients from beneath, the plants shade the pile, preventing weeds from moving in. By the time the winter squash is harvested, the compost is ready to spread.
In October I plant winter rye in the bed that the compost vacated. That cover crop soaks up all the nutrients that may have leached from the piles and gives them to the corn that will go into that bed the following year. When the rye is shedding pollen (about May 7 here in Zone 7), I cut it with a sickle and leave it lie in the bed as mulch. Two weeks later I transplant corn into the mulch. Generally there is a small amount of a legume, such as Austrian winter peas, sown and harvested with the rye. I have my best crop of corn in the bed that follows the compost.
This might all seem confusing, but if you take time to think it through, it will become clear. In Grow a Sustainable Diet I explain GROW BIOINTENSIVE methods and how to plan to have 60% of your garden in cover crops for the year. In that book I also have a garden map and explanation for the Garden of Ideas that shows compost as part of the garden rotation. My DVD Cover Crops and Compost Crops IN Your Garden shows compost making in the beds and the management of the cover crops with hand tools through the growing season. Think outside the compost bin and make compost an integral part of your garden!![]()