Let's Go Places with Word Swag
By Pam Hillman
Last month I shared a blog post titled Memes, Monkeys, and Me: Photo Editing and Graphics Design for Amateurs. This was a refresher on using PicMonkey to create memes and promotional swag for social media mostly on a desktop or laptop computer. But I also promised to bring you a fun post on a cool app that really puts the move on our busy lifestyles.
 It’s WordSwag.
If you spend a lot of time waiting in line, at doctor’s offices, or waiting on your order to be delivered to your table, then why not get a jumpstart on your online PR with mobile memes directly from your smart phone?
I’m going to use my latest release, The Road to Magnolia Glen, as an example. Also, for the record, I have an iPhone.
Most of the terms I use should be interchangeable with other devices, but just in case, I thought I’d mention that up front.
Also, I did find a few online resources that said Word Swag is available for Androids, but if not, you should be able to search for a compatible photo/text app for your phone.
So… get ready, get set, and let’s go. Here are step-by-step instructions to set up your on-the-go meme making office on your phone or iPad.
Step 1: It goes without saying that you need to install the Word Swag app on your iPhone or iPad. It's free! :) Again, if you have an Android, I can’t advise you on which app to try. Possibly someone else can step in and help us out. Done? Okay! On to Step 2...
------
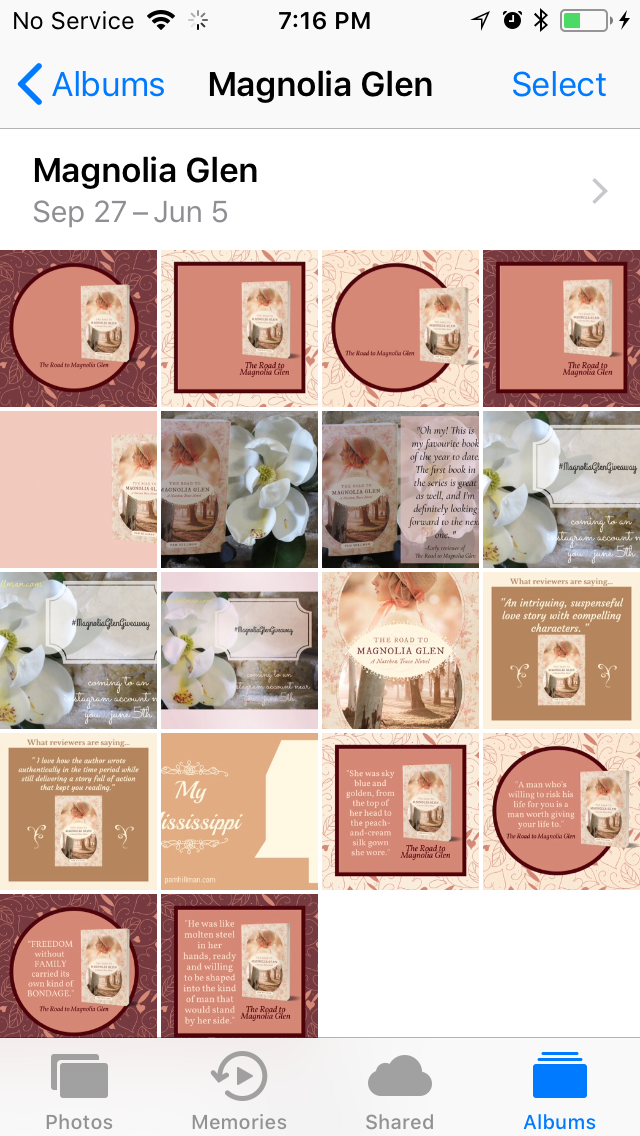
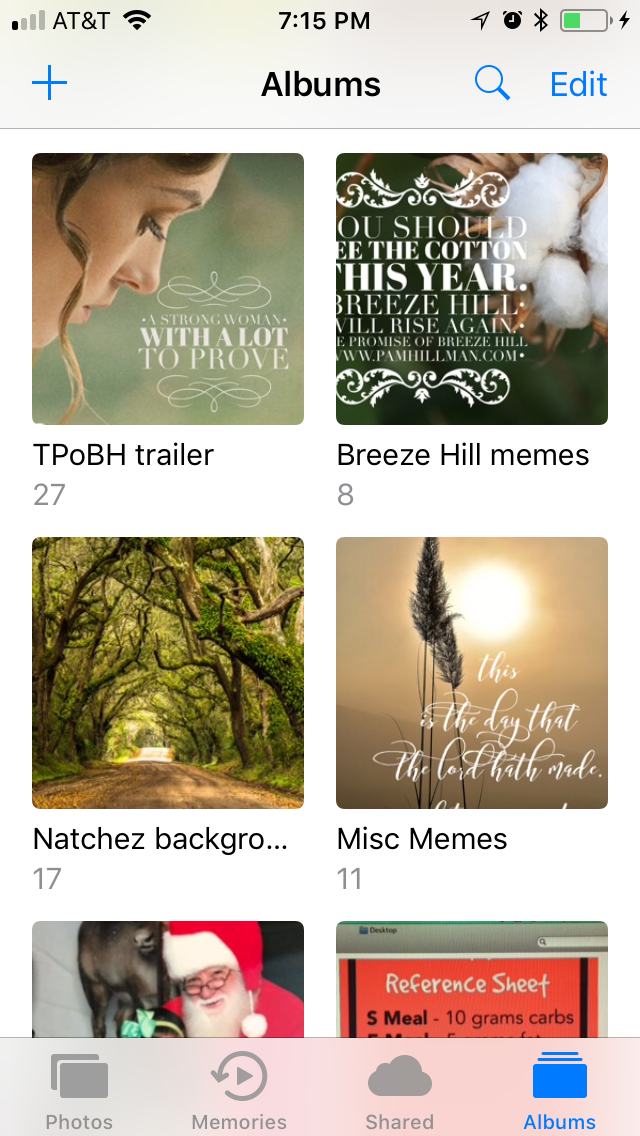
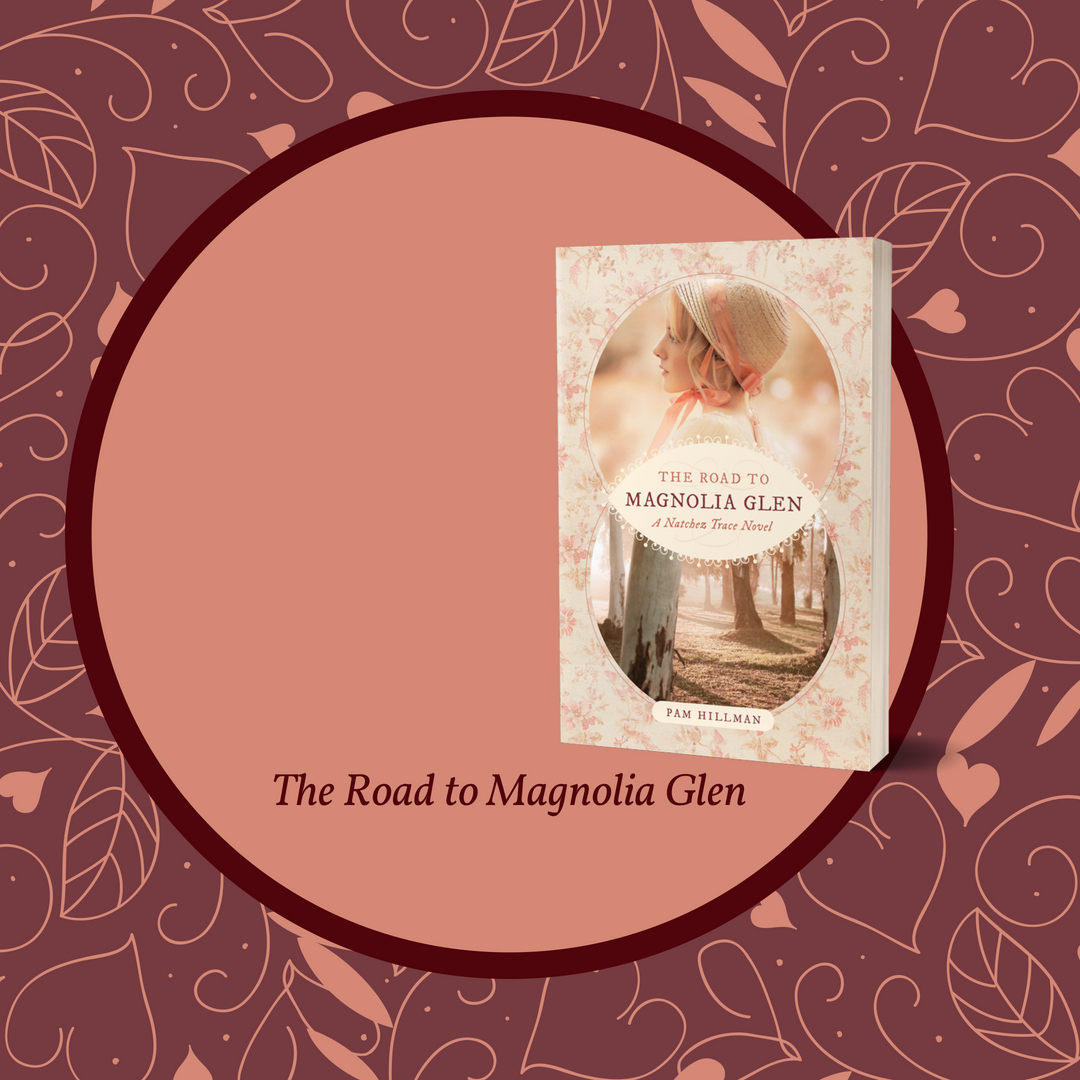
Step 2: Create an ALBUM on your phone for the project you will be working on. The one we'll be using today is for The Road to Magnolia Glen, which released in June. Save your book cover, reusable templates, and completed memes in this album. You’ll see from the above screenshot several completed memes as well as some blank templates with my Magnolia Glen cover already included for quick reference.
Regarding reusable templates: Generally, book specific backgrounds will be something you've created in PicMonkey where you can create styles and layers. The ones above are a composite of backgrounds from my publisher, my VA, and my own photos.

Step 3: Next, in the NOTES section of your phone, create a PR folder and then copy/paste notes when you find a cool review, or add some quotes from the book during in the final stages of the final edit. You'll be so glad you did this step when the book releases. You can add photos in the Notes section, but I prefer to keep the photos in the albums and the words (quotes, reviews, links) in the Notes section. And finally, if you’re quick and maybe a bit OCD, you can certainly make these memes right then and there, but I’m not always that organized.
Step 4: Are you done? Okay. Let’s keep going. This next part is the fun part ! You should have some background templates on your phone AND you have some quotes and reviews that you’ve gathered for when you’re stuck in traffic or scrolling through Instagram, Facebook, or Pinterest, and you realize that you haven’t posted anything in a while.
Step 5: Either decide which background template you want to use from your ALBUM of choices OR you might want to just use something from Word Swag. That’s your choice. I’m going to use one of my templates with my book cover on it. This can be effective as readers continue to see the same colors and styles over and over with different quotes and/or reviews. Open Word Swag and choose LIBRARY (bottom) if you want to use a photo/jpg from the photos on your phone. Choose FREE PHOTOS (also at the bottom) if you want to use one of Word Swags gazillion choices, which I do quite often. Change the size of your photo or Crop it if you wish, or you can leave it as is. Choose Next.

Step 6: A white box of text will appear on your beautiful image that says “DOUBLE TAP ME TO CHANGE TEXT”. Go ahead. Tap it. Don’t worry that it’s clunky and too big or too small for you image. We’ll fix that.
Step 7: If you don't know what quote or review you plan to use, leave Word Swag open and go to your PR folder in your Notes. Copy, return to Word Swag and paste in one of your amazing quotes or reviews you’ve been compiling for just the right time. Make sure "AUTO LINE BREAKS" is On, and then click Done to return to the page with your image and words.

Step 8: At this point, you can play with the Style, Color, Size, and "arrangement" of your text. Have fun until you get the look you want. :) Scroll back and forth to look at the different font options. And use the dice in the lower right-hand corner to let Word Swag show you all the cool options for each different style.
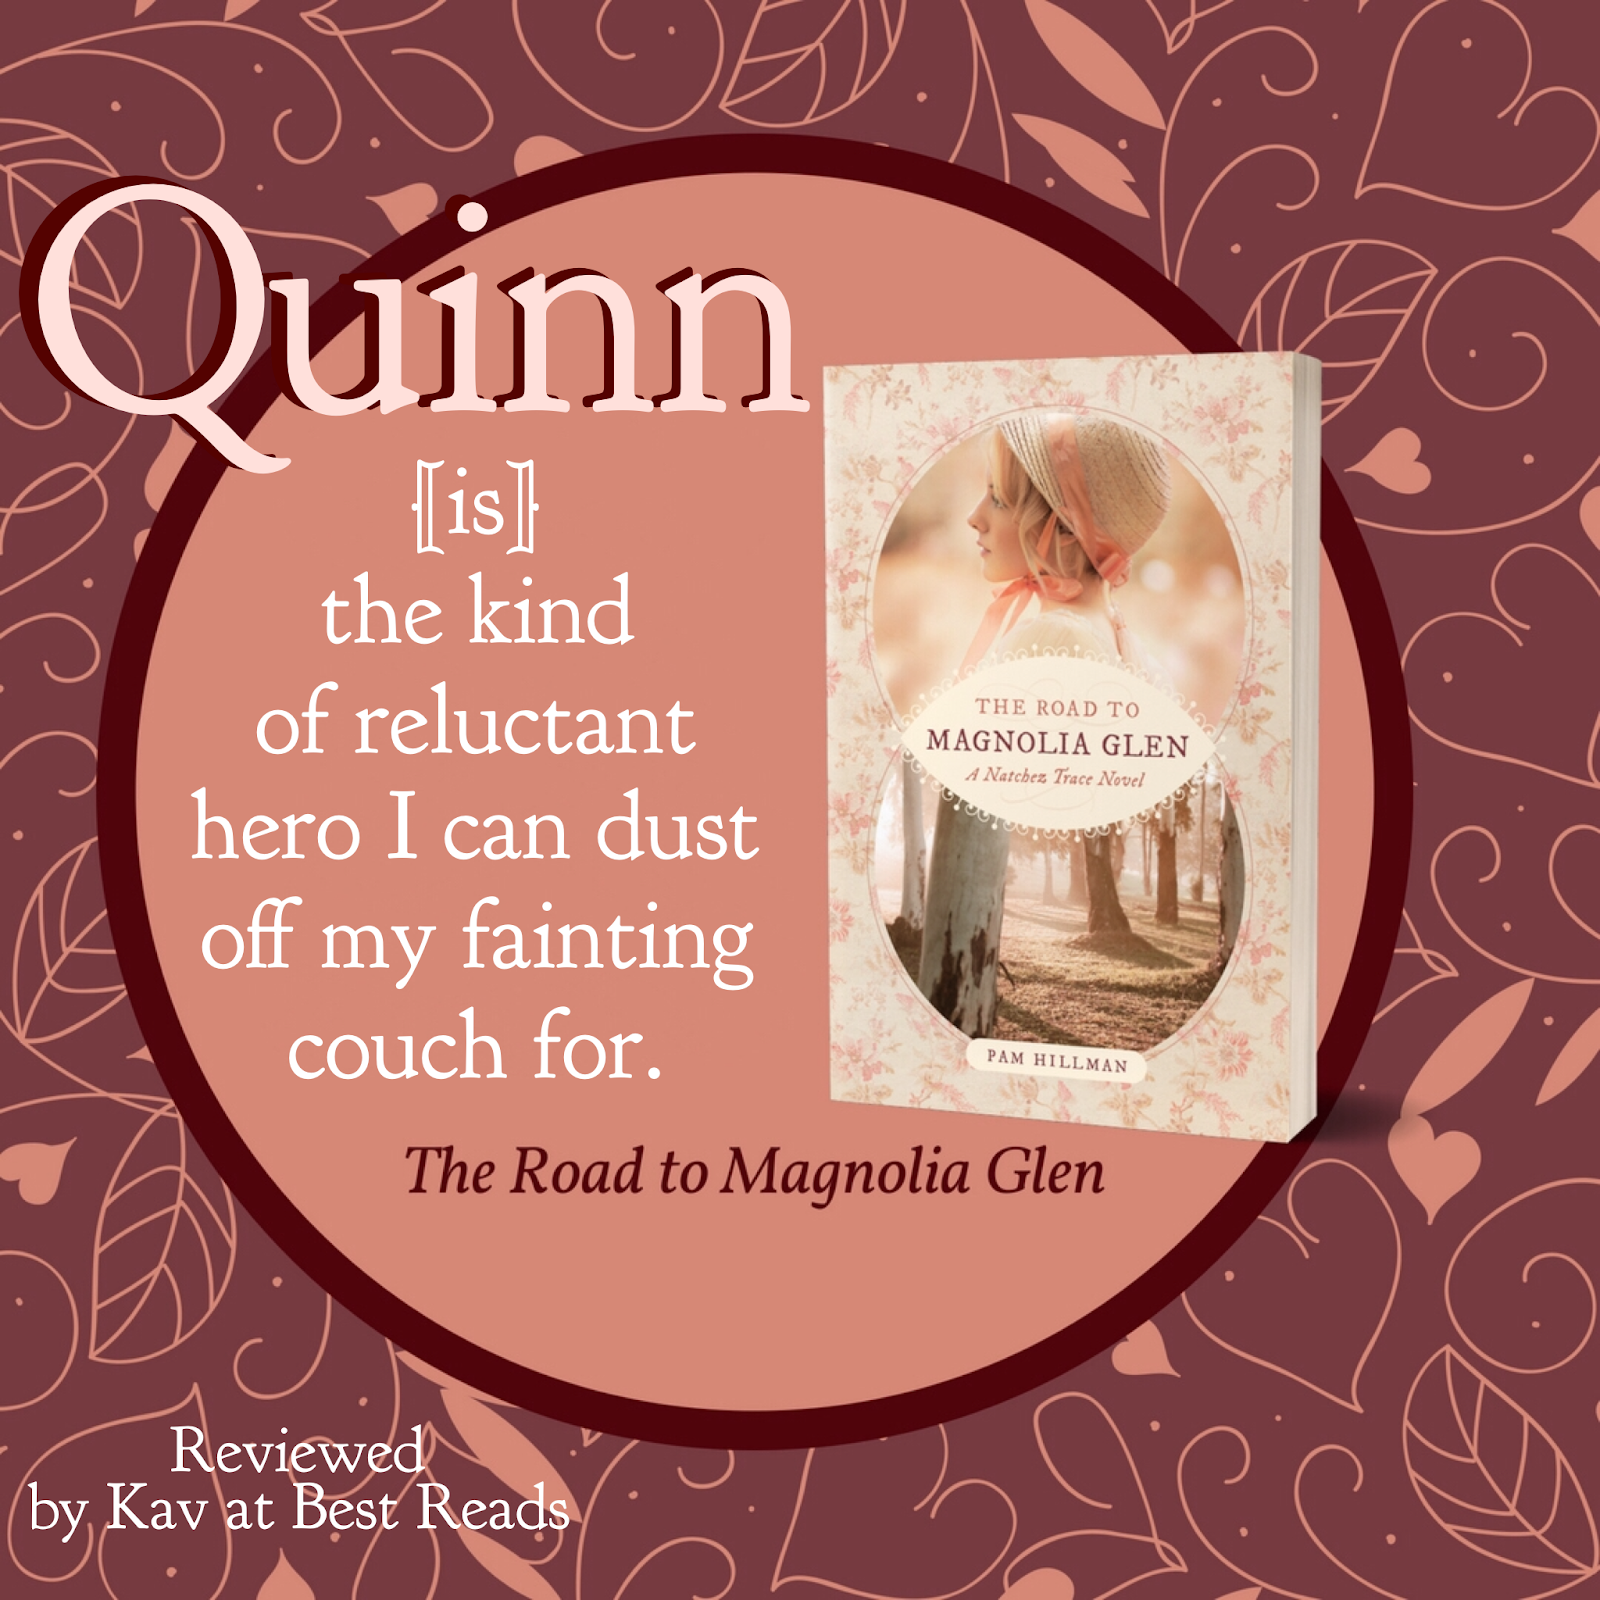
Step 9: Don’t be afraid to use the “Add + Text” option at the top. My first attempt didn’t fit in the space as neatly as I wanted, so I removed the word “Quinn” and thought … uh … outside the box. :) I loved the result (below). Also, if you look closely, I added another “Quinn” in a darker color for a drop shadow. Just because I could. Last, I wanted to give Kav at Best Reads credit, but there just wasn't room inside the small circle. So, I added a third Text box at the bottom. Looking good. :)
Step 10: Save your work and post to ALL your favorite social media sites.
Tada! My end result for today’s exercise.
Last, but not least…you don’t have to have templates or quotes from your book or anything to have fun. Pick a photo from Word Swag’s photo library and one of their Custom Quotes. I’ve done this several times and just made fun evergreen memes. The exercise feeds my creative bent.
And that's how you make a meme on the go. :)
Questions? Results? Come on!! It’s easy. Post your work on Instagram or Facebook and let us cheer you on. Use the #Seekerville hashtag. Let’s have some fun.
And... today's post is just in time to let you know that The Road to Magnolia Glen is on sale for $0.99, but it ends soon! So grab your copy now. :)
 The Road to Magnolia Glen


No comments have been added yet.