
Marc Spagnuolo's Blog, page 24
November 12, 2020
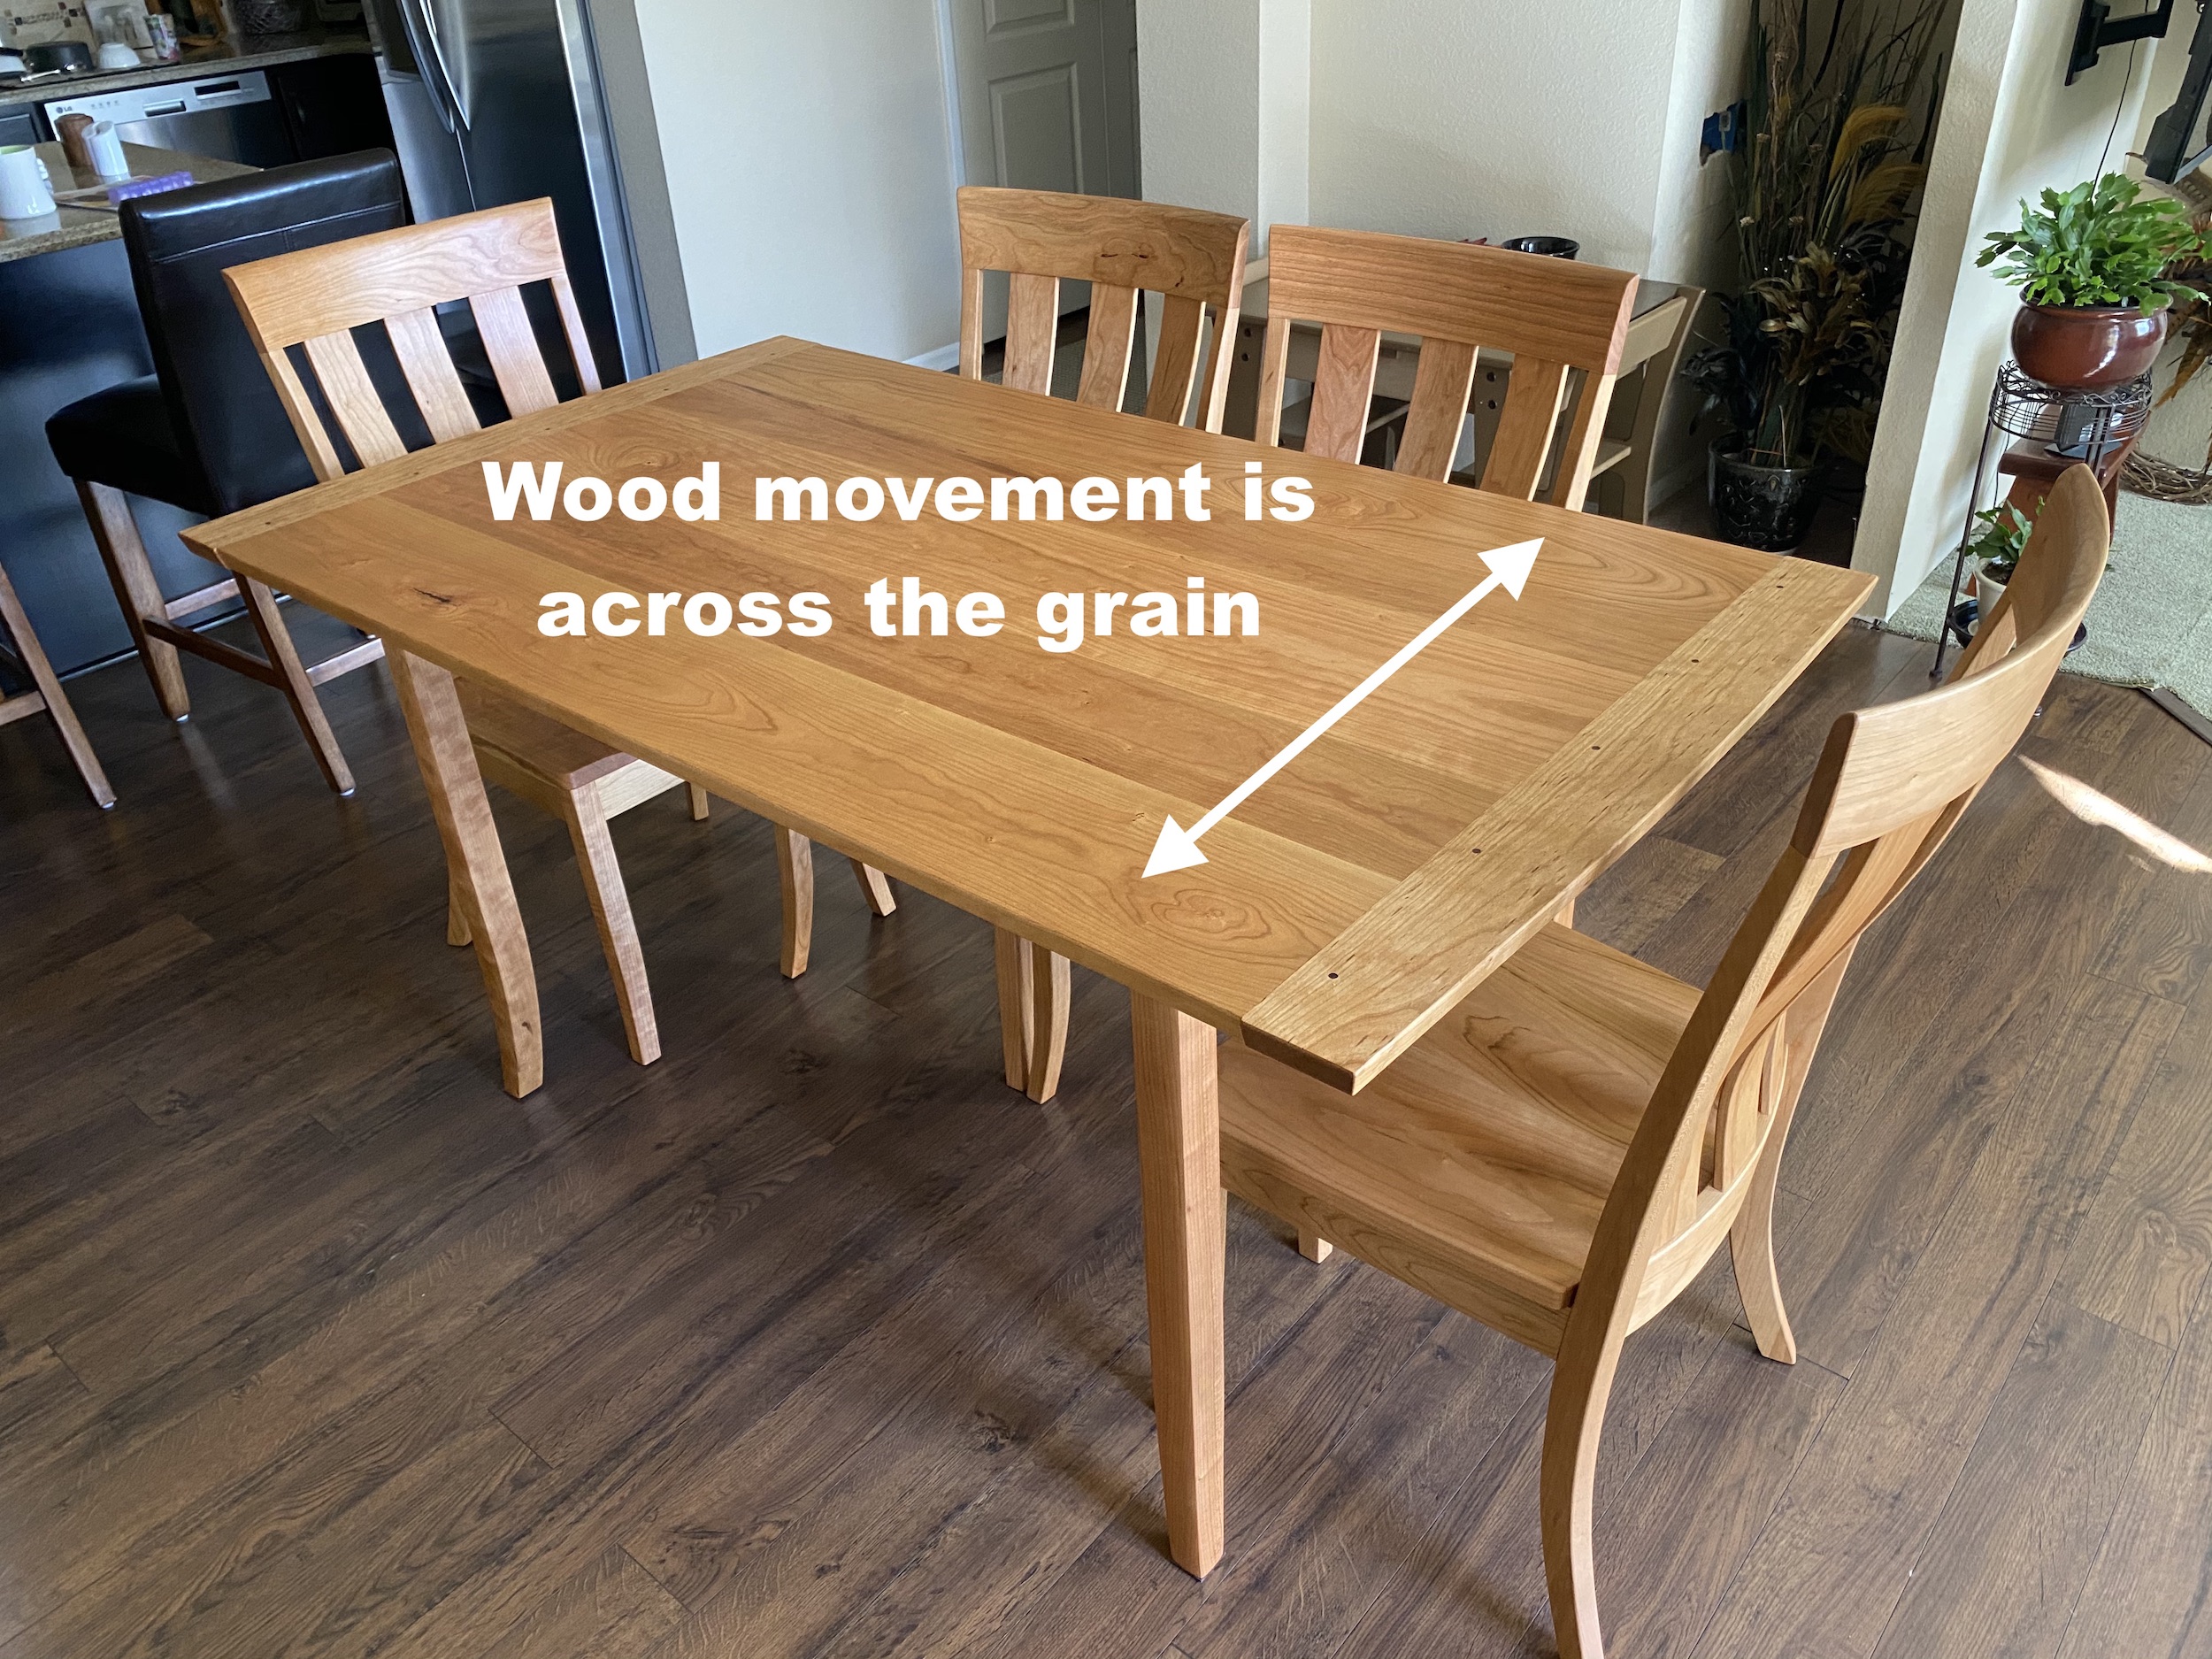
Breadboard Ends: The Joint Most People Get Wrong
Breadboard ends can be an attractive addition to table tops or panels. When made properly, they can also help stabilize panels and keep them flat. Unfortunately, many folks get them wrong. Before we dig into that let’s first establish what a breadboard end is. Have you ever seen a large farmhouse style table where the ends feature cross-grain boards (something like the picture below)? That’s a breadboard end. What many people fail to consider is that simply gluing and screwing a board to the end of a panel is actually a recipe for disaster. As the table top expands and contracts with seasonal humidity across its width, the breadboard fights that movement. Tension builds up and eventually the top will crack. The breadboard may also begin to pull away from the table creating unsightly gaps. So the real magic of a breadboard end happens when you allow for that seasonable movement. Using good joinery and drawbore pins, we can pull the breadboard end tight to the table while still allowing the table the grow and shrink as needed.
Consider this your guide for how to do that using four different methods.��
Please note that breadboards are NEVER necessary. A properly-milled and constructed panel should generally stay flat under normal conditions, so the only time I add a breadboard end is if I think the design benefits from it visually. Learn to make nice flat panels here.
1: The Haunched Tenon Method
This is the classic and most effective method for making a breadboard. It’s also the most involved. A series of deep mortise and tenon joints keep the breadboard securely attached and a short tenon/tongue keeps the breadboard aligned with the panel along its length. Drawbore pins through the tenons pull the breadboard in nice and tight. Learn more about the drawboring technique here. Glue is only added in the middle tenon and the outer tenons are left dry. The holes in the outer tenons are also elongated side to side to allow the tenon to move in spite of a pin running through it. The outer tenons are also undersized in their mortises slightly to accommodate expansion and contraction.
2: The Long Tenon Method
This method shares a lot in common with the Haunched Tenon Method except there’s no haunch. In other words, the tenon is continuous with no interruptions. We still, however, apply glue at the center and employ drawbore pins and elongated holes on the outside. This method is a little easier to make than the Haunched Version but that simplicity comes at the cost of breadboard integrity. A long deep mortise slot weakens the breadboard and allows it to flex under pressure. So when it comes time to pound in the drawbore pins, you might find that the breadboard bows slightly and needs to compressed so that it stays flat and flush with the table top.
3: The G&G Inspired Screw Method
This version is inspired by techniques I’ve learned from great woodworking instructors like Darrell Peart and William Ng. It’s a technique that I’ve only seen used in Greene & Greene Style furniture but it’s a good practical solution that’s pretty easy to make. The breadboard is held to the panel via a simple 1/2″ tongue and groove joint. Screws are driven in from the edge into the end grain of the table top. The outer screw holes in the breadboard are slotted to allow for movement and the tongue on the panel has some material removed at each screw location. Once again, glue in the middle but no glue anywhere else. The only downfall of this technique is that you have screw heads on the outer edge of the breadboard, but those are easily covered with plugs or dowels.
4: The Domino Method
This is a method that requires a little nuance. Dominos are small and even if you have the Domino XL, it can be tricky pulling off proper drawbores and elongated slots. I used the Domino 500 with 10x50mm Dominos just to show it can be done. The trick is to use wider slots in the outer tenon locations in the breadboard and to glue the Dominos into the panel first. After gluing, they Dominos can be treated as integral tenons and are drawbored and slotted accordingly.
If you want to know my favorite of the four methods, I’d say the traditional Haunched Tenon Method. It’s strong, elegant, and will outlast your lifetime. If I’m feeling a bit lazy and I’m in a rush, I think the Greene & Greene Method gives the best bang for the buck.
Please note that there are more methods than what I’ve shown here and if you are making a much larger table, your options become a little more limited. Perhaps we’ll do another video in the future showing how to do this on a larger scale. Happy breadboarding!
The post Breadboard Ends: The Joint Most People Get Wrong appeared first on The Wood Whisperer.


November 6, 2020
November 3, 2020
WFC 2020 Results!

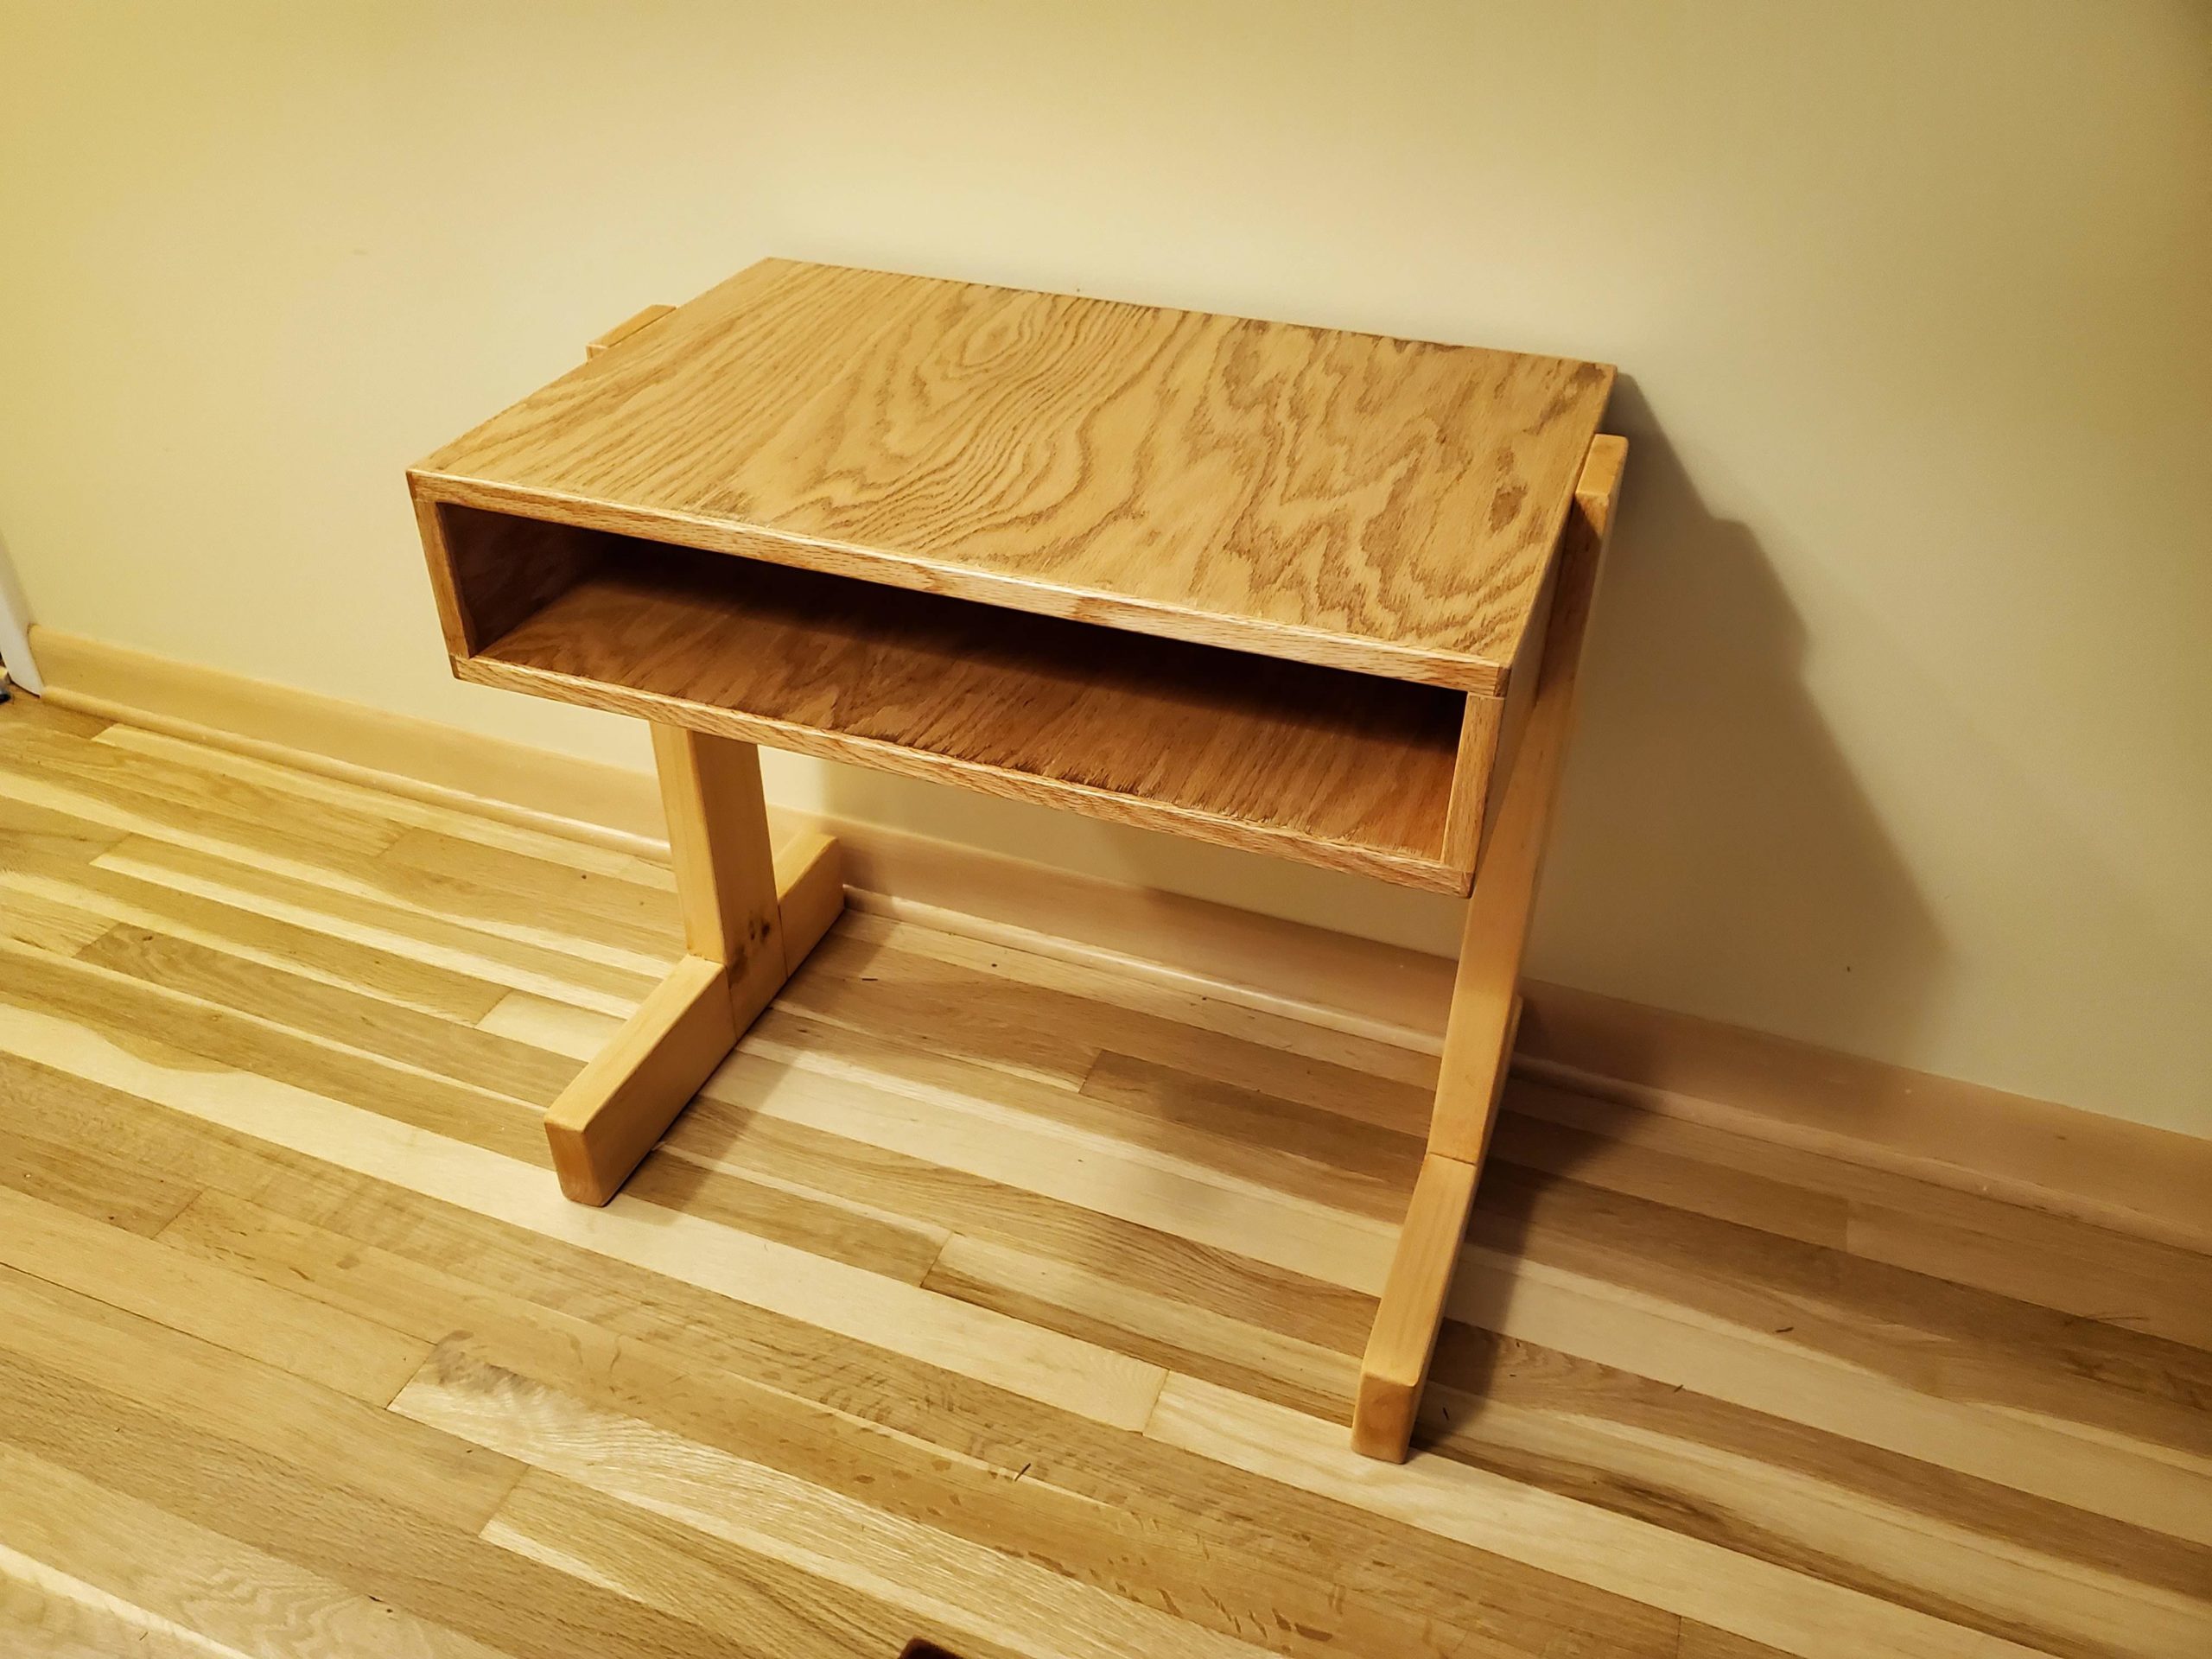
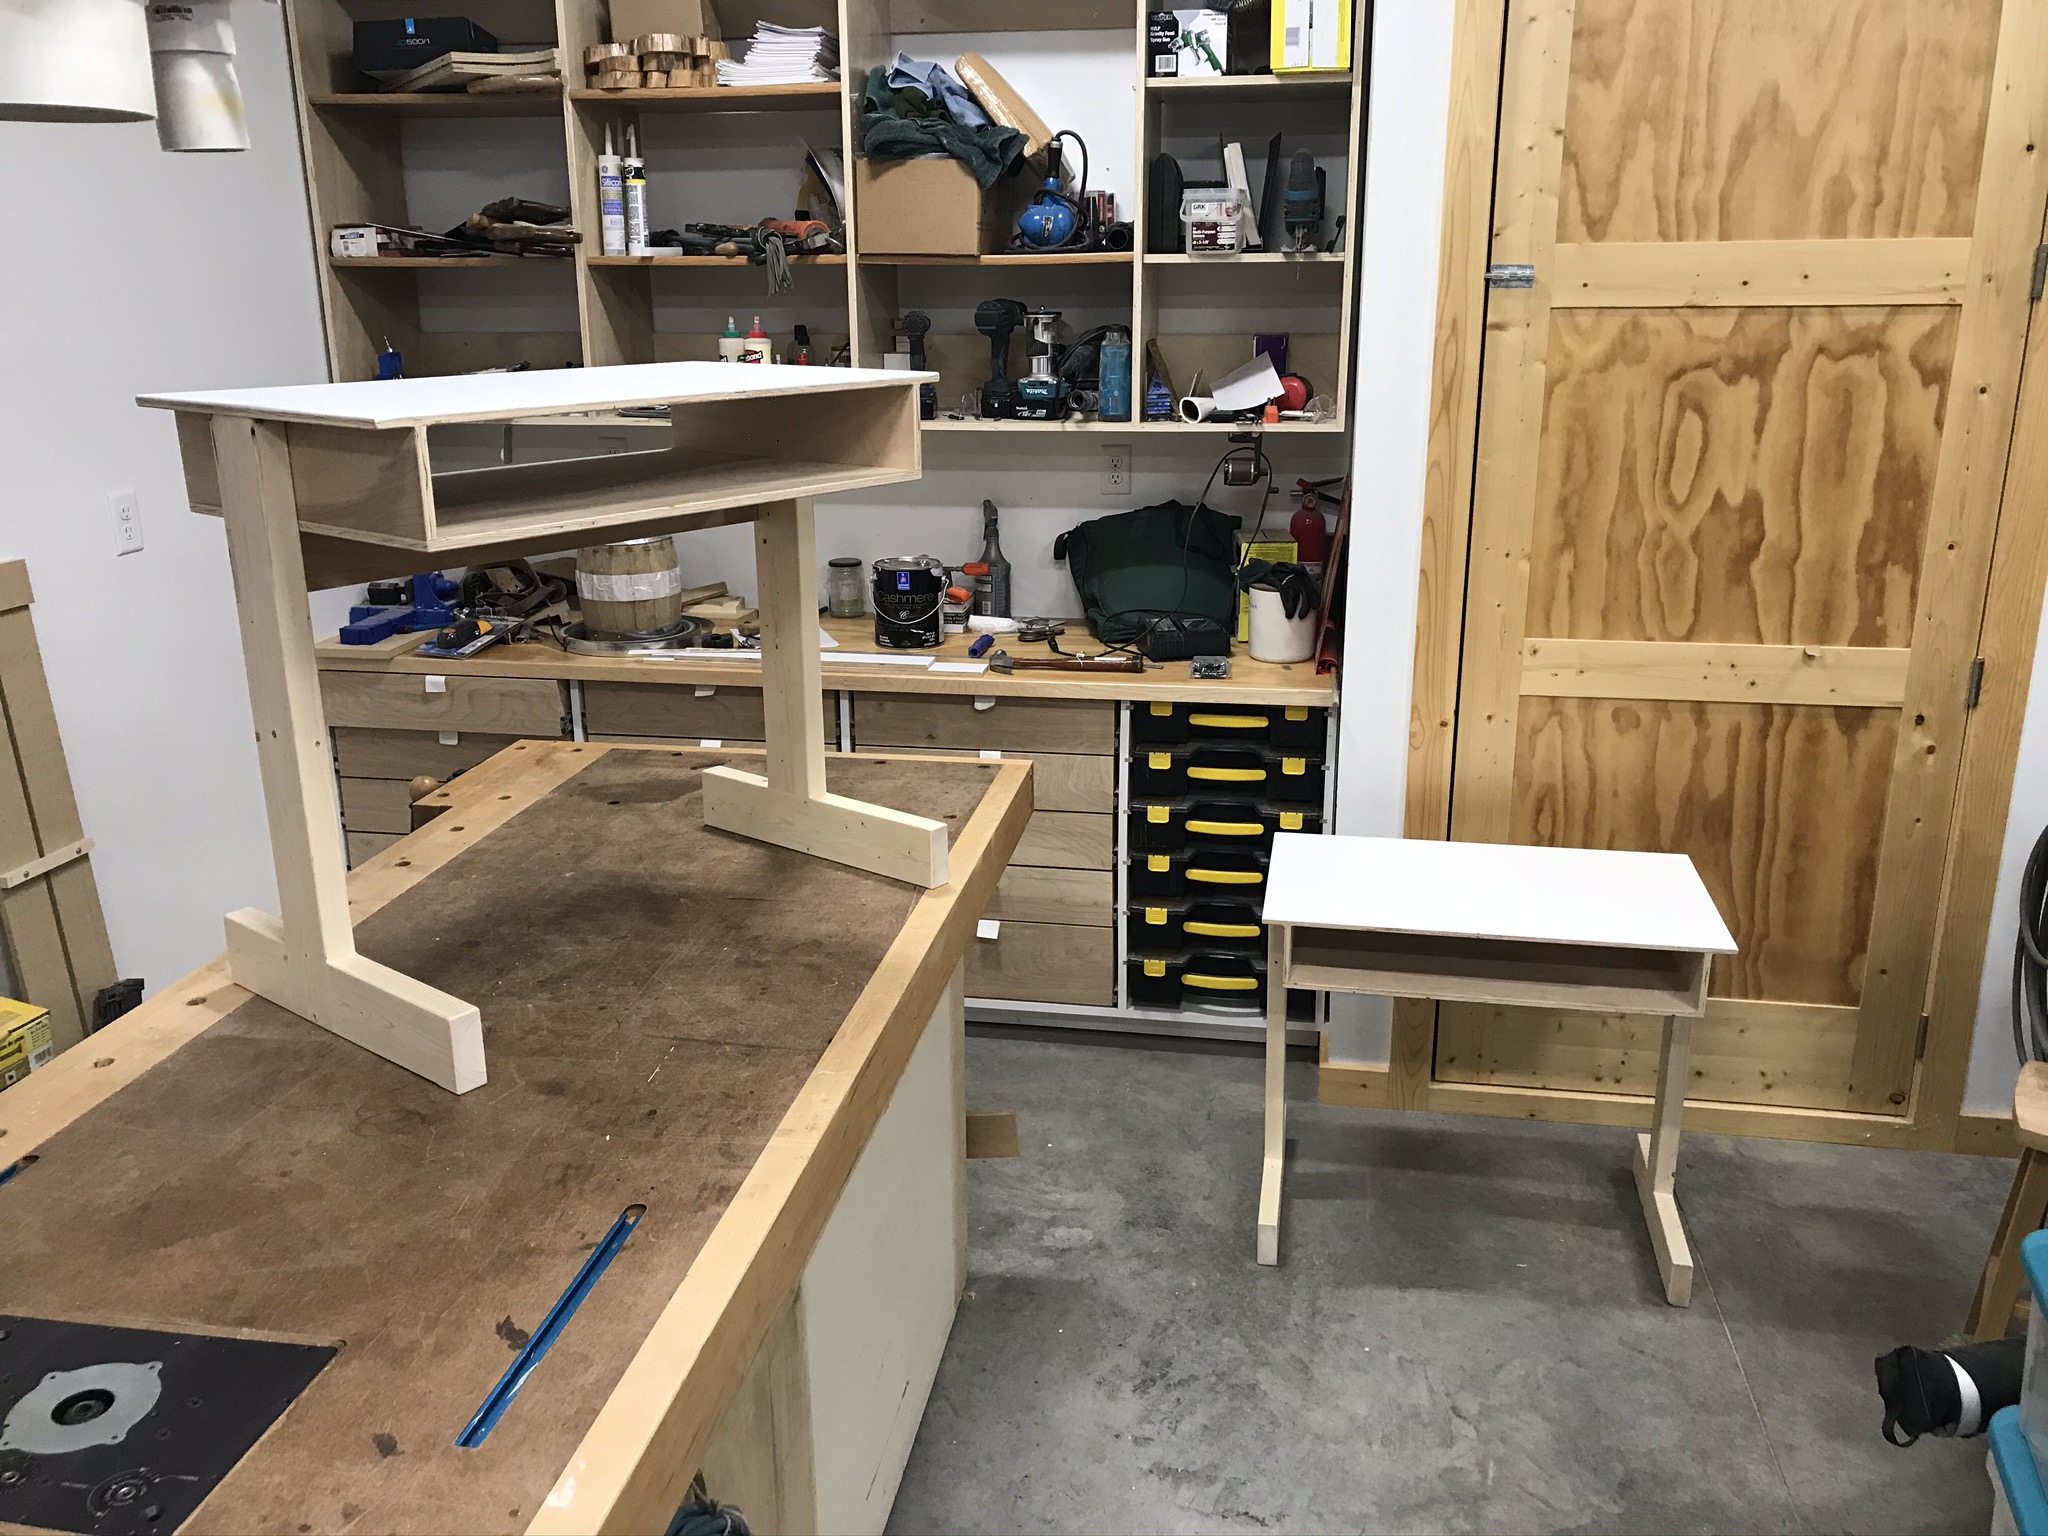
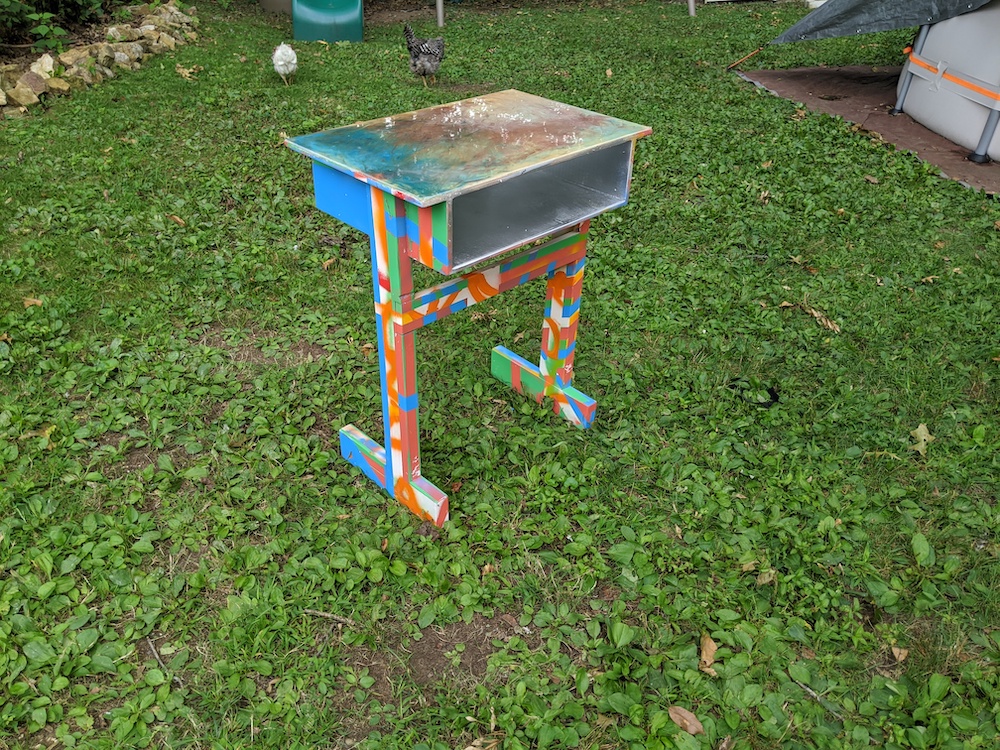
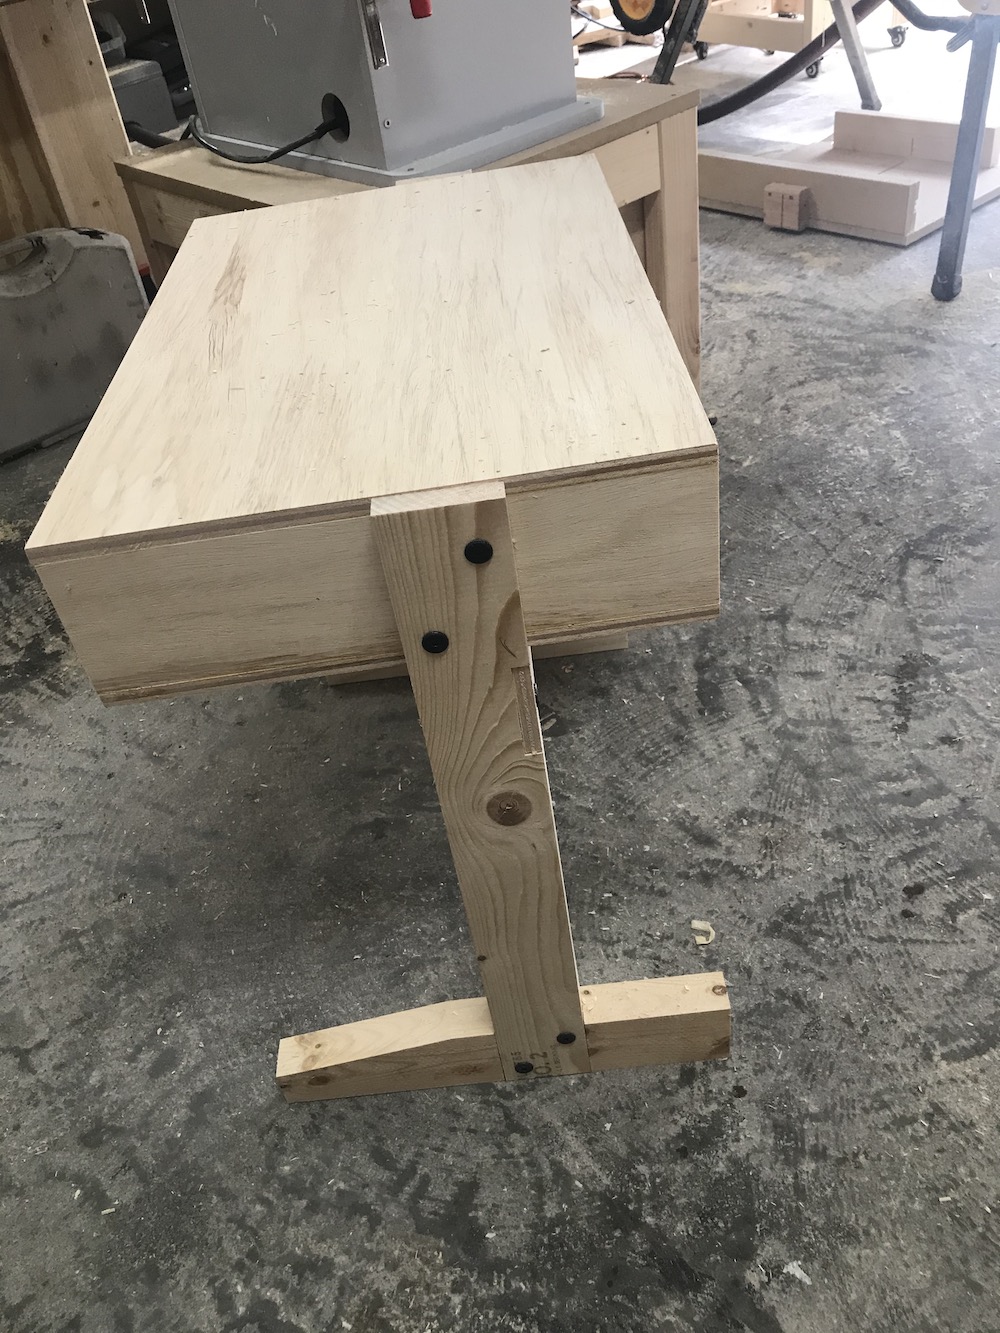
Our final counts are in! We have 51 builds and 6 build videos! We rounded up and made a donation of $1000 to St. Jude. Taking our total well over our goal of $10,000! Amazing work everyone! Be sure to check out the builds below or view the playlist of submitted videos!
Thank you to everyone that participated in the build and the auctions! We couldn’t have done it without you!!
You can still donate here!
The post WFC 2020 Results! appeared first on The Wood Whisperer.
October 30, 2020
Fortnite Sign Via CNC
I wanted to make something special for my son Mateo’s 9th birthday. His favorite game is Fortnite so I thought it would be cool to pull in a graphic of his favorite skin (Agent Peely) and include his gamer tag in a carving. My new shop assistant Jon did all the heavy-lifting with the Powermatic CNC side of things and we tag-teamed the painting and finishing work. While this isn’t our usual kind of “project” I thought it would still be fun to show the process. And there’s nothing like making something in the shop that causes a kid’s face to light up!
The post Fortnite Sign Via CNC appeared first on The Wood Whisperer.
Missouri Bush Oil | Morning Show
00:00:31 – Good morning, it’s the Woodworking Morning Show
00:01:10 – Thanks to our Patreon subscribers and YouTube Members!
00:02:47 – Tee Shirt PreOrder ends Oct 31 and Taper Maker for sale!
www.twwstore.com
00:04:15 – Did you ever add upper cabinets to the miter saw station?
00:05:40 – How do you lube your table saw?
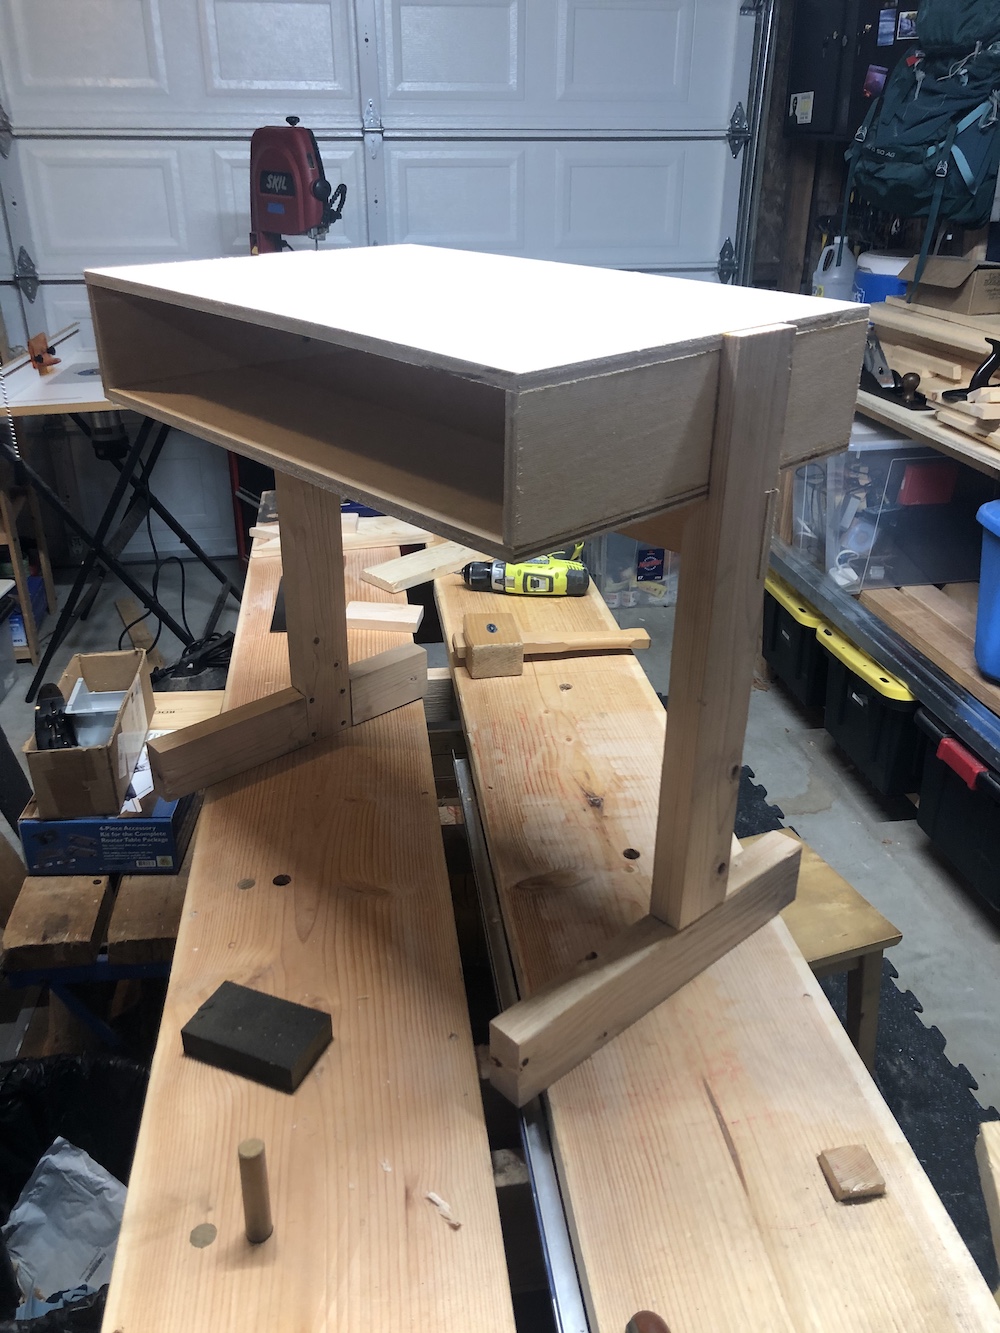
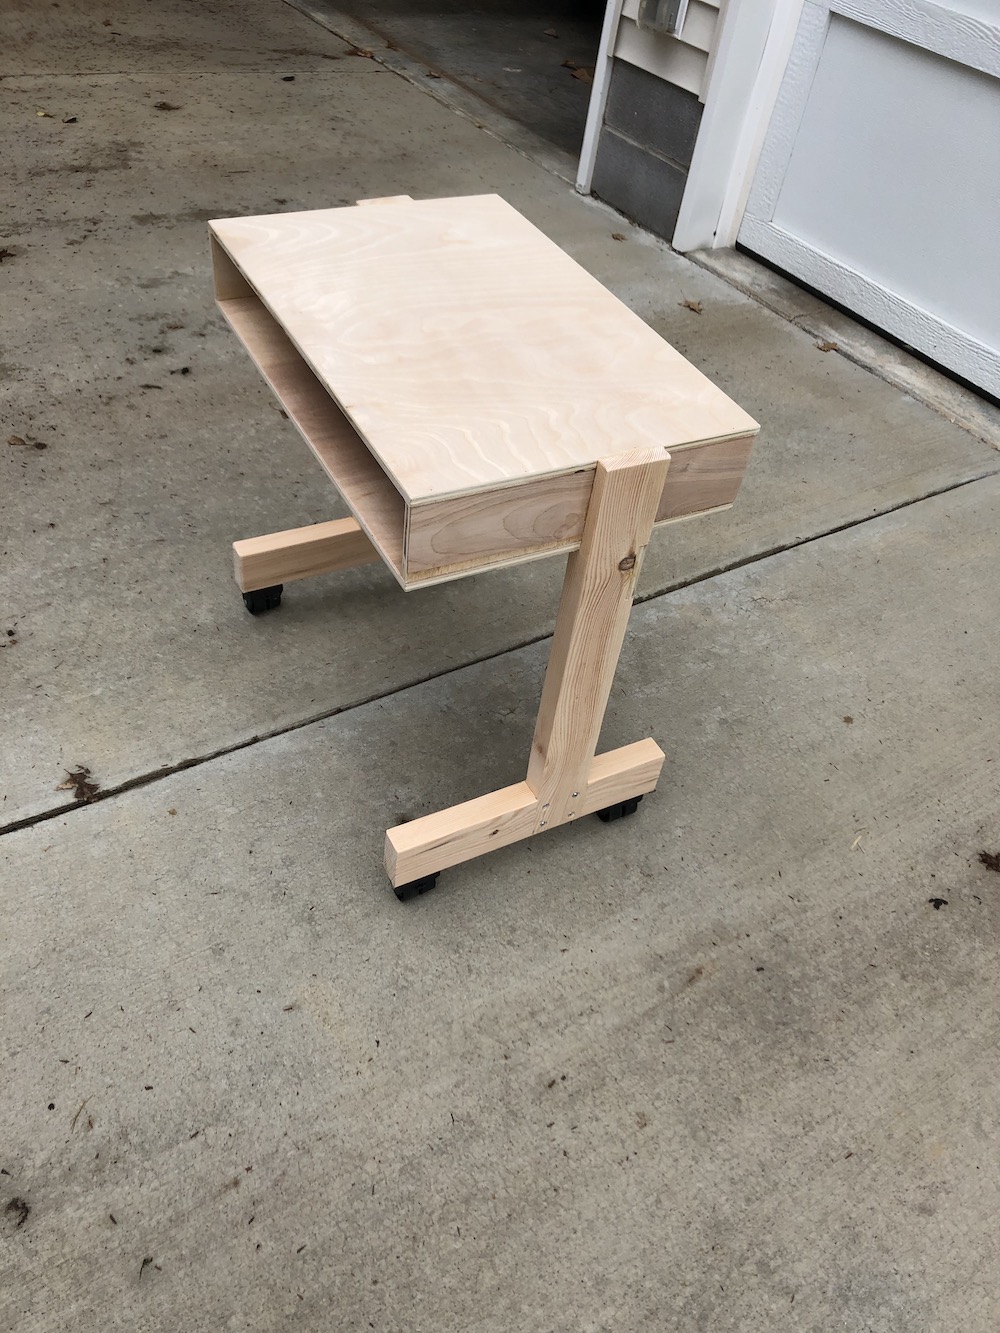
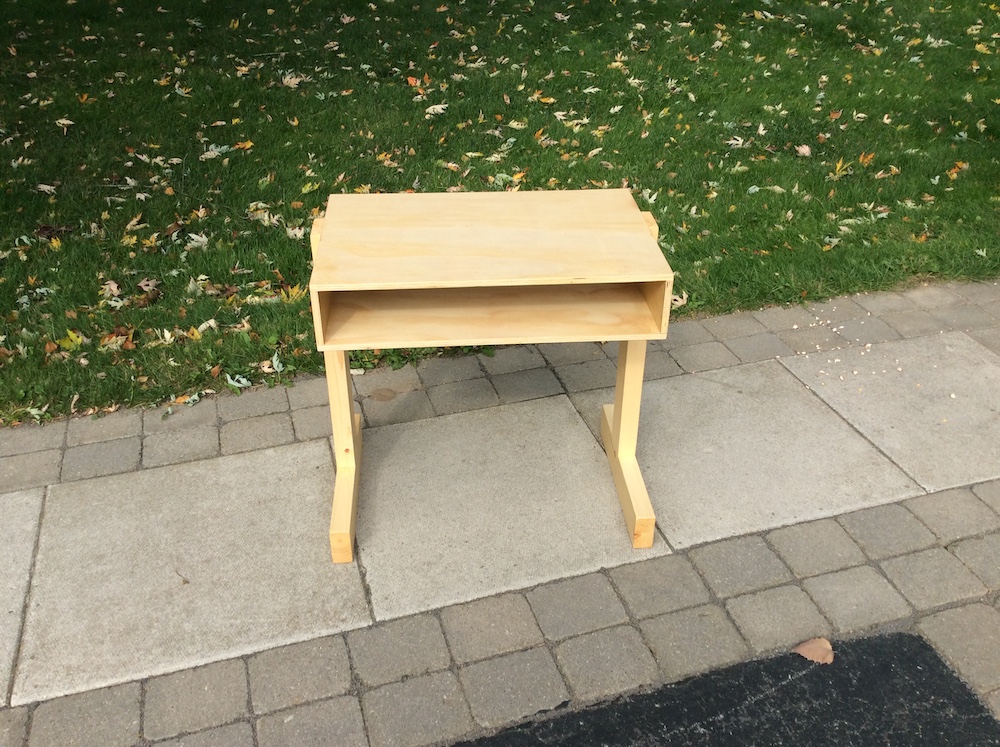
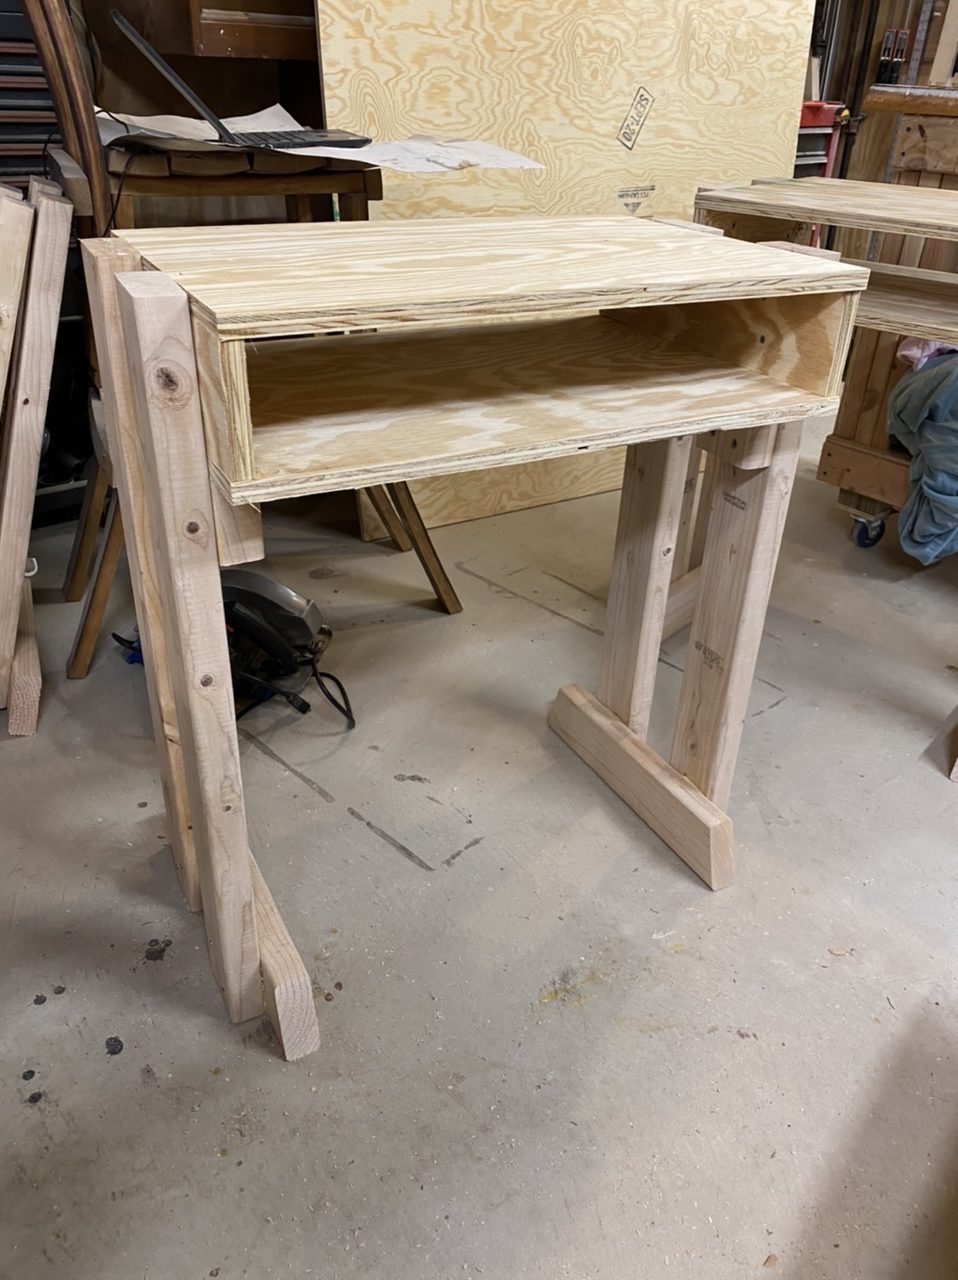
00:06:42 – When can we see the end table video?
00:07:35 – How can I clean rust off a bandsaw blade?
00:10:25 – How can I keep my spiral router bits from clogging up and burning?
00:12:05 – How can I clamp live edges without damaging the edges?
00:12:55 – How do I know when I need to clean or sharpen my table saw blade?
00:15:03 – What’s the best way to carve a jigsaw?
00:17:45 – How should I finish an outdoor lounge?
00:20:45 – How should I store my finishes in the winter?
00:22:10 – Do you work through the grits with a spindle sander?
00:23:08 – How can I plane a piece that has the grain in alternating directions?
00:25:35 – Can I put a dado blade on my non-dado arbor?
00:27:00 – Should a table saw fence be parallel to the blade?
00:29:10 – What’s the best way to finish plywood edges?
00:30:55 – Is a helical head worth it?
00:32:45 – Have you ever used Bush Oil for lubricating tools?
00:33:49 – What glue can hold well enough to turn?
00:36:04 – How do you decide what finish to use on your products?
00:37:40 – Can you use Rubio without the part b?
00:38:40 – How often do you read the whole MSDS of a finish before using?
00:40:53 – What is a good hypoallergenic wood to use for cutting boards?
00:41:50 – Can I use plywood to make a chisel mallet?
00:43:22 – How can I finish a pair of wooden chopsticks?
00:44:25 – I soaked my bandsaw blade in vinegar and the vinegar got very dark. Did I ruin my blade?
Products recommended by Marc
Woodworking Morning Show as a podcast
The post Missouri Bush Oil | Morning Show appeared first on The Wood Whisperer.
October 23, 2020
2020 Guild Scholarship Recipients
This year our Guild scholarship distribution was handled a little differently. When Covid shut schools down in March we put out an open invitation to shop teachers in Middle & High School to reach out to us for help with their online learning plans. We had many requests and we were able to fulfill every single one because of the generous scholarship donations.
Even though this happened in March, we wanted to recognize the teachers teaching in such a challenging time and also thank the kind donations to help get all of these teachers set up in the Guild to share the videos with their students.
We will open our scholarship application again in May 2021. If you would like to donate toward the fund you can find more information here.
Guild Scholarship Recipients
Chris Davis
George Zubieta
Conrad Ackerman
Jonathan Au
Clint Behling
Brock Cameron
Giuseppe Tambasco
Rhona Kane
Thank you to the Scholarship donors!
Anonymous
Gerry Tolbert
Eric Lew
Peter Perrello
Frank Caserta
Amy Martin Pupo
David Nichols
Andrew Gibson-White
Raleigh Beringer
Andy Pridmore
Alan Lillich
Nathan Rewerts
Brian Walford
Brodie Brickey
Gordon White
Anonymous
Anonymous
Joe Romanowski
Anonymous
Anonymous
Anonymous
The post 2020 Guild Scholarship Recipients appeared first on The Wood Whisperer.
The Taper Maker
Over the years, I’ve made a lot of tapers. I usually cobble together a one-time use jig from scrap and throw it away when I’m done. And while there are a lot of tapering jig/sled designs out there I couldn’t find anything that inspired me enough to build or buy it. So I challenged my buddy Andy Klein with the task of coming up with a tapering sled that not only accommodates just about any taper I’d need to make, but also does it in a way that’s quick and easy to adjust. That’s what we’re introducing today: The Taper Maker
It features a single cam handle that adjust up and down as needed with three spring-loaded hold-downs. The sled can accommodate nearly 2.5″ of thickness on my saw and almost 36″ in length. It can be used for tapers as well as straight line rips for jointing operations.
We offer a hardware kit and plans if you’d like to make one for yourself. With most fancy tapering jigs on the market going for over $100, we think this is a great cost-effective solution.
By the way, if you want to see Andy using the jig for a cool project, check this out.
 Taper Maker Plan & Hardware Kit
$30.00
Add to cart
The post The Taper Maker appeared first on The Wood Whisperer.
Shiskabobbing My Uvula
00:00:34 – Good morning, it’s the Woodworking Morning Show
00:00:42 – Thanks to our Patreon subscribers and YouTube Members!
00:02:10 – Tee Shirt PreOrder ends Oct 31st and taper maker is for sale now!
00:07:05 – How often do you use the measuring tape on the miter station t-track?
00:08:30 – Happy Anniversary Spagnuolos!
00:11:43 – How much warping happens when lumber is air-dried vertically?
00:13:38 – How would you exhaust a room dedicated for spraying / finishing?
00:15:48 – What is the purpose of the inserts in a router table?
00:16:55 – How much of the bit needs to be in the collett?
00:18:05 – How can I learn more about the “why” in woodworking?
00:22:00 – Does Tasmanian blackwood compare to walnut?
00:22:45 – How do you make end grain look like it’s not laminated?
00:24:13 – When do you go with “quick and dirty” overdoing it “properly”?
00:26:40 – Do every inch of projects need to be finished or do you leave interiors and corners?
00:28:15 – Is walnut safe for furniture for pets?
00:30:40 – What’s the best way to store plans where they’re not going to rust?
00:32:10 – Woodworker’s Fighting Cancer update. We reached our goal!
00:33:23 – How does the guild discount work for the Roubo build?
00:33:50 – Is Bell Forrest doing a black Friday sale against this year?
00:35:20 – How deep should a dowel joint go?
00:37:30 – Do you have a video of applying Rubio to furniture?
00:40:30 – Do you have a detail on the different spokeshaves on the wall?
00:42:37 – How do you protect your phone/camera/electronics in the shop?
00:43:47 – How can you stop the floor moving in your shop?
The post Shiskabobbing My Uvula appeared first on The Wood Whisperer.
October 16, 2020
Kick Me in the Nuts | Morning Show
00:00:42 – Welcome to the WoodWhisperer Morning Show
00:01:50 – Last day for the discount on the Sketchup Guild class
00:02:30 – Thanks to our new Patreon subscribers and YouTube Members!
00:03:21 – Mail time!
00:08:00 – T-shirt announcement. Order until Oct 31st!
00:10:05 – Do you use both sides of the t tracks on your miter saw station?
00:11:30 – Any acceptable rules of thumb for moisture content before working with the lumber?
00:13:30 – Do you have any resources for building entry doors?
00:14:05 – How can I make the setup process quicker to route my mortises?
00:15:56 – Why do you ignore melamine as a building material?
00:17:05 – How can I prevent burning when using my router?
00:19:55 – Any pointers on setting up a drum sander?
00:21:58 – Desert Fox Woodworking shoutout
00:22:57 – What lessons did you learn adapting to your smaller space?
00:24:46 – TWWBBQ on Amazon Prime!
00:25:30 – Are you going to help Matt move?
00:26:40 – Do you see a problem with making half of a workbench top thicker?
00:29:30 – My bevel cut with my miter saw is coming out curved. Any tips?
00:31:15 – How can I make my radial arm saw dust collection more effective?
00:33:00 – Are you planning on doing a hard wax oil shootout?
00:38:34 – Can you use green construction lumber to build furniture?
00:39:45 – Is lauan plywood too soft for benchtops?
00:40:45 – How can I make my finish match between different wood species?
00:42:04 – Would you recommend mortise chisels or a better set of bench chisels?
00:42:58 – Do you get worried that your temporary solutions become permanent?
00:45:05 – What’s the best way to test a planer?
00:46:25 – Any thoughts on WoodPeckers Rip-Flip fence stop system?
00:49:35 – Is a domino worth it for a hobbyist vs a high-end doweling jig?
The post Kick Me in the Nuts | Morning Show appeared first on The Wood Whisperer.
October 15, 2020
End Grain Sanding Test | How High Should You Go?
I’m sure you’ve heard woodworkers say that you should sand end grain at least one grit higher than the rest of the board in an attempt to even out the color. Does it work? If so, why? And if sanding one grit higher is good, sanding several grits higher must be better right? In this little experiment, I set out to answer those questions by looking at the effects of sanding to progressively higher grits using both oil and stain with three woods: sapele, walnut, and poplar.
While I did this test for my own purposes, I thought it would be cool to share the results so you can draw your own conclusions. Please understand that this is just one set of results on a very limited number of test samples. Your results may vary.
Sapele Oiled
Notice that the color of the end grain doesn’t change all that dramatically after 120 grit. It does, however, get much smoother as you’d expect as you proceed through the grits.

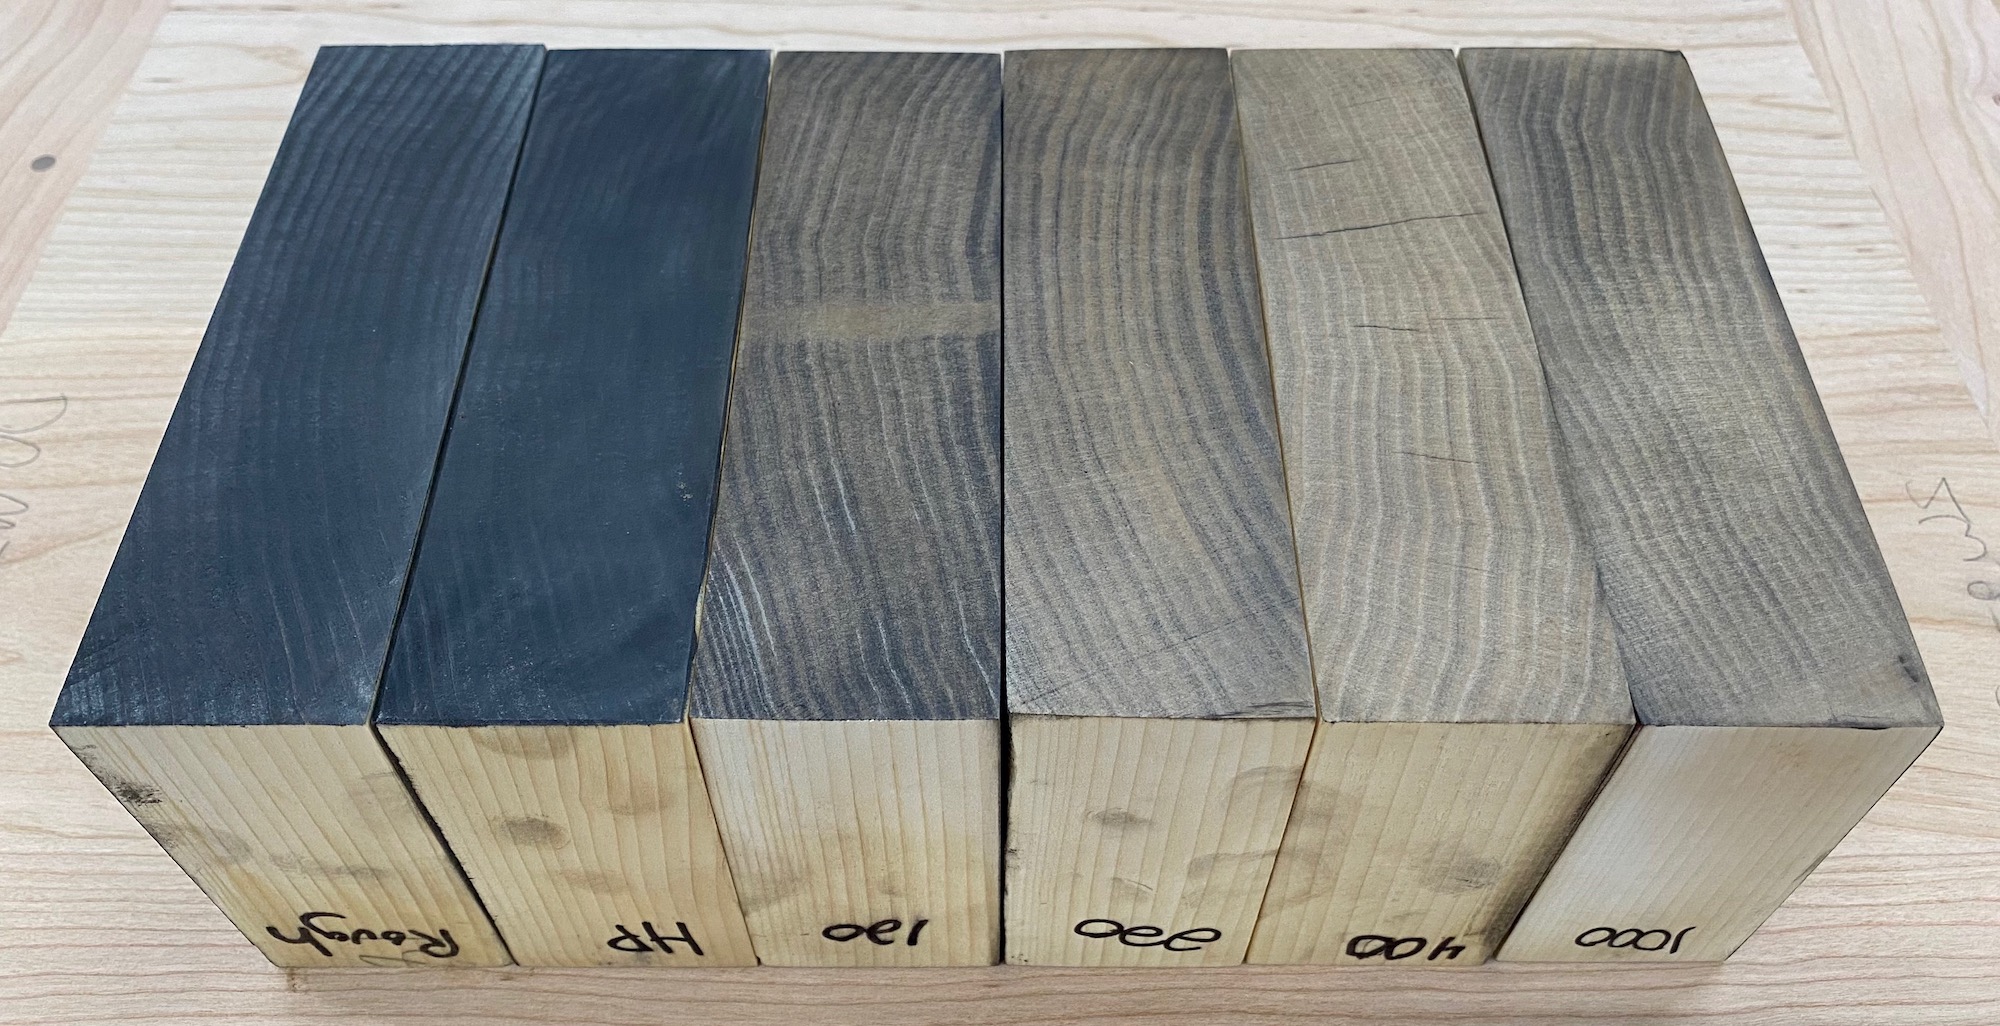
Sapele Stained
As we might expect, the stain shows the impact of sanding to a greater degree. 400 grit is a little lighter than 220 grit which is lighter than 120 grit, etc. And while the color difference is more noticeable than with oil, there’s still not a massive difference between 120, 220, and 400. It’s there, but it’s more subtle than I expected. The big surprise here is what happens at 1000 grit where the color actually appears darker. This result was confirmed with a second round of testing so it is what it is. But why it is…..is a mystery to me.

Walnut Oiled
Much like the Sapele Oil samples, there’s not a huge difference in color after 120 grit. In fact, I can’t really see an appreciable difference in color after 120 grit. 
Walnut Stained
What kind of goober stains walnut?! Well, I do. FOR SCIENCE!!! Even in these stained samples, after 120 grit the samples all look the same to me. 
Poplar Oiled
While I would have preferred something like maple for the blonde wood test, poplar is all I had in the scrap bin. Poplar is notoriously varied in color and grain and can even contain some lovely green tones that you’ll see in some samples. Once again, I don’t see a huge color difference beyond 120 grit but there is some lightening of color. And once again, we see that same phenomenon we observed in the Sapele Stain samples where the 1000 grit is actually darker than the 400 grit sample.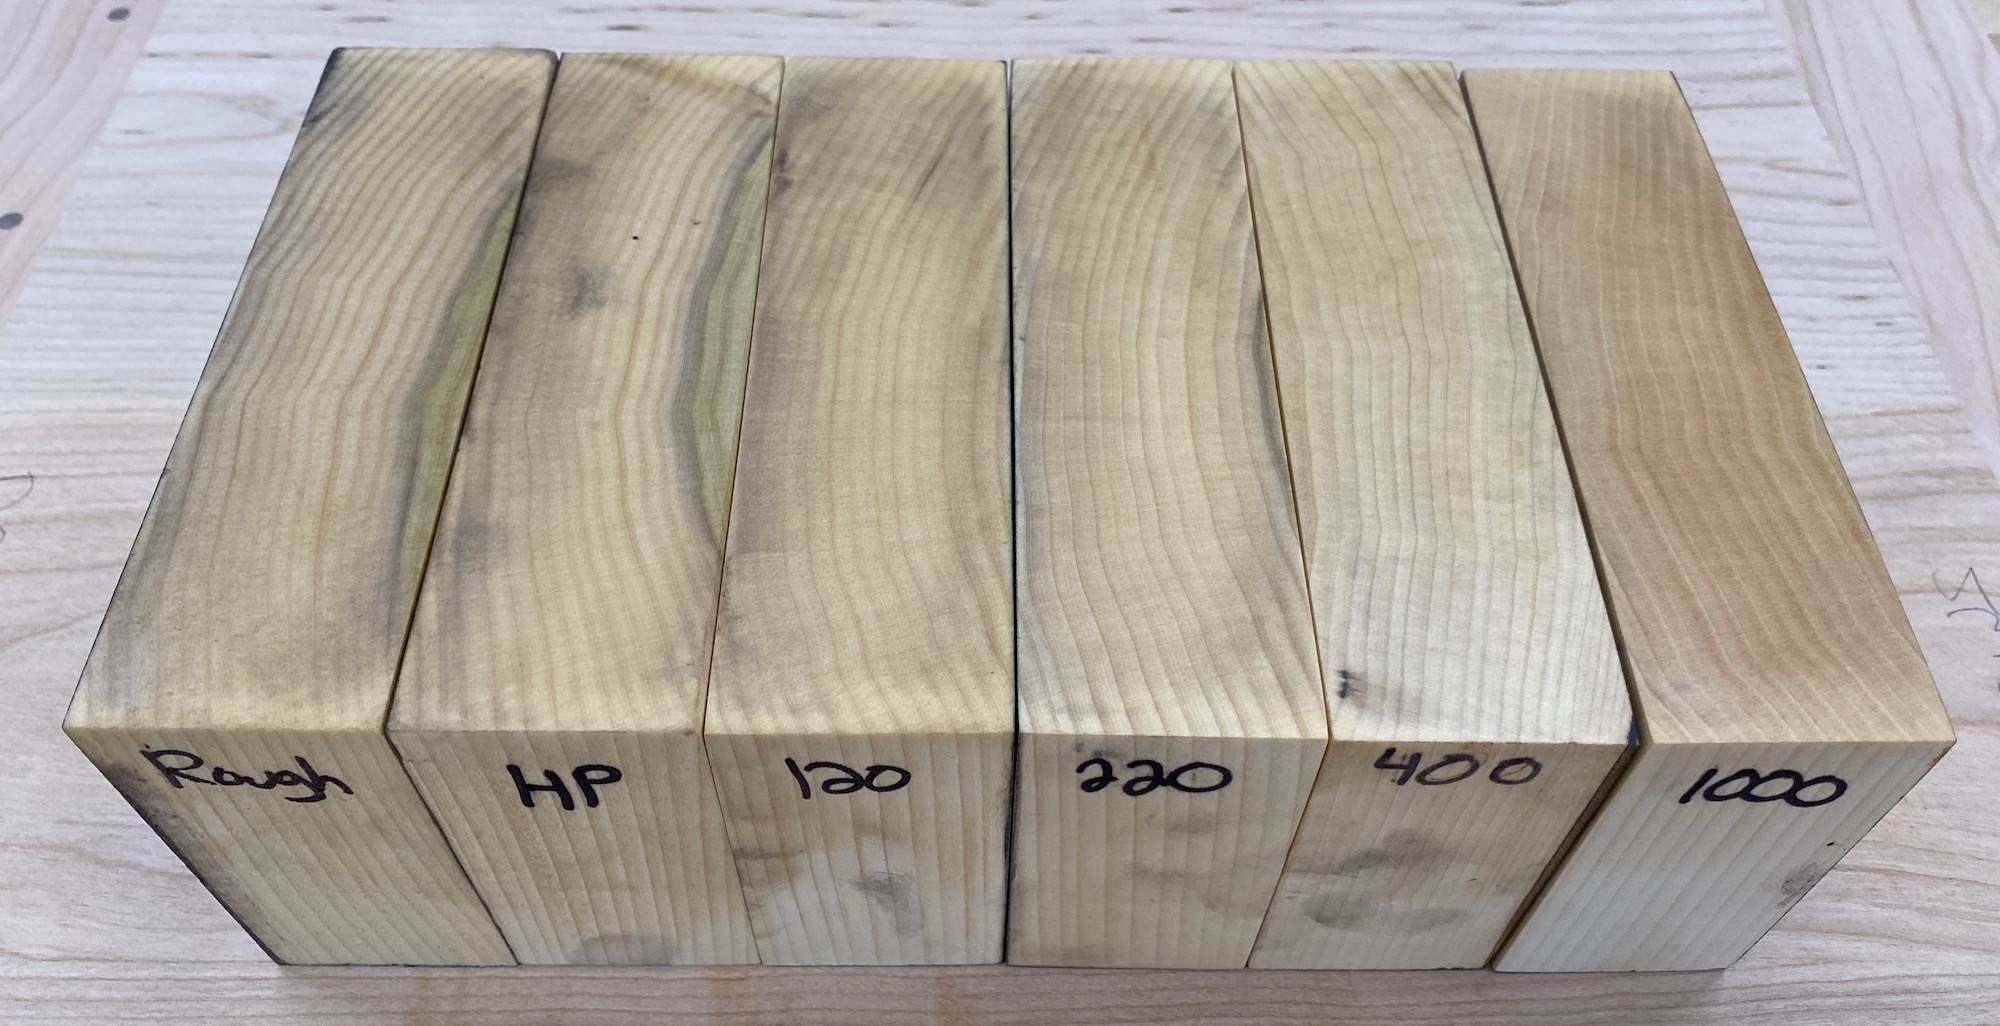
Poplar Stained
As expected, the stain does a better job of showing the impact of sanding to higher grits and this Poplar set in particular show some significant color differences between 120, 220 and 400 grit. But once again, at 1000 grit the sample gets darker. Like the Sapele samples this test was repeated with the same results. Magic is the only obvious explanation.
Conclusions
I hope the video and images provide you with enough data points so you can draw your own conclusions. In case you don’t feel like exercising your gray matter today, I’ll tell you what my conclusions were and you can decide if you agree.
Power tool and hand tool cuts generally leave the grain wide open, and thus end up looking darker (especially when hit with stain).
There’s just not as much difference between 120, 220, and 400 grit as I expected. It seems that sanding thoroughly and evenly is actually more important than jumping up to a higher grit, with regard to color. Smoothness is a different story and if you want glass smooth end grain, you need to sand to those higher grits.
I will continue sanding my end grain to a higher grit than my face grain, but not for the sake of evening out the color. I’ll be doing it because I actually prefer the way the smoother surface feels.
So while these results are interesting and in a couple of cases, puzzling, they won’t dramatically affect my end grain sanding habits. But it’s super interesting to see how sanding impacts (or doesn’t impact) color within the various samples. It would be fun to do even more samples using other common species but alas, I’m onto the next project. Hopefully you found this information useful.
The post End Grain Sanding Test | How High Should You Go? appeared first on The Wood Whisperer.


![[image error]](https://thewoodwhisperer.com/wp-content/uploads/Sapele-Oiled.jpg)