
Bakerella's Blog, page 33
August 26, 2012
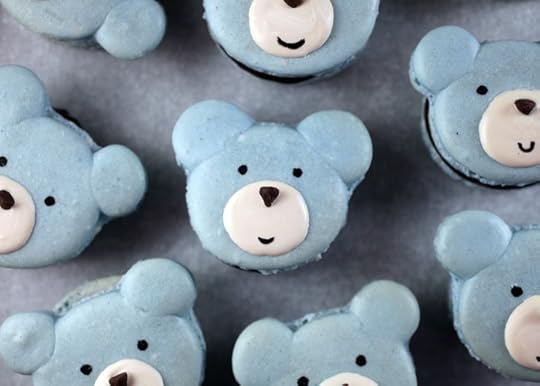
Beary cute macarons
I finally decided to try to make macarons again. I made these last weekend as a possibility for Jenny’s virtual baby shower and halfway through I decided to make the baby cake pops instead. You might even recognize them as the inspiration for the bears I made on her baby cake pop bibs. : )
I wasn’t going to post these because I didn’t get them just quite right. The feet seemed too tall, they were too brown on some of the edges, but mostly they were too hollow inside. Too fragile.
But they were also too cute. So I finished decorating them because one day I will get these little guys perfect. I just have to figure out the right combination of factors to work in my favor. Macarons are finicky. You can have too much almond flour, egg white, or sugar. You can whip them too long. Fold them too long and a number of other things including humidity, oven temp and age of your egg whites. Guess I just need another hands on lesson from Tartelette – they worked great when I made them with her. But on my own. I haven’t had the inside texture work out how I want them.
I used the recipe and directions for the macarons from this post. It works. I just need to make some tweaks on my end.
Try it or use a macaron recipe that works for you. I’d love for you to share a link below if you have one you really like.
So anyway, here’s how I made them into little bears … they were inspired by the cutest little bunny macarons I found through pinterest.
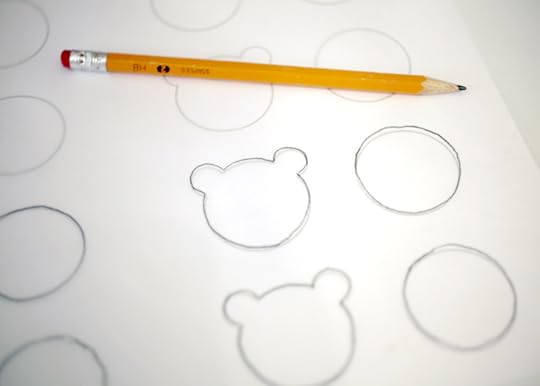
First, I used a template to draw my bear shapes on parchment paper. Place the drawn side face down on the cookie sheet when you bake.
Here’s the template if you’d like it.
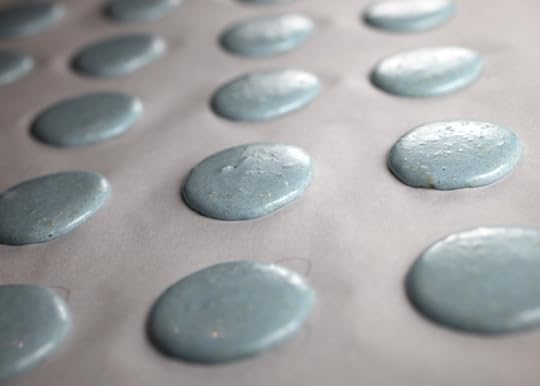
Pipe your shapes and let them set for a few minutes. A skin will start to form on the top that creates the shell and feet once they bake.
Here’s a link to some helpful macaron info from Tartelette.
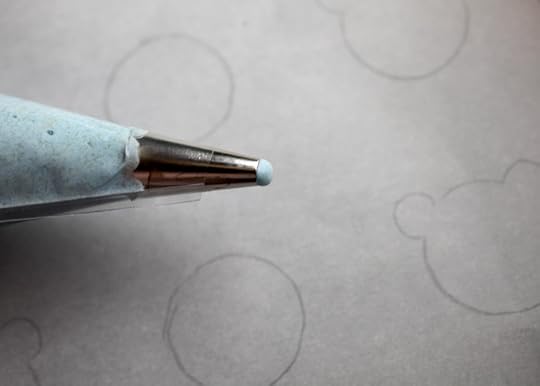
Last time I used a larger tip, but this time I used a Wilton #10 tip so I could control the size of the ears better. The batter flows pretty easily and I didn’t want jumbo ears.
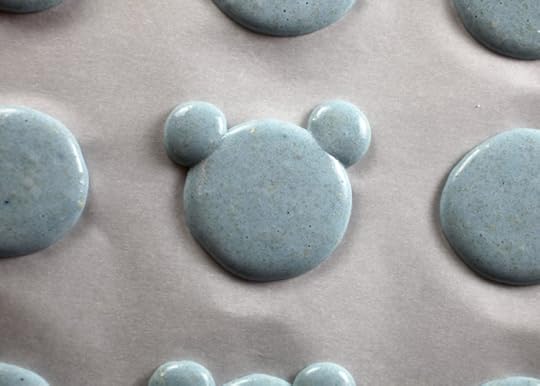
If you let the skin form on the head for just a couple of minutes first, you can easily pipe the ears on either side. If you pipe everything at the same time, they won’t be as defined. They’ll look blobby. Blobby bears.
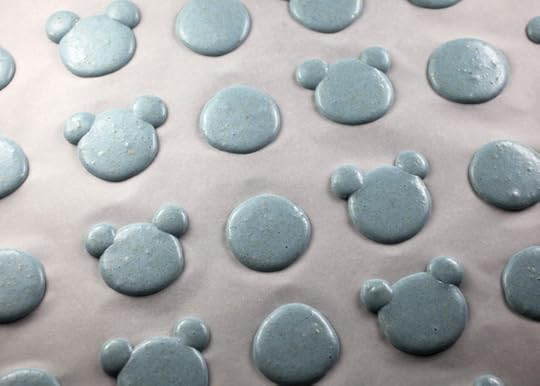
Pipe and repeat.
And bake.
Then when they hopefully come out great, you can just decorate.
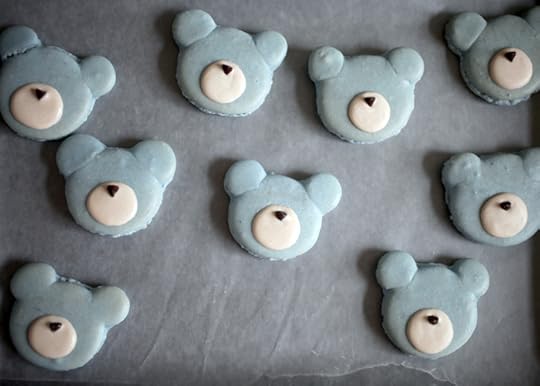
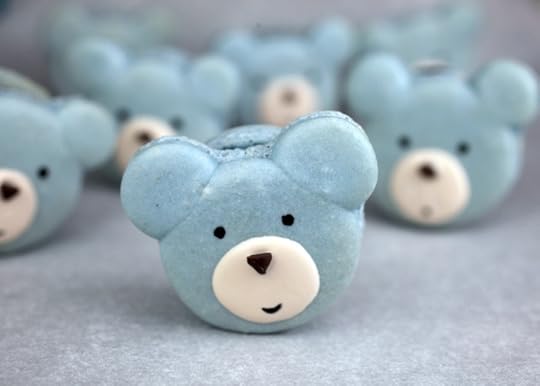
You can use candy coating to pipe on the bottom half of the faces.
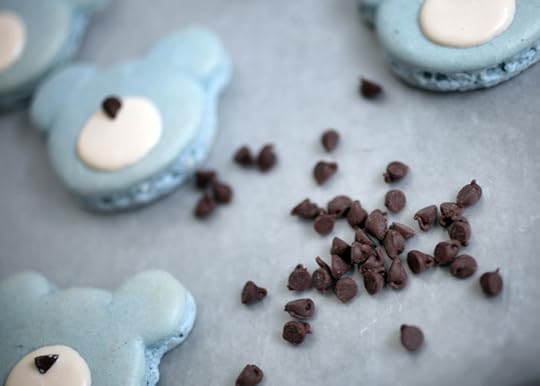
While it’s still wet, place a mini chocolate chip in position for the nose and let dry.
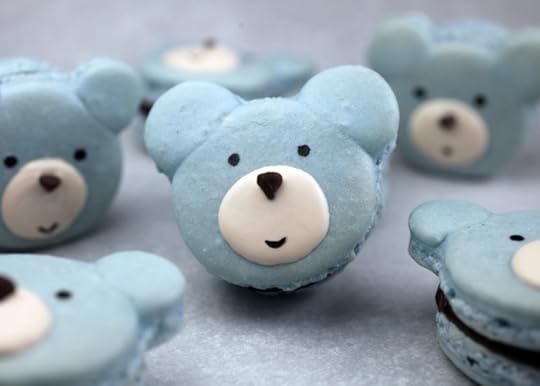
Then draw on the eyes and mouth with an edible ink pen and sandwich the macarons with chocolate ganache.
Even though these aren’t perfect, I hope the pictures will help you make some macarons that are beary cute.
I think they’d be adorable for a baby shower and so pretty in all pastel colors.


August 20, 2012
It’s Play Time!
I have some really fun Cake Pops news to announce today. I’m not even sure where to begin because I still can’t believe it myself.
First… I’ve said this before, but I could have never imagined the kind of wonderful adventure that I’ve been on since first posting cake pops here on this website. And when I say adventure – it’s everything from the book, to all of you that I’ve met and to each and every email and story that you’ve shared. Every smile that you’ve given me and all of the proud moments each time I see the cake pops you guys are creating. You make my life brighter. All because of a little cake on a stick.
Now, like I said, I have something super exciting to share with you.
So …… I’m just going to say it.
Here goes… I’m kinda nervous.
This is so crazy…
I have a toy line coming out next month at Toys R Us!

It’s a Cake Pops Toy! Like for real.
I told you. Crazy, right?! But sooo exciting! Butterflies in my stomach exciting.
The toy is inspired by my book and lets little ones play and create cake pops at home.
One thing that I wasn’t expecting after the book came out was how much kids enjoyed making cake pops. Not just eating them, but making them. And even younger children that would ask for the book as their bedtime story. Some even used it as a learning tool – like using the photo index in the back as a matching game to find the recipe. When I was first approached to do a toy I wasn’t expecting it, but when I thought about all those sweet stories, a toy seemed like a perfect way to let kids enjoy cake pops even more … and a yummy way to inspire creativity. Plus, I feel like I’m playing most of the time in the kitchen anyway. Perfect fit.
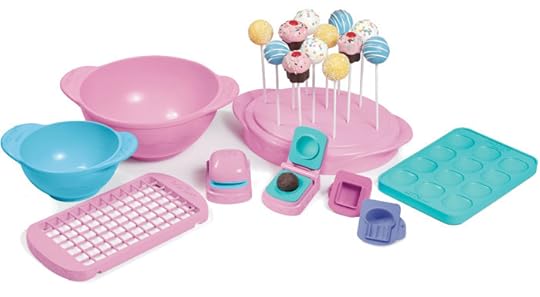
This is The Ultimate Cake Pops Set and it comes with a sweet cake pop stand, cake pop tray, mixing bowl, dipping bowl, cake crumbler, and presses to help you make four different cake pop shapes. And there’s lollipop sticks and an instructional placemat, too.
Just grab some cake, frosting and candy coating and kids can start creating.
They’ll call it an excuse to play with their food. And I hope they have a blast doing it.
I do. I’ve been having fun using the toy since I received the production samples. (And I’m loving the pink cake pop stand. Yay!)
It’s good for kids of all ages I guess.
Actually… this could pretty easily be an adult product. You can get one for your kids and use it for yourself. I won’t tell.
The shapes you can make include, circle, square, triangle and cupcake!
I cannot get over this.
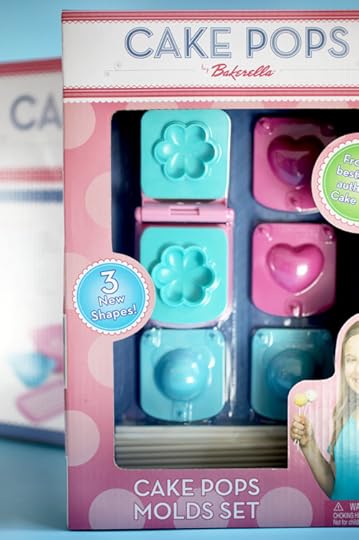
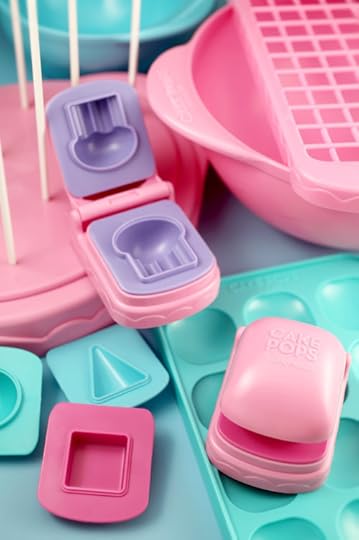
Here’s another toy in the line.
This is the Cake Pops Molds Set and it comes with one press, and molds to make three different cake pop shapes (bear, flower and heart) … Plus instructions and lollipop sticks, too.
Both toys will be available at Toys R Us this September ($19.99 and $7.99 I think). You’ll be able get it in stores or online.
And, in Canada, you can find the toys in Wal-Mart stores.
Stay tuned and I’ll let you know when it hits the shelves. I’ll probably be stalking the stores until it does.

Bakerella's Blog

- Bakerella's profile
- 9 followers


![[image error]](http://www.bakerella.com/wp-content/uploads/2012/08/ToysRUs_Logo.jpg)